
The taskbar has been a staple of the Windows experience for decades, serving as the anchor point for launching and managing applications. With the advent of Windows 11, Microsoft introduced a centered taskbar and Start menu, aiming to align with modern design trends and user behaviors. This shift mirrors the central alignment found in other operating systems, such as macOS, and caters to where eyes naturally go on a widescreen display.
However, not all users have embraced this change. Many rely on muscle memory and the familiarity of the taskbar's traditional placement at the bottom left of the screen. If you're among those who want to experiment with different taskbar positions for a more personalized setup, Windows offers the flexibility to move the taskbar to suit your preferences.
While Windows 11 initially limited taskbar customization compared to its predecessor, it's still possible to adjust its position with a few simple steps. This tutorial will guide you through the process of moving the taskbar in both Windows 11 and Windows 10, helping you to tailor your desktop environment to your liking.
In Windows 10, the taskbar's position can be easily changed through the settings, allowing users to place it on either side of the screen or at the top for a different perspective on their workspace. Windows 11, while initially more restrictive, has seen updates and community-driven solutions that enable similar adjustments.
Whether you're a long-time Windows user adjusting to the new look of Windows 11 or a Windows 10 user looking to shake things up, moving the taskbar can be a simple yet impactful change.
How to Move the Taskbar on Windows 10 to the Top, Left or Right
In Windows 10, the taskbar is not just a static tool; it's a versatile feature that you can move to either side of your screen or even to the top. This flexibility can be particularly useful for enhancing productivity or better utilizing screen real estate, especially on widescreen monitors. This section of the tutorial will walk you through the simple steps to reposition your taskbar, allowing you to customize your desktop to match your workflow preferences.
- Right-click on an empty space on the taskbar and open “Taskbar settings”
If “Lock the taskbar” has a checkmark next to it, click it to unlock the taskbar.

- Choose the desired “Taskbar location on screen”
You can move the taskbar to the left, right, and the top of the screen.

- If you move the taskbar to the left, the start menu will show in the upper left corner

- If you move the taskbar to the top, the start menu will also show in the upper left corner, but arrange in a different way

- If you move the taskbar to the right, the start menu will show in the upper right corner

How to Move the Windows 11 Taskbar to the Top
While Windows 11 introduced a centered taskbar design, you might find that having the taskbar at the top of your screen is more in line with your personal or professional usage patterns. Moving the taskbar to the top can mimic the feel of other operating systems and can be a refreshing change for those who prefer this layout. This part of the guide will show you how to achieve this configuration, giving your Windows 11 a unique touch that caters to your comfort. You can combine this with the last method, which shows how to move the Windows 11 start menu and taskbar icons to the left like in Windows 10.
- Open Regedit

- Edit to the Taskbar Registry Key
In the Registry Editor, navigate to the following key:
HKEY_CURRENT_USER\Software\Microsoft\Windows\CurrentVersion\Explorer\StuckRects3
Open the “Settings” binary value within “StuckRects3” via double-click

- Edit the binary value for the Windows 11 taskbar position
In the Edit Binary Value window, you'll see a table of numbers. Locate the second row of values, and then find the fifth value from the left (it should be03if your taskbar is currently at the bottom).Change the 03 value to 01 to move the taskbar to the top.
Click OK to confirm the change.

- Restart the taskbar to apply changes
First, open the “Command Prompt” as administrator.

- Kill the taskbar process with “taskkill” and restart it
Use this command to kill the taskbar process:taskkill /f /im explorer.exe
Use this command to restart the taskbar process:
start explorer.exe

- The taskbar will load again and be placed on the top

How to Show the Windows 11 Start Menu and Taskbar Icons on the Left Like in Windows 10
The centered taskbar and Start menu in Windows 11 represent a significant design shift from previous versions. However, if you're feeling nostalgic or simply find the classic left alignment more intuitive, Windows 11 offers the option to revert to this familiar layout. This section will guide you through the quick and easy process of aligning your Start menu and taskbar icons to the left, bringing back the traditional look and feel to your Windows 11 experience.
- Right-click on an empty area of the taskbar and select “Taskbar settings”

- Change “Taskbar alignment” in “Taskbar behaviors”
- In the Taskbar settings window, scroll down to find “Taskbar behaviors”.
- Click on the “Taskbar behaviors” section to expand it if it's not already open.
- Look for the “Taskbar alignment” option within the Taskbar behaviors section.
- Click on the dropdown menu next to “Taskbar alignment” and select “Left”.

- The start menu and taskbar symbols will now show on the left side
If you combine this with moving the taskbar image to the top, it will look like in our screenshot.

FAQ – Frequently Asked Questions About Taskbar Customization
Can I customize the taskbar with skins or themes in Windows 10 and Windows 11?
Officially, Windows does not support direct customization of the taskbar through skins or themes. However, users can utilize third-party applications like Rainmeter for Windows 10 and 11 to create or apply custom skins, which can include taskbar modifications. Classic Shell, now known as Open Shell, is another tool for Windows 10 that allows users to customize the Start menu and taskbar to resemble older versions of Windows. When downloading and installing such tools, always ensure you're using reputable sources to avoid security risks. Remember, applying third-party skins or themes might affect system performance and stability, so proceed with caution.
How can I restore the taskbar to its default position if I encounter issues after moving it in Windows 11, especially after a registry edit?
Restoring the taskbar to its default position in Windows 11 after a registry edit involves reversing the changes made. Open Registry Editor by pressing Win + R, typing regedit, and navigating to the modified registry key. Reset the edited values to their original state. If you're unsure of the original settings or face further issues, using Windows System Restore to revert your system to a point before the changes were made can be a safer option.
What should I do if the taskbar becomes unresponsive or disappears in Windows 10 or Windows 11?
An unresponsive or missing taskbar can often be fixed by restarting the Windows Explorer process. To do this, press Ctrl + Shift + Esc to open Task Manager, locate “Windows Explorer” in the list of processes, right-click it, and choose “Restart“. If the taskbar remains unresponsive or absent, consider running a system file check by opening Command Prompt as an administrator, typing sfc /scannow, and pressing Enter. This command will scan for and repair corrupted system files. If the issue persists, exploring further troubleshooting steps or seeking professional support may be necessary.
Is it possible to have different taskbars for virtual desktops in Windows 10 and Windows 11?
As of the latest updates, Windows 10 and Windows 11 do not support having separate taskbars with different icons or settings for each virtual desktop. The taskbar remains consistent across all virtual desktops. However, you can customize the visibility of application icons on the taskbar across virtual desktops. In “Taskbar settings“, there's an option to show windows that are open on only the active desktop or all desktops. This provides some level of customization for users who extensively use virtual desktops for different tasks or projects.
How do I manage taskbar overflow or control which icons appear on the taskbar in Windows 10 and Windows 11?
To manage taskbar overflow and control which icons appear, navigate to “Taskbar settings” by right-clicking the taskbar. Look for the “Select which icons appear on the taskbar” option to choose which application icons should be visible. For system icons like network, volume, or battery, use the “Turn system icons on or off” setting. If your taskbar is crowded, consider enabling the “Always show all icons in the notification area” option for easy access to all running applications and services, or use the overflow area to keep the taskbar uncluttered while retaining access to less frequently used icons.
Can I move the taskbar to a secondary monitor in Windows 10 and Windows 11?
In multi-monitor setups, Windows 10 and Windows 11 allow the taskbar to be displayed on all monitors by default. You can further customize this behavior in “Taskbar settings“. Under the “Multiple displays” section, you can choose to show taskbar buttons on all taskbars, the main taskbar and the taskbar where the window is open, or the taskbar where the window is open only. This flexibility helps in managing windows and applications more efficiently across multiple monitors, especially in extended desktop setups.
How can I fix scaling issues with the taskbar when using high-resolution displays in Windows 10 and Windows 11?
Scaling issues on high-resolution displays, particularly with the taskbar, can often be resolved by adjusting the display scaling settings. Right-click on the desktop, select “Display settings“, and use the “Scale and layout” section to change the size of text, apps, and other items. Increasing the scaling percentage can make the taskbar and its icons larger and more visible. If automatic scaling isn't producing the desired results, custom scaling options can provide more precise control. It's also a good idea to ensure that your display drivers are up to date, as outdated drivers can sometimes contribute to scaling problems.
Is it possible to group similar applications together on the taskbar in Windows 10 and Windows 11?
Yes, Windows 10 and Windows 11 both offer the functionality to group similar application windows together on the taskbar, which helps in reducing clutter and organizing open windows more efficiently. This setting can be adjusted in “Taskbar settings” under the “Combine taskbar buttons” option. You can choose to always combine, combine when the taskbar is full, or never combine. The “Always combine, hide labels” option ensures that each application uses only a single taskbar icon, regardless of the number of open windows, with additional windows accessible via thumbnail previews.
How can I display the date along with the time on the taskbar in Windows 11?
The display of the date alongside the time on the taskbar in Windows 11 depends on the taskbar size and the system's display settings. If the date isn't showing, try increasing the display scaling in “Display settings” or adjusting the taskbar size. For small taskbars or certain screen resolutions, Windows may automatically hide the date to save space. If adjusting these settings doesn't work, consider using third-party utilities or widgets that can display the date and time more prominently on your desktop.
Can I make the Windows 11 taskbar icons centered while keeping the Start menu on the left?
In the default configuration of Windows 11, the taskbar icons and the Start menu are centered together. There isn't an out-of-the-box setting to center taskbar icons while keeping the Start menu on the left. Users seeking this level of customization may need to explore third-party tools, but it's important to note that such modifications can affect system stability and might not be supported by Microsoft. Always ensure that any third-party software comes from a reputable source and is compatible with your version of Windows.
How do I access taskbar settings if I can't right-click on the taskbar in Windows 10 or Windows 11?
If the right-click function is not working on the taskbar, you can still access taskbar settings by opening the Windows Settings app. Press Win + I to open Settings, navigate to “Personalization” and then select “Taskbar” from the left-hand menu. This will take you directly to the taskbar settings, where you can adjust your taskbar preferences. Alternatively, you can search for “Taskbar settings” in the Start menu search bar to access these settings directly.
Is there a way to automatically hide the taskbar in tablet mode for Windows 10 and Windows 11?
Windows 10 and Windows 11 both offer the option to automatically hide the taskbar in tablet mode, providing a more immersive and unobstructed view of your apps and content. To enable this feature, go to “Taskbar settings” and find the option for “Automatically hide the taskbar in tablet mode“. Toggle this option on to have the taskbar automatically hide when in tablet mode. This feature can enhance the usability of touch-enabled devices by maximizing screen real estate.
Can I add or remove specific system icons from the taskbar in Windows 10 and Windows 11?
Both Windows 10 and Windows 11 allow users to customize which system icons appear on the taskbar. To add or remove system icons, open “Taskbar settings” and navigate to the “Turn system icons on or off” link. From there, you can toggle individual system icons such as the clock, volume, network, battery indicator, and action center on or off according to your preference. This customization can help streamline the taskbar by keeping only essential icons visible.
How can I adjust the taskbar's transparency level in Windows 10 and Windows 11?
The transparency level of the taskbar, along with other elements like the Start menu and Action Center, can be adjusted in Windows 10 and Windows 11 through the “Transparency effects” setting. To access this setting, navigate to “Settings” > “Personalization“ > “Colors” and toggle the “Transparency effects” option on or off. Enabling this setting will make the taskbar and other elements slightly transparent, creating a more blended and aesthetically pleasing appearance on the desktop. Keep in mind that enabling transparency effects can have a minor impact on system performance, especially on older hardware.
What to do if custom taskbar settings revert to default after a Windows update in Windows 10 or Windows 11?
It's not uncommon for custom taskbar settings to revert to default following a Windows update. To restore your preferred taskbar configuration, you will need to manually reapply your custom settings through the “Taskbar settings” menu. If you frequently encounter this issue, consider documenting your preferred settings for easier restoration in the future. While Windows updates can reset certain settings, they're crucial for system security and performance, so it's important to regularly update your system and then reapply any custom settings as needed.
Extra: How to Hide or Show Icons in the Taskbar Corner Overflow Menu
With the advent of Windows 11, there's been a significant change in how these icons are managed. The “Taskbar Corner Overflow Menu” now houses icons that are not actively displayed on the taskbar but are still running in the background. In our other guide, we show you how to hide or show app icons in the Taskbar Corner Overflow menu to free up space or to gain quicker access to the underlying apps.
![]()
Extra: How to Make the Windows 11 Taskbar Smaller or Bigger
For the Windows 11 taskbar, there isn't a “small icons” or “labels” option to shrink it down. Luckily there is a workaround to make taskbar icons bigger or smaller in Windows 11 using a handy registry hack, which we are showing you in our other guide.
![]()
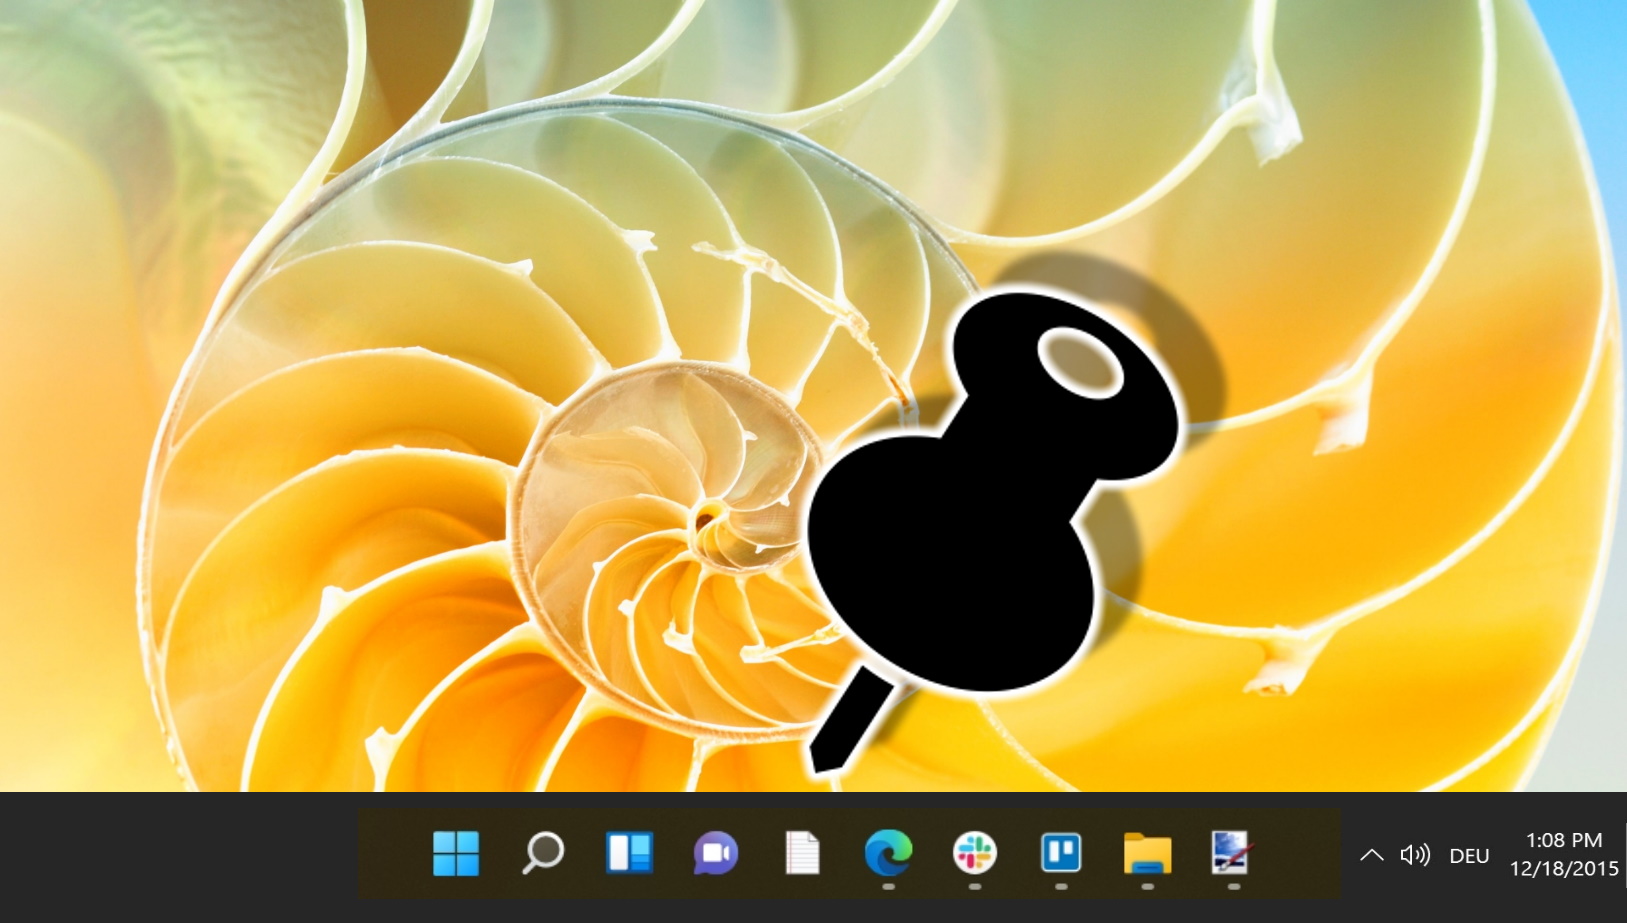
Extra: How to Pin a Website, Folder, Drive, or Files to the Taskbar in Windows 11
The taskbar is an essential part of how you use your Windows PC, but it often goes underutilized. In our other guide, we are showing you how to pin a website, folder, drive, or file to the taskbar in Windows 11.
Last Updated on April 19, 2024 10:18 am CEST by Markus Kasanmascheff


