System Restore in Windows 11 is a vital tool that acts as a lifeline for your computer’s operating system. This feature is akin to a time machine, enabling you to roll back your system to a previous state, a point in time where everything functioned correctly. It’s particularly useful when you’re facing issues due to recent changes or updates that didn’t go as planned. The beauty of System Restore lies in its ability to undo system changes without affecting your personal data like documents, pictures, or music.
At its core, System Restore revolves around the concept of ‘restore points’. These are essentially system snapshots, capturing the state of your system files and settings at specific moments. Windows 11 is designed to create these points automatically, typically once a week or during significant events like the installation of updates or new applications. The user also has the option to create these points manually, a recommended step before embarking on significant system modifications.
However, it’s important to note that System Restore isn’t automatically active in Windows 11. Users need to take the initiative to enable this feature, setting the stage for their system’s safety net. Once activated, System Restore becomes a powerful tool to revert any unwelcome changes that might disrupt the system’s functioning.
In situations where your system starts behaving erratically post an update or a change, System Restore can step in to return your PC to a more stable, previous state. This process is straightforward yet powerful, involving the selection of an appropriate restore point that reflects a time when your system was free from issues.
How to Automatically Create System Restore Points in Windows 11
This section is dedicated to guiding users through the process of setting up their Windows 11 system to automatically generate restore points. Automatic creation of restore points ensures that your system regularly saves snapshots of its current state. This is crucial as it provides a recent backup to revert to in case of any system issues or malfunctions, without the need for manual intervention every time.
- Search for “Create a restore point” and click on the result

- In “System Properties”, switch to “System Protection” and click “Configure”

- Activate “Turn on system protection” and select the maximum “Disk Space Usage”
“Disk Space Usage” in Windows 11 “System Protection” determines the amount of storage space allocated on your hard drive for storing restore points. This space is used to save the snapshots of your system’s state at different times, which can be reverted to in case of system issues. A common recommendation is to allocate around 5-10% of your total hard drive space to system restore points.

How to Manually Create Restore Points in Windows 11
This method is particularly useful when you’re about to make significant changes to your system, such as installing new software, drivers, or making substantial system settings alterations. Manually creating a restore point gives you a specific recovery point to return to in case these changes negatively impact your system’s performance or stability.
- Search for “Create a restore point” and click on the result

- In “System Properties”, switch to “System Protection” and click “Create”

- Enter a description for the restore point
When manually creating restore points in Windows, it’s important to use descriptions that are clear, specific, and meaningful. This helps you easily identify the purpose and context of each restore point when you might need to revert your system to that state. Here are some guidelines and examples for effective restore point descriptions:
Examples of Restore Point Descriptions:
- Before Installing [Software Name]: “Pre-Adobe Photoshop Install – 12/13/2023”
- Before System Update: “Pre-Windows 11 March Update – 03/05/2023”
- Before Driver Update: “Graphics Driver Update – 07/21/2023”
- Before Major Changes: “Registry Edit for Performance Tweaks – 08/01/2023”
- Regular Maintenance: “Weekly Restore Point – 04/14/2023”
- Before Removing Software: “Before Uninstalling [Software Name] – 05/10/2023”
- Custom Changes or Tests: “Testing New Network Settings – 09/15/2023”

Depending on your PC and data the process will take more or less time. If you see the following message, the restore point was successfully created:

How to Return to a Previous Restore Point in Windows 11
Here we show you how to revert your system back to a previously created restore point. It’s a crucial step when you need to undo changes that have caused system instability or other issues. By selecting a specific restore point that predates the problem, you can restore your system to a state where everything was functioning smoothly, thereby resolving any recent software-related issues.
- Search for “Create a restore point” and click on the result

- In “System Properties”, switch to “System Protection” and click “System Restore”

- Click “Next”

- Select the the restore point and click on “Scan for affected programs”

- Wait for the scan to finish

- Review the affected programs report
The “Scan for affected programs” report in Windows System Restore is a valuable tool that provides insights into how restoring to a particular point will impact the programs and drivers on your system. When you select a restore point and use this option, Windows generates a report detailing two key aspects:
Programs and Drivers that will be Deleted: This section lists any programs, applications, and drivers that were installed after the chosen restore point was created. Restoring to this point will remove these installations from your system. It’s crucial to review this list to understand which recently installed software or drivers will no longer be available after the restoration.
Programs and Drivers that might be Restored: This includes programs and drivers that were uninstalled after the restore point was created. If these programs or drivers were causing issues, their restoration might resolve these problems. However, it’s equally important to be aware that this process might reintroduce software that you had intentionally removed.

- Click next to start the restore process

- Confirm the restore point

- Confirm the final warning message with “Yes”
The system starts reverting to the state captured at the chosen restore point. This involves rolling back system files, settings, registry entries, and installed programs/drivers to their status at that point in time. During this process, your computer becomes temporarily unusable. The system may restart several times, and you’ll typically see a progress screen indicating that the restoration is in process.

How to Undo a System Restore in Windows 11
A system restore in Windows 11 essentially takes your computer back in time to a previous state. Sometimes, a restore might lead to the loss of critical applications or fail to resolve the existing problem. In such cases, undoing a system restore becomes necessary. In our other guide, we show you how to revert a recovered system restore point on Windows 11 itself or before booting into your system.
How to Load and Use System Restore at Boot From Advanced Startup Options
You usually can access and use System Restore from the Advanced Startup Options when you cannot boot into Windows 11 normally. This method is vital for situations where system issues prevent regular startup, allowing you to still access System Restore and revert your system to a working state. It’s a critical recovery tool for troubleshooting and resolving more severe system problems that hinder normal operation.
- Boot into Windows Recovery Environment (WinRE) an select “Troubleshoot”
You can load the Windows Recovery Environment (WinRE) via these methods:
Windows 11 Settings: Go to “System”–“Recovery”–“Advanced Startup” and click “Restart now”.
Click on Power Button in the Start menu and select “Restart” while holding the “SHIFT” key.

- Select “Advanced options”

- Select “System Restore”

- Click “Next”

- Select the the restore point to use and click on “Scan for affected programs”

- Review the affected programs report
The “Scan for affected programs” report in Windows System Restore is a valuable tool that provides insights into how restoring to a particular point will impact the programs and drivers on your system. When you select a restore point and use this option, Windows generates a report detailing two key aspects:
Programs and Drivers that will be Deleted: This section lists any programs, applications, and drivers that were installed after the chosen restore point was created. Restoring to this point will remove these installations from your system. It’s crucial to review this list to understand which recently installed software or drivers will no longer be available after the restoration.
Programs and Drivers that might be Restored: This includes programs and drivers that were uninstalled after the restore point was created. If these programs or drivers were causing issues, their restoration might resolve these problems. However, it’s equally important to be aware that this process might reintroduce software that you had intentionally removed.

- Click next to start the manual restore point recovery process

- Confirm the restore point

- Confirm the final warning message with “Yes”

- Wait until finished
The system starts reverting to the state captured at the chosen restore point. This involves rolling back system files, settings, registry entries, and installed programs/drivers to their status at that point in time. During this process, your computer becomes temporarily unusable.

- The system may restart several times

- After system restore has finished you might need to “Restart” your PC manually

FAQ – Frequently Asked Questions About System Restore
What should I do if no restore points are available?
If no restore points are available, first ensure that System Protection is enabled for your drive. Go to the System Properties window, navigate to the System Protection tab, and check if protection is on for your system drive. If it’s off, enable it to allow Windows to start creating restore points automatically. Additionally, consider manually creating restore points before making significant changes to your system, such as installing new software or updates, to ensure you have a fallback option.
How can I fix errors encountered during the System Restore process?
Errors during System Restore can often be resolved by performing the restore in Safe Mode, which runs Windows with a minimal set of drivers and services. To enter Safe Mode, restart your computer and repeatedly press the F8 key before the Windows logo appears. Choose ‘Safe Mode‘ from the menu that appears. If errors persist, consider using a different restore point or the Advanced Startup Options (accessible by holding the Shift key while clicking Restart) to perform System Restore outside the normal Windows environment.
Can System Restore remove viruses or malware?
While System Restore can revert certain changes made by malware installations, it’s not a foolproof method for virus removal. Malware can reside in personal files or embed itself deeply within the system in a way that System Restore doesn’t affect. For thorough malware removal, use dedicated antivirus software that can detect and remove viruses and other malicious software. Additionally, keep your antivirus software up to date and perform regular system scans as a preventive measure.
Why is my System Restore taking longer than usual?
The duration of a System Restore can vary greatly depending on the volume of data to revert and the overall performance of your system. A longer process might indicate a significant number of changes since the last restore point or performance issues with your hardware, such as a failing hard drive. Ensure your system is in optimal condition by performing regular maintenance tasks like disk cleanup, defragmentation (for HDDs), and hardware diagnostics to prevent such delays.
Can I use System Restore if my computer won’t start?
Yes, if your computer won’t start, you can access System Restore through the Advanced Startup Options. To do this, you might need to boot from a Windows installation media or use the built-in recovery options if available. Once you access the Advanced Startup menu, choose ‘Troubleshoot’, then ‘Advanced options’, and finally ‘System Restore’. This method is particularly useful for resolving issues preventing Windows from starting normally.
How do I know which restore point to choose?
When selecting a restore point, consider the timing of when your system issues began. Choose a point that was created before these problems started, paying close attention to the dates and descriptions of each restore point. Descriptions can include “Before installing [Software Name]” or “Windows Update”, which can help you identify significant changes that might coincide with the onset of your issues. If you’re uncertain, it’s generally safer to select an older restore point, as this increases the likelihood of bypassing the problematic changes.
What are the consequences of adjusting the disk space usage for System Restore?
Adjusting the disk space allocated for System Restore affects the number of restore points that can be stored. Increasing the allocation allows more points to be saved, providing a wider range of restoration options over time. However, it also means that more of your disk space will be used for these points, which might be a consideration if you have limited storage. Decreasing the allocation saves disk space but reduces the number of restore points that can be kept, potentially limiting your options for system recovery.
How can I ensure my System Restore points are not corrupted?
To minimize the risk of restore point corruption, ensure your system is free from malware by using reputable antivirus software and keeping it up to date. Regularly check the integrity of your restore points by accessing the System Restore interface and attempting to create a restore point or initiating a restore preview. Additionally, maintaining your hard drive’s health through tools like CHKDSK (Check Disk) can prevent disk errors that might lead to corrupted restore points.
Is it possible to export or transfer a restore point to another computer?
System Restore points are specifically tied to the hardware and system configuration of the computer they were created on and cannot be transferred or used on a different computer. Each restore point contains system files, settings, and registry information unique to that system’s setup, making them incompatible with other systems. For transferring settings or configurations between computers, consider using Windows migration tools or manually backing up and transferring specific settings.
What happens if I accidentally choose the wrong restore point?
If you inadvertently restore to an undesired point, you can undo the restoration if you haven’t made significant changes post-restoration. In the System Restore interface, you’ll find an option to “Undo my last restoration” which reverts your system back to the state it was in just before the last restore operation. It’s a useful feature if the restoration did not resolve your issue or if it resulted in unexpected system behavior.
Why doesn’t System Restore affect personal files?
System Restore is specifically designed to revert system and application files to a previous state without affecting personal files like documents, photos, and music. This design choice ensures that users can safely revert system changes without the risk of losing personal data. However, it’s important to note that while personal files aren’t directly affected, the system and application settings changes could potentially alter how these files are accessed or interacted with.
Can I create a restore point when using my computer in Safe Mode?
Yes, you can create system restore points while in Safe Mode, although the functionality may be limited compared to normal mode. To create a restore point in Safe Mode, access the System Protection tab in System Properties, similar to how you would in normal mode. However, because Safe Mode loads with a minimal set of drivers and services, some system protection features might be unavailable or limited.
How can I tell if a restore point includes a specific update or application?
Restore points include descriptions that can help you identify what changes they encompass, such as specific updates or applications. When manually creating a restore point before making significant changes, include descriptive names and dates. For system-generated restore points, look for ones that coincide with update installation dates or application changes. Unfortunately, detailed contents of restore points aren’t explicitly listed, so you’ll need to use the date and description as guides.
What to do if System Restore doesn’t resolve my issue?
If System Restore doesn’t fix your problem, you have several alternatives. Consider using “Reset This PC”, which reinstalls Windows while giving you the option to keep your files. For more severe issues, a clean installation of Windows might be necessary, though this should be a last resort due to the data loss it entails. Additionally, explore troubleshooting tools provided within Windows, or consult professional technical support for more complex issues.
How does System Restore interact with other backup solutions?
System Restore operates independently of other backup solutions like File History or third-party backup software. While System Restore focuses on reverting system and application settings, other backup methods provide comprehensive protection by including personal files and entire system images in their backups. It’s advisable to use System Restore in conjunction with these solutions for a more robust data protection strategy, ensuring both system stability and data integrity.
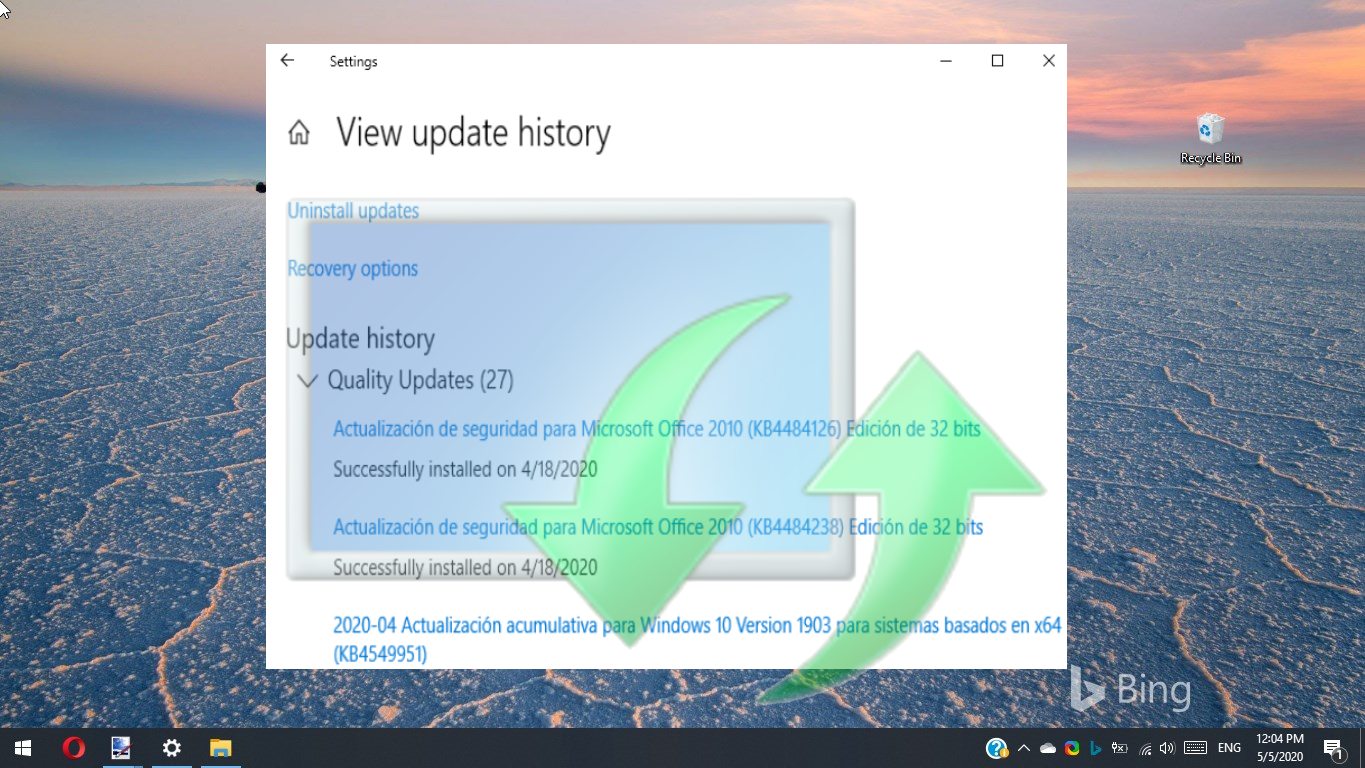
Extra: How to Uninstall or Roll Back Any Windows Update
When it comes to feature updates, Microsoft makes this clear and easy. A simple button press in update settings is all you need to remove it. However, you may be wondering how to restore your previous version of Windows when it’s cumulative, a change to drivers, or a security patch. In our other guide we show you how to roll back or undo Windows updates via its hidden list of updates, including changes to drivers and security.