On Windows 10 there are several ways which allow you to save what’s on your screen. In this tutorial, we will show you how to take screenshots in Windows 10 in different ways. Microsoft’s latest OS has improved that aspect as well, among others. Users can take screenshots of the whole screen, just a part of it, or just a screenshot of an active window.
Screenshots can be really helpful if you wish to record something you saw and you want to share it and are also a quick way for people to explain to others what they see.
Apart from Windows 10, we will also introduce you to two third-party programs which make Windows screenshots easy, while adding interesting features.
How to take a screenshot in Windows 10 with PrtScn shortcuts
Thanks to the “PrtScn” key on your keyboard, combined with the Windows 10 Creators Update, you can take several types of screenshots. By utilizing the Print Screen keyboard shortcuts, you can capture your whole screen, part of it, or a specific window.
Here are all the “PrtScn” shortcuts you can use to take a screenshot on Windows 10:
- Windows key + PrtScn: Your screen will dim for a moment and the screenshot you’ve taken will appear in a folder titled “Screenshots”, inside your default “Pictures” folder. If you are using a tablet, press Windows key + volume down button, and if you are on a laptop, press Windows key + Ctrl + PrtScn or Windows key + Fn + PrtScn


- PrtScn: If you just press the “PrtScn” key on your keyboard, your computer will copy what you see on your screen to the clipboard. If you open your favorite image editor and select “Edit > Paste” the screenshot will appear. The dimensions of the image will be the same as your screen resolution
- Alt + PrtScn: Click on the title bar of a window you wish to screenshot and press this shortcut to make a copy of this window only to your clipboard. Follow the instructions of the previous shortcut to paste your screenshot into your favorite image editor
- Windows key + Shift + PrtScn: Your screen will be grayed out and your mouse cursor will change. You can now choose a specific area of your screen and capture it, copying it to your clipboard. Like before, paste into the image editor of your choice and edit/ save your screenshot. Note: This only works on devices with the Windows 10 Creators Update which will arrive on the November 7, 2017. On older versions of Windows, this shortcut is part of the OneNote application

Keep in mind that your screen will dim only if you have the “Animate windows when minimizing and maximizing” option turned on. If you want to turn off this option, go to “Settings”, type “Performance” and select “Adjust the appearance and performance of Windows”. It’s the second option to the list.


How to take Windows 10 screenshots with the Snipping tool
Of course, you may wish to have a more flexible way to take Windows 10 screenshots. This is why Microsoft introduced the Snipping tool with Windows Vista, but the tool never got any new features.
With the Snipping tool, you can take screenshots of an open window, a rectangular area, a free-form area, or the entire screen. You can also edit your screenshot, annotating it with different color pens or a highlighter, and you can save it as an image, an MHTML file, or email it to a friend.

However, in Windows 10 the Snipping tool has the new “Delay” option, which allows you to capture screenshots of pop-up menus and tooltips, things that require mouse movement. In Windows Vista, 7, and 8, the Snipping tool doesn’t allow you to do that.

Here is how to use the “Delay” feature of the Snipping tool:
- Open the Snipping tool app and click “Delay”
- Choose the number of seconds you would like to wait until your screenshot is taken
- Click “New” and choose the type of snip you wish to take
- Now you have 1-5 seconds to set up your screenshots, open the pop-up menu you wish to capture
- Once the seconds have passed, the screen will freeze for a brief moment and will fade out so you can create your snip
Note that if you chose “window” or “full-screen” on the type of snip you wish to take, the tool will capture the snip immediately.

Taking screenshots in Windows 10 with the Game Bar
One of the most distinctive features of Windows 10 is the ability to record gameplay footage and capture video game screenshots. Windows 10 ships with game DVR capabilities, allowing you to set your own screenshot shortcuts from the Game Bar and capture video game moments.
Using that feature, you can also capture screenshots and record footage even if you are not playing a video game. All that, with the addition that you set your own keyboard shortcuts. Note: The Game Bar generates screenshots in PNG, and saves them at “C:\Users\[your username]\Videos\Captures”.
Here is how to screenshot on Windows 10 with the Game Bar:
- Launch the Xbox app that came with Windows 10
- Open “Settings”
- Under “Game DVR”, enable “Take screenshots using Game DVR” and set your own keyboard shortcuts
- When you take a screenshot (default shortcut is Windows key + G) using “Game DVR”, click on the “Yes, this is a game” box if prompted
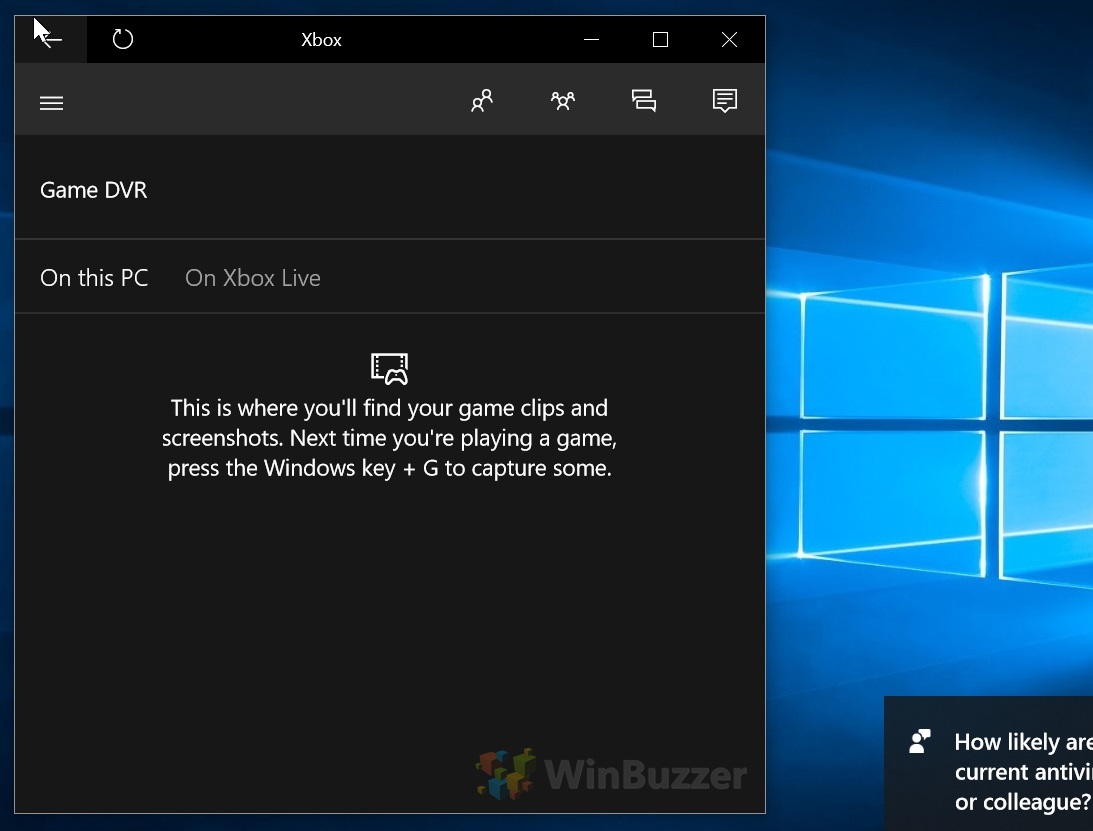
- You will see a notification that says “Screenshot saved” and if you click on it, you can find your screenshot at “Xbox > Game DVR> On this PC” in the window that will open


How to take a screenshot with Greenshot and ShareX
Of course, apart from all the ways Windows 10 allows you to take a screenshot, there are a lot of third-party programs out there to help you.
Most of them offer neat features, such as Greenshot which allows you to capture a screenshot from any of your open windows from within its menu.

Maybe the best third-party software for screenshots is ShareX, which offers a ton of great features for screenshot-taking, such as a timer, predefined areas, auto-export in all kind of file-formats, auto-scrolling of windows to take a full screenshot of all the area and many more options. In addition, it allows you to set rules for everything that happens after you take a screenshot, such as the “Recognize text (OCR)” feature which will try to recognize text from an image using OCR technology.

The “PrtScn” key and its combination with other keys such as Alt, Ctrl, and more, is the main way Greenshot and ShareX work. However, both programs offer a big amount of options which you should check out by trying them out.
You can get Greenshot here, and ShareX here.
Last Updated on April 16, 2020 4:30 pm CEST by Markus Kasanmascheff


