
Whether it's due to an unstable power supply, a computer hiccup, or just human error, losing unsaved work is a problem that can strike at any time, leaving a trail of lost time and effort. This is where Microsoft Word's Autosave feature becomes a true lifesaver.
Why Autosave Matters
Autosave is more than just a convenience; it's a critical tool that safeguards your work. When enabled, it automatically saves your document at regular intervals, ensuring that even in the face of a crash or power loss, your work is not entirely lost. This feature is especially vital for those who work extensively in Word, be it for business, academics, or personal projects. With Autosave, the fear of losing your work diminishes significantly, allowing you to focus more on the content rather than worrying about constantly hitting the save button.
It's particularly beneficial when files are stored on cloud services like Microsoft OneDrive or SharePoint as part of Microsoft 365, providing an added layer of security and accessibility. By automatically saving your document to the cloud, you're not only protecting your work against local system failures but also ensuring that it's accessible from anywhere, on any device, at any time.
Autosave vs. AutoRecover: Understanding the Difference
It's important to distinguish between Word's Autosave and AutoRecover features. While Autosave continuously saves your changes to the cloud, AutoRecover saves your document locally at set intervals. This local backup can be a lifesaver in instances where your computer shuts down unexpectedly. Regardless of the situation, having either Autosave or AutoRecover enabled means you can pick up right where you left off, without the panic of lost work.
How to Enable Autosave in Word
- Click on the “File” tab located in the top toolbar

- Select “Options” (usually found towards the bottom of the list)

- Navigate to “Save” Settings and activate “Autorecover”
Enable the option “Save AutoRecover information every [X] minutes” and set your preferred saving interval.
You can also activate the first checkbox “AutoSave OneDrive and SharePoint Online files by default on Word”. This means that whenever you open a document stored on OneDrive or SharePoint Online in Microsoft Word, the AutoSave feature will be automatically enabled for that document.
Important: AutoSave continuously saves changes to a document stored in the cloud in real-time, while AutoRecover only saves temporary backup versions locally at set intervals.

- Activate “Keep the last AutoRecovered version if I close without saving”
When this option is enabled, Word keeps the last AutoRecovered version of your document even if you close the document without saving the changes. This feature is particularly useful in scenarios where you might close a document prematurely or if a session ends unexpectedly, ensuring you have a fallback version to return to. It essentially adds an additional layer of protection against data loss for your unsaved work. If you accidentally close a document without saving, you can still recover the last AutoRecovered version the next time you open Word

- Optional: Change “AutoRecover file location” and “Default local file location”

FAQ – Frequently Asked Questions About Autosave in Word
How can I recover a document if Autosave was not enabled and I didn't manually save my changes?
If Autosave wasn't enabled and you didn't manually save your document, your best recourse is Word's AutoRecover feature. Ensure it's activated by checking Word's options (File > Options > Save). If AutoRecover was on, Word might have saved a version of your document. Open Word and look for the “Document Recovery” pane, which typically appears after an improper shutdown or crash. If this pane doesn't show up, you can search for AutoRecover files manually in the folder specified in the AutoRecover file location settings.
Does enabling Autosave affect Word's performance, especially with large documents?
While Autosave is optimized to run in the background with minimal impact on performance, working with exceptionally large documents or under conditions of slow internet connectivity might result in slight delays due to the time required to upload changes to the cloud. To mitigate this, ensure a stable and fast internet connection, and consider breaking very large documents into smaller parts if possible.
Can I choose a specific folder in OneDrive or SharePoint for Autosave?
Yes, when saving a new document or using “Save As” for an existing document, simply navigate to the desired folder within your OneDrive or SharePoint directory. Future Autosaves for that document will then be directed to this location. Moving the document after it has been saved will change its Autosave location accordingly.
Is my data secure with Autosave, and how are privacy concerns addressed?
Autosave, in conjunction with OneDrive and SharePoint, employs robust security measures, including encryption of data in transit and at rest. Microsoft's privacy policies ensure your data is not accessed or used for any purpose other than providing the service. For enhanced security, consider enabling two-factor authentication for your Microsoft account and regularly reviewing your shared documents and permissions.
What should I do if I lose internet connectivity while working on a cloud-saved document?
If you lose internet connectivity, Word will save your changes locally and attempt to sync them to the cloud once the connection is restored. Keeping Word open during connectivity issues allows the application to sync changes properly once reconnected.
How can I view and manage the version history of an Autosaved document?
To access the version history, open the document in Word, click on the “File” tab, then select “Info” and “Version History“. This feature allows you to browse through past versions, each timestamped and saved by Autosave, and restore them as needed.
How does Autosave handle collaborative editing and conflict resolution?
During collaborative editing, Autosave merges changes in real-time. In cases of conflicting edits, Word will prompt users to review and resolve the conflicts, ensuring no edits are lost.
Can I temporarily turn off Autosave for a document without affecting others?
You can disable Autosave for an individual document by toggling the Autosave switch off at the top of the Word window. This action only affects the currently open document and does not alter Autosave settings for other documents.
Will Autosave overwrite my original file, and how can I ensure I retain a version before changes?
Autosave will overwrite the original file stored in the cloud with each save. To preserve a specific version before making significant changes, use the “Save a Copy” feature under the “File” menu. Additionally, the version history feature in OneDrive or SharePoint allows you to revert to previous versions if needed.
How do I ensure my local backups are up to date if I'm relying on AutoRecover?
To ensure your local backups are current, activate AutoRecover (File > Options > Save) and set it to save at frequent intervals, such as every 5 or 10 minutes. These settings affect how often Word saves a backup copy of your work, offering a safety net for unsaved changes in case of unexpected closures or crashes.
Can I use Autosave on documents stored locally on my computer or an external drive?
Autosave is specifically designed for documents stored in the cloud, such as OneDrive or SharePoint. For locally stored documents, you can rely on AutoRecover to create periodic backup copies, although it doesn't save changes in real-time like Autosave does.
How can I move a document to the cloud to enable Autosave after I've started working on it locally?
To move a locally stored document to the cloud, open it in Word, select “File” > “Save As“, and choose your OneDrive or SharePoint location. Once saved to the cloud, Autosave will activate automatically, ensuring continuous saving of your changes.
What are the best practices for using Autosave in a team environment?
For effective collaboration with Autosave, ensure all team members work from the same cloud-stored document, communicate clearly about major edits, and use the track changes and comment features to manage revisions. Regularly reviewing the version history can also help in resolving discrepancies and understanding the document's evolution.
If Autosave is continuously saving, how can I revert to a specific point in my document's history?
Utilize the version history feature in OneDrive or SharePoint to revert your document to a specific state. This feature allows you to access and restore content from different points in time, saved by Autosave.
What steps should I take if I notice Autosave isn't working as expected?
If Autosave isn't functioning as expected, check your internet connection and ensure you're logged into your Microsoft account. Verify the document is stored in OneDrive or SharePoint. If the issue persists, try manually saving the document, restarting Word, or checking for app updates. For unresolved issues, seek assistance from Microsoft Support or the Word community forums.
Extra: How to Create a Table of Contents in Word
A table of content in Word provides a list of headings and subheadings that summarizes a document's main topics and sections. It helps readers to navigate the document and find the information they need quickly and easily. In our other guide we show you in detail how to make a table of contents in Word, how to customize and how to update it.
Extra: How to Delete a Table in Word or Cut and Paste It Elsewhere
The process to delete a table in Word isn't quite as simple as it may seem. It can be tricky to remove a table without affecting the content around it or only deleting part of it. This is because pressing the delete key doesn't delete the entire selected table – only the content of the cells. In our other guide, we explain you in detail what you need to know about deleting tables in Word.
Extra: How to Change Margins in Word
By default, Microsoft Word sets a one-inch margin on all sides of your document. While this works for most general purposes, there are instances where you might need to adjust these margins to meet specific requirements or to enhance the visual appeal of your document. In our other guide, we show you how to set margins in Word, using presets or the ruler, and how to adjust margins for a single page using presets.

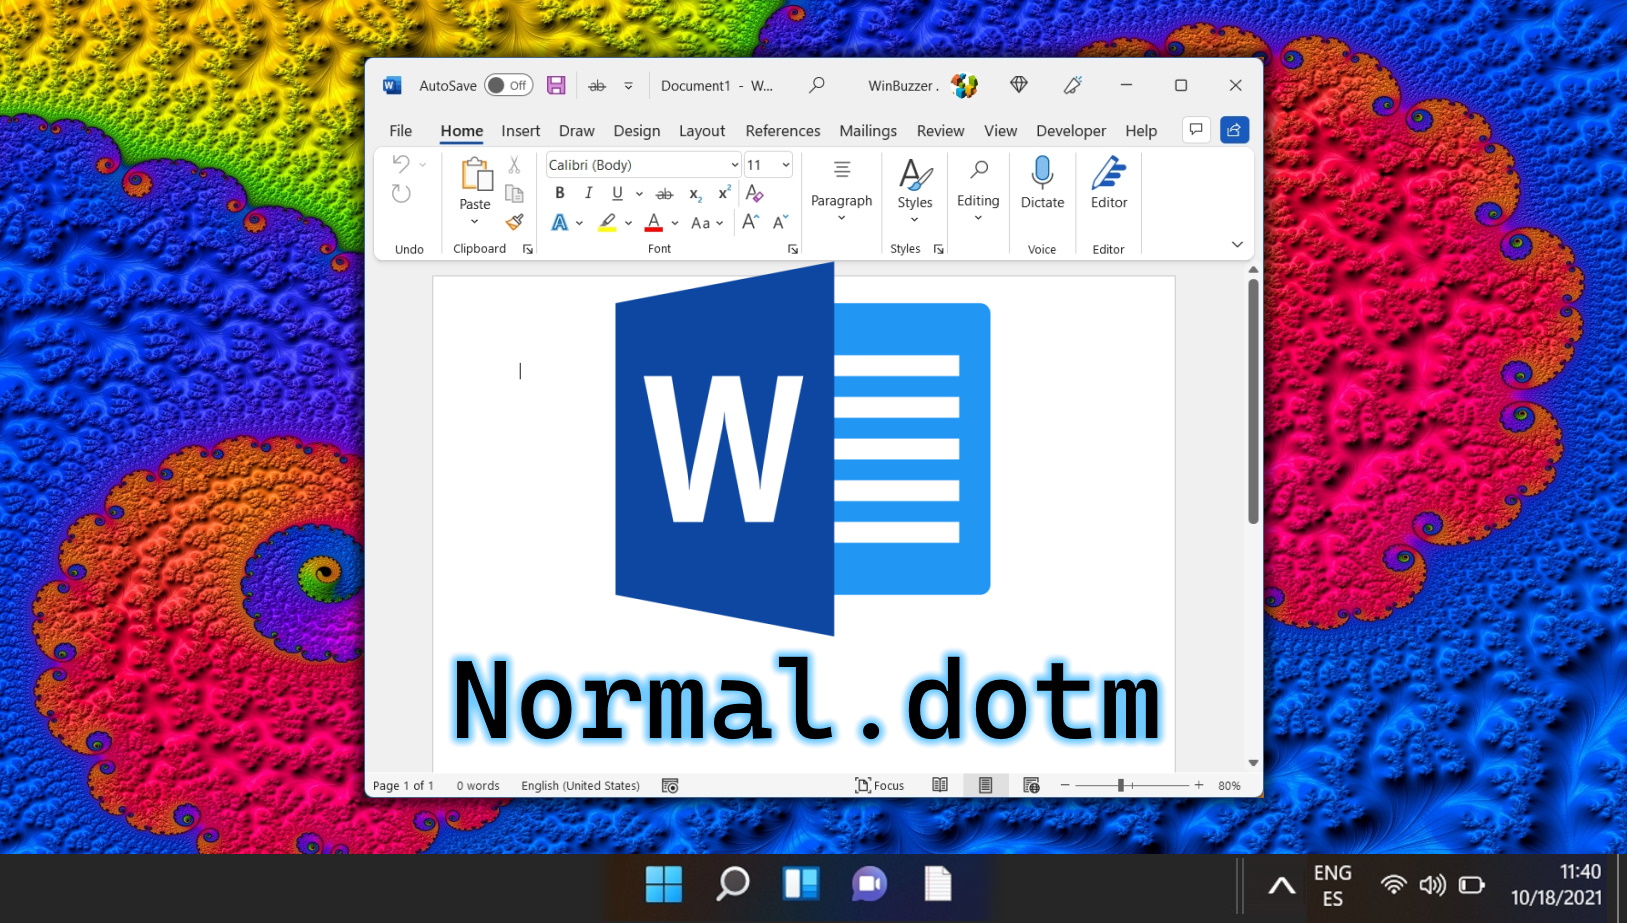
Extra: Extra: How to Use Word Templates and Change the Template File “Normal.dotm”
The Microsoft Word Normal.dotm template is the default template that dictates the basic structure of any new document you create, such as margins, font style, and size. There might be times when you need to alter this template to suit your specific needs, or reset it if it becomes corrupted. In our other guide, we show you how to use templates in Microsoft Word, using the default Word template file “Normal.dotm”, individual templates created by yourself, or from the Free Microsoft Office Templates Catalog.
Last Updated on April 18, 2024 9:26 pm CEST by Markus Kasanmascheff


