

Google Sheets stands out as a premier tool for data management, and among its vast features, merging and splitting cells and tables are particularly vital. Merging cells simplifies data presentation, making headers and titles more prominent. For instance, if you have a spreadsheet tracking monthly sales, you might merge cells to create a single header spanning all months of a year. Similarly, if you’re organizing an event, you might merge cells to create a unified title for all related activities on a given day.
Splitting columns and cells, on the other hand, allows for detailed data breakdown, ensuring each piece of information is clearly categorized. Imagine having a column with full names and wanting to separate them into first and last names for easier sorting. Or perhaps, you’ve imported data where addresses are in a single cell, and you need to split them into street, city, and zip code columns. Google Sheets makes these tasks straightforward.
Beyond individual cells, Google Sheets’ capabilities extend to entire tables. Merging tables is a boon when you need a unified dataset, especially when combining data from various sources. For example, if you have separate tables for customer details and their purchase history, merging can help you create a comprehensive customer profile. Splitting tables is equally valuable, allowing users to segment data for more focused analysis. If you have a large table with sales data spanning several years, you might want to split it into individual tables for each year to study annual trends more closely.
This tutorial aims to provide a clear and concise walkthrough of these functionalities.
How to Merge Cells in Google Sheets
Merging cells in Google Sheets allows you to combine two or more cells into a single larger cell. This is especially useful when you want to create headers or labels that span multiple columns or rows.
Benefit: Merging cells can enhance the visual presentation of your data, making it easier to read and understand. It also helps in organizing and grouping related data together.
- Select the cells you want to merge in your Google sheet

- Select “Format”, “Merge cells” and select “Merge horizontally” or “Merge vertically”, depending on the case
Using “Merge all” you can merge a block of horizontal and vertical cells into one.

- The merged cells will appear as one that spreads over the area of the previous single cells

- You can use the alignment feature to show its content in the best way

- To split a cell in Google sheets you use nearly the same procedure
First, select the merged cell you want to split into its original underlying cells.

- Then, select “Format”, “Merge cells” and “Unmerge”

- This will unmerge the cells again in your Google sheet

How to Split Cells Into Columns Using the Split Function
The SPLIT function in Google Sheets enables you to divide the content of a cell into multiple columns based on a specified delimiter (e.g., comma, space).
Benefit: The SPLIT function is particularly handy when you have data in a single cell that you want to distribute across multiple columns. For instance, splitting full names into first and last names.
- Click on the cell where you want the split data to begin and add the SPLIT formula
- Enter the formula:
=SPLIT(C3, ",") - Replace C3 from our example with the reference of the cell you want to split.
- Replace “,” with the delimiter of the source cell you want to distribute content from (e.g.,
";"," "for space, etc.)

- Enter the formula:
- Use autocomplete to apply the formula to the whole column
Hover over the lower right corner of the first cell with the formula and drag it down until the end of the column.

- This will split and distribute the content of the first column into two separate columns

How to Split Text to Columns in Google Sheets
As an alternative to the SPLIT function described above, Google Sheets offers a “Split text to columns” feature that automatically divides the content of a cell into separate columns using a chosen delimiter.
Benefit: The “Split text to columns” feature provides a quick and intuitive way to separate data without the need for formulas. It’s especially useful for processing imported data, like CSV files, where data points are often combined in single cells.
- Highlight the source column
The source column will need to have text with clear and similarly formatted delimiters, which then you can automatically split and distribute across several other columns.

- Select “Data” and then “Split text to columns”

- Select the separator in the dialog box
Google Sheets will try to detect the right separator automatically. If that does not work, you can select it manually.

- Google Sheets will then spread the content of the first column across the neighboring columns

How to Merge Tables in Google Sheets
Merging tables in Google Sheets involves combining two or more similar tables into a single table, either by appending rows or columns.
Benefit: This method is beneficial when you have related data spread across multiple tables and you want to consolidate it for better analysis or reporting.
Here we show a step-by-step approach for formatted tables and tables that are not perfectly aligned so you could just delete lines to merge them into one table.
- Highlight the header of the second table

- Delete the Header row

- Click on a cell in the principal table you want to merge into

- Use “Insert”- “Rows” to extend the table
Do this to create the necessary additional rows you will need for the other table.

- Cut/copy the data area of the other table

- Jump to the upper left cell of the created extra rows in the principal table

- Right-click and select Paste

- This will result in one combined table where there have been two before

How to Split a Table in Google Sheets
Splitting a table in Google Sheets means dividing a single table into two or more smaller tables based on specific criteria, such as values in a particular column.
Benefit: Splitting tables can help in segmenting data for more focused analysis. For instance, you might split a table of sales data into separate tables for each region or product category.
- Cut the data you want to show in a separate table

- Right-click a free cell outside the table and select “Paste”

- You now have a separate table
If needed, you can copy the header cell from the first table on top of the second table.

FAQ – Frequently Asked Questions About Google Sheets Merging and Splitting Features
Can I merge cells diagonally in Google Sheets?
Diagonal merging is not a feature supported by Google Sheets. Cells can only be merged horizontally, vertically, or in a rectangular block. If you need to visually indicate a diagonal relationship between cells, consider using cell borders or text formatting to create a visual cue instead.
How do I prevent data loss when merging cells in Google Sheets?
To prevent data loss when merging cells, first ensure that all important data is consolidated into the upper-left cell of the range you plan to merge, as only the content from this cell will be retained post-merge. You can manually copy and paste the data into this cell or use formulas to concatenate data from multiple cells into one before merging.
Is it possible to split merged cells into more columns or rows than they originally had?
Once cells are unmerged using the “Unmerge” option, they revert to their original state. To divide them further into additional columns or rows, you can manually insert new columns or rows and then distribute the content as needed. For splitting content across columns, you might also use the “Split text to columns” feature or the SPLIT function, specifying a delimiter.
What are the limitations of using the SPLIT function for large datasets?
The SPLIT function can significantly slow down your Google Sheet when applied to large datasets because each instance of the function is calculated separately. This increased computational load can lead to slower response times and potential lag. Consider splitting your data in smaller batches or preprocessing your data outside of Google Sheets before importing it for more efficient handling.
Can merged cells be part of a formula or function in Google Sheets?
Merged cells can indeed be included in formulas and functions within Google Sheets, but it’s important to remember that a merged cell is treated as a single cell in formulas. This means you should reference the upper-left cell of the merged area in your formulas. Be mindful of how this might affect the calculation if the merged area spans multiple rows or columns.
How can I quickly unmerge all merged cells in a Google Sheet?
To unmerge all merged cells within a sheet quickly, select the entire sheet by clicking on the corner button where the column letters and row numbers meet. Then, navigate to the Format menu, choose Merge cells, and click on Unmerge. This action will unmerge any merged cells within the selected range, reverting them back to individual cells.
How does cell merging affect pivot tables in Google Sheets?
Merged cells can disrupt the data range selection for pivot tables, potentially leading to errors or inaccurate data representation. Before creating a pivot table, ensure that no cells in the data range are merged. If your data range includes merged cells, unmerge them and ensure that each cell contains the appropriate individual data point for accurate pivot table analysis.
Can I merge cells in Google Sheets using a keyboard shortcut?
Google Sheets does not offer a direct keyboard shortcut for merging cells. However, you can access the merge options through a sequence of keystrokes: press Alt + O to open the Format menu, then press M to select the Merge cells option, followed by H, V, or A to choose between merging horizontally, vertically, or all, respectively.
How can I automate splitting text into columns based on varying delimiters?
If your data contains varying delimiters, you can create a custom Google Apps Script to automate the splitting process, or use nested SUBSTITUTE functions to replace all potential delimiters with a consistent one, and then apply the SPLIT function. This preprocessing step ensures that the SPLIT function can be used effectively, regardless of the original data format.
Is there a way to merge tables from different Google Sheets into one sheet?
To merge tables from different sheets or even different Google Sheets documents, use the IMPORTRANGE function to import the data into one central sheet first. This function allows you to specify the spreadsheet URL and the range you want to import. Once the data is in one sheet, you can then manually arrange or merge the tables as required.
How can conditional formatting be applied effectively to split cells?
To apply conditional formatting effectively to split cells, first decide whether you want uniform rules across all new cells or individual conditions for each. If applying uniform rules, set up the conditional formatting before splitting the cells. For individual conditions, split the cells first and then apply conditional formatting to each cell or range as needed, tailoring the rules to the specific content or criteria of each cell.
Can I retain formatting when splitting cells using the “Split text to columns” feature?
When using the “Split text to columns” feature, the original cell’s formatting is not automatically applied to the new columns created by the split. After splitting, you’ll need to manually apply the desired formatting to each of the new columns. This might include adjusting text alignment, font styles, cell colors, or any other formatting features used in the original cell.
What is the best approach to merging tables with slightly different column alignments?
When merging tables with different column alignments, start by manually adjusting the columns in each table to ensure they match in terms of data type and order. This may involve adding, deleting, or rearranging columns. In some cases, using temporary placeholder columns can help align the data correctly. Once aligned, you can then proceed to merge the tables by copying and pasting the data as needed.
How do I deal with errors when using the SPLIT function with inconsistent delimiters?
To handle inconsistencies in delimiters when using the SPLIT function, first standardize the delimiters across your data. Use the SUBSTITUTE function to replace various delimiters with a uniform one. For example, if your data uses commas, semicolons, and spaces interchangeably, pick one delimiter and use SUBSTITUTE to replace the others. Then, apply the SPLIT function using the standardized delimiter to ensure a smooth split.
Can I split a single cell into multiple rows and columns simultaneously?
Google Sheets does not support a direct method to split a single cell into multiple rows and columns simultaneously. To achieve a similar outcome, you’ll need to first use the “Split text to columns” feature to divide the cell content into separate columns. Then, manually distribute these columns into rows as needed, which may involve copying and pasting data into the appropriate row and column positions to recreate the desired structure.
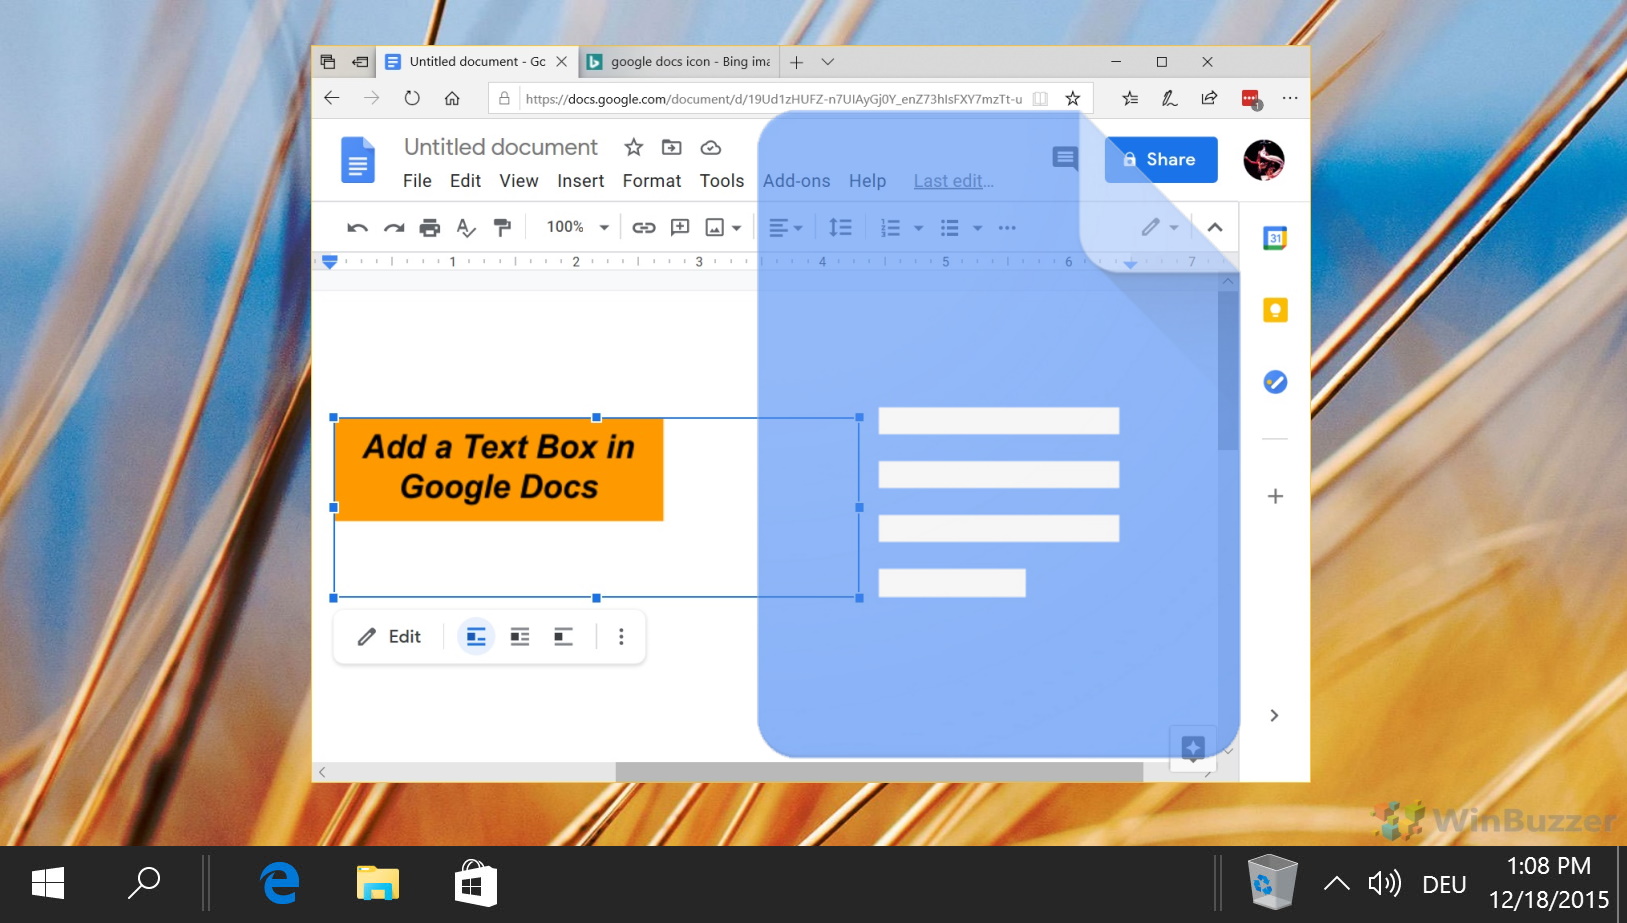
Related: How to Insert a Text Box in Google Sheets
The process to insert a text box in Google Docs and Google Sheets isn’t as intuitive. For whatever reason, Google has hidden the feature behind an entirely different menu that is rarely frequented. In our other guide, we show you how to insert a text box in Google Docs or Google Sheets, while disclosing a small trick to put a text box over an image.
Related: How to Make a Graph in Google Sheets
Google Sheets offers a robust suite of tools to convert your data into meaningful graphs. Whether you’re looking to create a simple line chart or a more intricate pie chart, Google Sheets has got you covered. The platform’s intuitive interface ensures that even those new to data visualization can craft compelling graphs with ease. Our other tutorial will guide you through the nuances of creating and customizing graphs in Google Sheets.

Related: How to Make a Google Form / Google Survey
Google Forms is a web-based application that allows you to create and share online forms and use as a free survey maker with multiple question types. With Google Forms, you can easily design your forms with different themes and settings, send them to your target audience via email or link, analyze the responses in real time or export them to Google Sheets for further analysis. In our other guide, we show you how you can create Google Forms, share your Google survey and how to generate a results view.

Last Updated on April 21, 2024 9:19 am CEST by Markus Kasanmascheff


