

Microsoft Excel offers a myriad of functionalities to handle complex numerical operations, and division is no exception. While many might be familiar with Excel’s built-in functions for operations like addition, division in Excel requires a slightly different approach.
In Excel, you can divide using cell references, handle errors like dividing by zero, and even combine division with other operations for more complex calculations.
Businesses and professionals frequently use Excel’s division capabilities for various tasks, from calculating profit margins and monthly budgets to determining employee wages and expenditure reports. With the right knowledge, you can harness Excel’s full potential to perform these tasks efficiently. In this tutorial, we’ll delve deep into the world of division in Excel. From basic operations to handling errors and combining with other functions, we’ve got you covered.
How to Divide Numbers in Excel
Before diving deep into complex operations, it’s essential to grasp the basics. This section showshow to divide numbers directly in Excel. It’s the foundation upon which all other methods are built, ensuring you have a clear understanding of simple division tasks.
- Enter the division formula with numbers
If you need to divide two numbers in Excel, you can do so by typing the equals sign (=) in a cell, then typing the number you want to divide followed by a forward slash (/), followed by the number you want to divide by. Once you have entered this formula, you can hit the Enter key to calculate the result.

- You can combine multiple divisions using the (+) character

- This works also with more complex formulas that include brackets with other operations.
It is crucial to keep in mind the order of calculations in Excel, also known as PEMDAS (Parentheses, Exponents, Multiplication, Division, Addition, Subtraction), when using formulas that involve multiple arithmetic operations. We need to perform calculations inside parentheses first, then exponentiation, followed by multiplication or division, whichever comes first, and finally addition or subtraction, whichever comes first.

How to Divide Cell Values in Excel
As you progress in Excel, you’ll find that working with cell references is a game-changer. This segment introduces you to dividing values from different cells. By referencing cells, your calculations become more adaptable, updating automatically as your data evolves.
- You can replace numerator and denominator with the name of another cell

- You can use other cells both as numerator and denominator

- Excel formulas also allow for a series of such divisions chained together
To divide the values of multiple cells in succession, you can use cell references separated by the division symbol (/) in a formula. For instance, if you want to divide the value in cell B3 by the value in C2, and then divide the result by the value in D3, you can use this formula: =B3/C2/D3.

How to Divide in Excel Using the QUOTIENT-Function
Sometimes, you need precision without the clutter of decimals. Enter the QUOTIENT function. If you want to return only the integer portion of a division and discard the remainder, then use this method. The term “integer” refers to a whole number that does not have any fractional or decimal parts. It can be positive, negative, or zero. Here is the difference of using the above method to using the QUOTIENT function:
- Using the divide sign (/) will provide decimals in the results, if there are any

- The QUOTIENT function instead returns only the integer part
It may seem simple, but there are a few things you should know about the Excel QUOTIENT function. First, be sure to supply both numerator and denominator arguments as numbers, cell references containing numbers, or functions that return numbers. If either argument is non-numeric, the QUOTIENT formula will return the #VALUE! error. Additionally, if the denominator is 0, the QUOTIENT function will return the divide by zero error (#DIV/0!).

How to Divide Two Columns in Excel by Copying a Formula
Dealing with vast amounts of data across columns? This method provides efficiency of dividing one entire column by another by merely copying a formula. It’s a time-saver, ensuring consistent calculations across rows.
- Enter on single division of values of the two columns and let Excel fill out the rest
To divide two cells in the topmost row, simply enter the formula “=C3/D3” in the first cell (here E3). Then, double-click the small green square in the lower-right corner of the cell to copy the formula down the column. This way, you won’t have to manually enter the formula in every cell.
The formula uses relative cell references, denoted by the absence of the “$” sign. This means that when it is copied to other cells, the formula will adjust according to the relative position of the cell, which makes it very convenient.

- Excel will automatically fill in the needed formulas and show the results for each division

How to Divide One Excel Column by Another With an Array Formula
To prevent accidental deletion or alteration of a formula in individual cells, you can insert an array formula in an entire range.
- Select the column/cells and enter the array formula
For example, if you want to divide the values in cells C3:C7 by the values in D3:D7 row-by-row, you can use the formula: =C3:C7/D3:D7. To insert the array formula correctly, follow these steps:
a) Select the entire range where you want to enter the formula, which in this example is E3:E8.
b) Type the formula in the formula bar and press “Ctrl + Shift + Enter” to complete it.

- Excel will enclose the formula in {curly braces}, indicating it’s an array formula.

- To edit the array formula, you can change the references and use the hotkey again

- This will then change the array formula

How to Divide an Excel Column by a Number With a Formula
Often, you’ll encounter scenarios where an entire column needs to be divided by a single number. This segment equips you with the skills to do just that, using formulas.
- You can use the Excel autofill feature shown above also for simple formulas to divide an Excel column by a certain number.
To divide every number in a specific column by the same number, you can use a division formula in the first cell and then copy the formula down the column.
Rather than entering the divisor directly into the formula, you can input it in a separate cell, such as F2, and divide by that cell. When doing this, it is essential to lock the cell reference with a dollar sign – like $F$2 – to make it an absolute reference. This is because the reference should remain constant, no matter where the formula is copied.

- Excel will use the same division reference for all the copied formulas and provide the output

How to Divide a Column by the Same Number With Paste Special
The methods shown above to autofill division formulas will show the individual value of the divisions, but each cell will carry a formula and not the result value. If your final goal is to have fixed result values in cells when dividing a column, you can use the “Paste Special” feature.
- Divide the column using “CTRL+ALT+V” and then “I” for copying
a) Copy the divisor with “CTRL+C” to the clipboard
b) Then select the column/cells you want to do the division filling in fixed values.
c) Finally, press “CTRL+ALT+V” and then “I” as the shortcut for Paste Special > Divide, and then Enter.

- Excel will do the division, automatically filling in the result values

- Alternative without using the paste special shortcut
a) Copy the divisor with “CTRL+C” to the clipboard
b) Select the column/cells for the results and right-click on the selection
c) Choose “Paste Special”

- Select “Divide” in the “Paste Special” box and click “OK”

What is the Excel DIV/0! error?
“DIV/0!” stands for division by zero, which is an invalid operation and therefore, not allowed. When you attempt to divide a number by zero or an empty cell in Excel, the divide by zero error (#DIV/0!) occurs. This error indication can be useful in some cases, as it alerts you to possible issues with your data set. However, in other scenarios, your formulas may simply be awaiting input.
FAQ – Frequently Asked Questions About Excel Division Operations
Can I use the division operation in combination with other Excel functions like SUM or AVERAGE?
Absolutely. Division can be seamlessly integrated with other Excel functions for more complex calculations. For instance, if you’re looking to average a sum of values and then divide by a specific number, you could use a formula like =SUM(A1:A10)/COUNT(A1:A10). This formula sums up the values from A1 to A10, then divides by the count of non-empty cells in the same range to find the average. You can also nest division within functions like AVERAGE to adjust the result, such as =AVERAGE(A1:A10)/2 to halve the average value of your range.
How do I divide a list of numbers by another list of numbers of the same size without using an array formula?
To divide two lists of numbers without resorting to array formulas, you can enter a division formula in the first cell where the lists start and use the drag-and-drop feature. For example, if you have values in column A that you want to divide by corresponding values in column B, you would enter =A1/B1 in cell C1 and then drag the fill handle down through column C. This action copies the formula to the other cells, adjusting the cell references automatically to match each row.
What is the best way to handle division when dealing with currencies in Excel?
When dividing currency values, first ensure consistency by formatting all involved cells as ‘Currency’ from the Format Cells menu. This ensures all values are treated as financial figures. When performing the division, use the ROUND function to avoid rounding errors, which are common in financial calculations. For instance, =ROUND(A1/B1, 2) divides A1 by B1 and rounds the result to two decimal places, aligning with standard currency formatting.
How do I ensure my division formulas automatically update when adding new rows or columns to my dataset?
Utilize dynamic named ranges or Excel Tables to ensure your division formulas adapt to added data. Dynamic named ranges expand automatically when new data is added. To create one, go to the Formulas tab, define a name, and use an OFFSET formula for its refers to section. For Excel Tables, simply insert your data into a table by selecting it and pressing Ctrl+T. Tables automatically adjust formulas when new data is added, ensuring your division calculations remain accurate.
Is there a way to visually represent division results in Excel, like through charts or conditional formatting?
Division results can be visually represented in Excel using charts or conditional formatting. For charts, first calculate your division results in a column, then select this data and insert a chart from the Insert tab, choosing the type that best fits your data representation needs, such as a column or line chart. For conditional formatting, select your division results, go to the Home tab, choose Conditional Formatting, and set rules—for example, to color cells based on their values, which can visually highlight higher or lower division outcomes.
How can I divide values in a filtered list or table so that only visible (filtered) cells are calculated?
To perform division on only visible (filtered) cells, use the SUBTOTAL function. SUBTOTAL includes a variety of functions, one of which (109) allows division while ignoring hidden rows. For example, =SUBTOTAL(109, A2:A100)/B1 would divide the subtotal of visible cells in the range A2:A100 by the value in B1. This is particularly useful in large datasets where filters are applied to narrow down data.
Can I use division to proportionally distribute values, like allocating costs based on percentages?
Division is ideal for allocating values proportionally, especially in budgeting or cost distribution scenarios. To distribute a total cost based on percentages, first ensure your percentages are in a consistent format (either as decimals or whole numbers). Then, use a formula like =TotalCost*(Percentage/100) for each item. This divides the total cost by 100 and multiplies by each percentage, allocating the cost according to each percentage’s share.
How do I divide time values in Excel, such as hours or minutes, and get a meaningful result?
To divide time values and obtain meaningful results, first ensure your time values are in a consistent time format (HH:MM or HH:MM:SS). When dividing, use cell formatting to display results appropriately. For instance, dividing total time by a number could give you an average or a rate. If your result is not in a standard time format, convert it using the TEXT function, e.g., =TEXT((A1/A2),”hh:mm:ss”) to display the division result of A1 by A2 as hours, minutes, and seconds.
What is the impact of Excel’s calculation mode on division operations in large workbooks?
In large workbooks, Excel’s default automatic calculation mode can significantly slow down performance due to the need to recalculate every formula after any change. Switching to manual calculation mode (via Formulas > Calculation Options) can mitigate this, allowing you to manually trigger calculations when needed by pressing F9. This is especially useful for workbooks with extensive data and complex formulas, including division operations.
How do I divide numerical values that are part of a text string in a cell?
To divide numbers embedded within text strings, you’ll need to extract the numerical values first. Use functions like MID, SEARCH, and VALUE to isolate and convert text portions to numerical values. For example, =VALUE(MID(A1, SEARCH(” “, A1) + 1, SEARCH(” “, A1, SEARCH(” “, A1) + 1) – SEARCH(” “, A1) – 1))/B1 could extract a number from the middle of a text string in A1 and divide it by the value in B1. This method requires a good understanding of the text structure to correctly set up the formula.
Can I use division to scale or normalize data in Excel, such as for data analysis or charting?
Division is a key operation for scaling or normalizing data, which is crucial in data analysis to compare datasets of different scales. To normalize data, you might divide each data point by the maximum value in the dataset to scale between 0 and 1. For example, =(A1/MAX(A$1:A$100)) would normalize the value in A1 against the maximum value in the range A1:A100. This technique is commonly used in preparing data for analysis, making datasets more comparable.
How do I use division in Excel to calculate compound interest or depreciation rates?
For compound interest calculations, use the formula =Principal*(1+Rate/Compounds)^(Compounds*Years) where ‘Principal’ is the initial amount, ‘Rate’ is the annual interest rate, ‘Compounds’ is the number of times the interest is compounded per year, and ‘Years’ is the total number of years. For depreciation, Excel offers built-in functions like DB (declining balance) for calculating depreciation rates using division implicitly within the formula. These functions require specific financial parameters to accurately calculate the depreciation over time.
Is it possible to automate division tasks in Excel using macros or VBA?
Automating division and other repetitive tasks in Excel can be efficiently achieved with VBA macros. You can write a VBA script to loop through a range of cells, applying a division formula to each cell or performing more complex calculations. For beginners, recording a macro while performing division operations manually can be a good start, which can then be edited for more sophisticated automation needs.
How can I divide data into equal parts or bins for analysis, such as in histograms or frequency distributions?
Excel’s FREQUENCY function or PivotTables can be used to divide data into bins or intervals for histogram creation or frequency distribution analysis. Determine your bin ranges, then use division to calculate the interval size if they’re not uniform. In PivotTables, grouping data can also achieve binning by setting specific intervals, which Excel then uses to categorize and count data points.
What are some common pitfalls to avoid when performing division in financial models or budgets in Excel?
In financial modeling and budgeting, precision is key. Avoid common pitfalls such as not accounting for division by zero, which can be mitigated using IFERROR or IF functions. Ensure rounding is used appropriately to avoid insignificant decimal places that can distort financial summaries. Always use absolute references for constants or key financial parameters to prevent errors when copying formulas. Regularly review and audit formulas for accuracy, especially after making changes to the model’s structure or data.
Related: How to Add on Excel with the Sum Formula, AutoSum or the Plus Sign
Microsoft Excel is the most widely-used spreadsheet program, integral to data management and analysis across various sectors. One of its fundamental operations is addition, a basic yet essential arithmetic function. In our other guide, we show you how to use the SUM formula in Excel, how to use the AutoSum feature and how simple additions with the plus sign work.

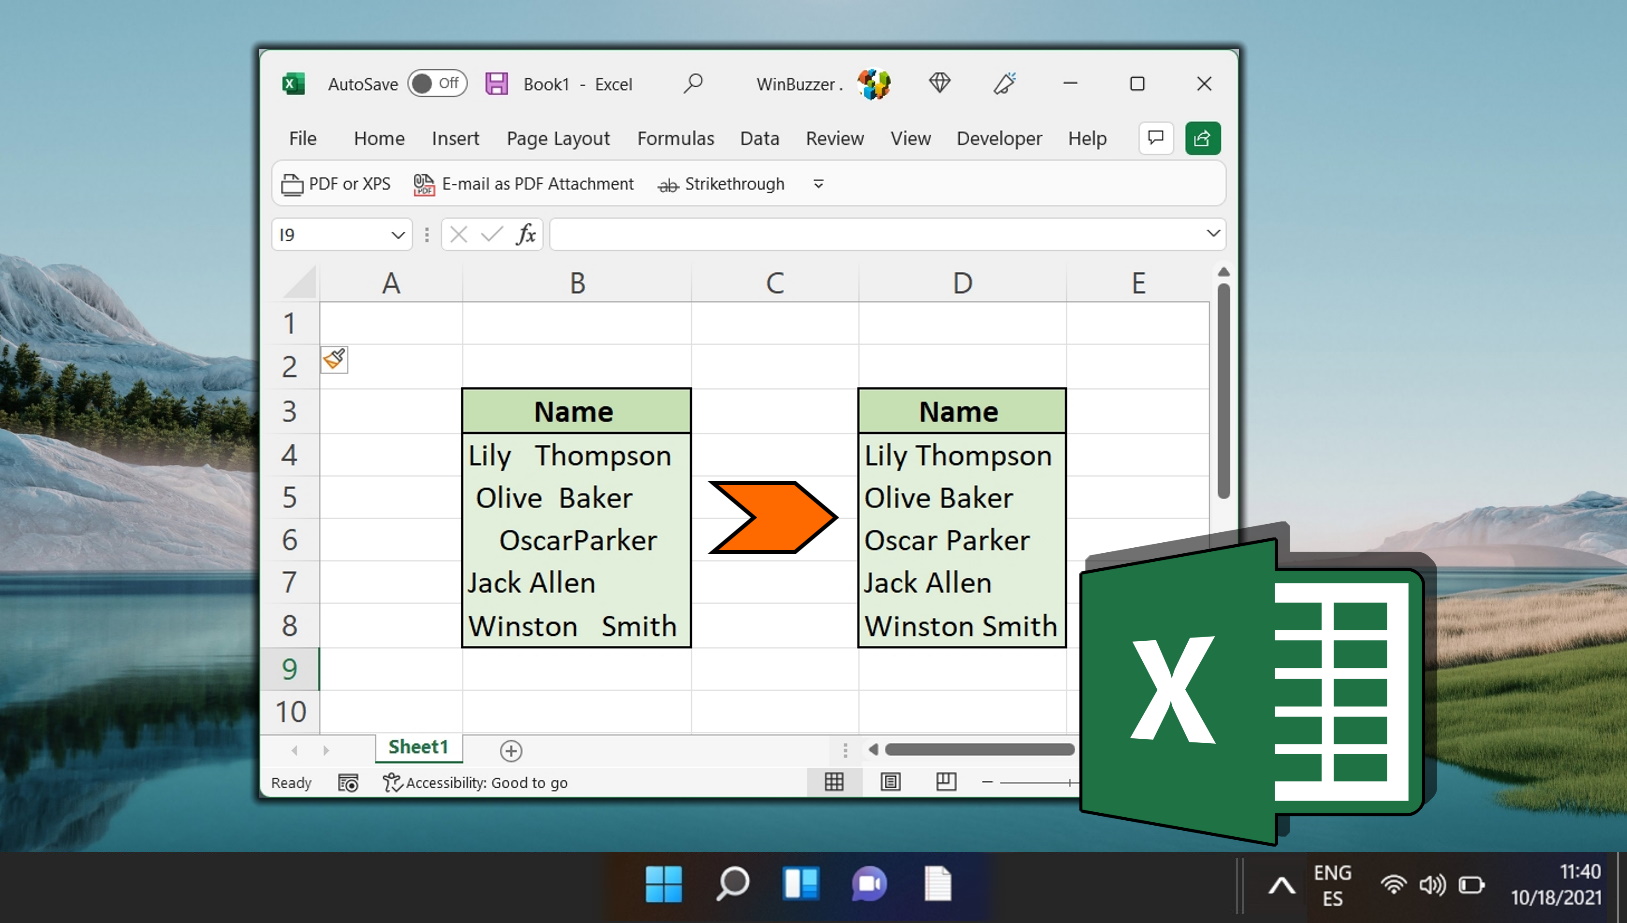
Related: How to Remove Spaces in Excel
When managing extensive datasets in Excel, ensuring data consistency is crucial. An all too common inconsistency is unwanted spaces — whether they creep in at the beginning or end of a text string, appear as unwarranted gaps between words, or are unintentional space characters throughout your content. In our other guide, we show how to use the Replace Feature, the TRIM funcion, and the SUBSTITUTE function to seamlessly eliminate unwanted spaces in Excel.
Last Updated on April 21, 2024 9:14 am CEST by Markus Kasanmascheff


