
When managing extensive datasets in Excel, ensuring data consistency is crucial. An all too common inconsistency is unwanted spaces — whether they creep in at the beginning or end of a text string, appear as unwarranted gaps between words, or are unintentional space characters throughout your content. These unnecessary spaces can disrupt data analysis, make lookups fail, or simply make the data appear untidy.
Text data can often be messy and inconsistent, especially when it's sourced from different places or input manually. Extra spaces may seem harmless, but they can cause issues when you're trying to sort, filter, or perform other operations on your data.
Fortunately, Excel offers a rich array of tools and functions tailored to help you manage and clean your data. This tutorial will explore various techniques to help you seamlessly eliminate unwanted spaces from your data cells.
How to Remove Leading Spaces, Trailing Spaces, and Extra Whitespaces With the TRIM Function
The TRIM function in Excel is specifically designed to tackle the common issue of unwanted spaces that often creep into our data. Whether it's a space at the beginning of a text (leading), at the end (trailing), or those unnecessary extra spaces between words, TRIM is your go-to function. For instance, if you have the characters ” Olive Baker “ in a cell, applying the TRIM function will transform it to “Olive Baker”, removing the leading, trailing, and extra spaces between the words.
- Select the neighboring cell where you want to apply the TRIM function

- Write the function =TRIM(B3), replacing B3 with the reference cell

- Drag down the + symbol to apply the TRIM function to other cells in the same column

- This will copy the text from the reference cells, removing all leading spaces, trailing spaces, and extra whitespace
Optional: After doing this you can use “Copy” and “Paste as Text” to replace the original cells and clear the cells where the TRIM function was applied.

How to Remove spaces in Excel with the SUBSTITUTE function
While the TRIM function is excellent for general space removal, the SUBSTITUTE function offers a more targeted approach. With SUBSTITUTE, you can replace specific characters or spaces with another character or even remove them entirely. For example, if you want to remove all spaces in ” Olive Baker “, SUBSTITUTE can help you get “OliveBaker”. Moreover, if you wish to remove specific spaces or replace them with other characters, this function provides the flexibility you need.
The SUBSTITUTE function in Excel offers targeted control, allowing users to replace specific spaces or characters with others, making it ideal for nuanced data adjustments. On the other hand, the Replace feature (see next method) is a broader tool that swiftly removes all single spaces in the selected data, making it suitable for quick and comprehensive space elimination. While SUBSTITUTE provides precision, Replace offers simplicity and efficiency.
- Select the neighboring cell where you want to apply the SUBSTITUTE function

- Write the function =SUBSTITUTE(B3,” “,””) , replacing B3 with the reference cell in your table

- Drag down the + symbol to apply the SUBSTITUTE function to other cells in the same column

- This will copy the text from the reference cells, removing all spaces, wherever they are located
Optional: After doing this you can use “Copy” and “Paste as Text” to replace the original cells and clear the cells where the SUBSTITUTE function was applied.

How to Remove All Spaces in Excel With the Replace Feature
There might be instances where you want to remove all spaces from your data, including those between words. In such cases, Excel's built-in Replace feature comes to the rescue. By using this method, you can quickly search for all single spaces in your data and replace them with another character or nothing, which means effectively removing them. For instance, ” Olive Baker “ becomes “OliveBaker” after applying this method with no replacement character. It's a straightforward and efficient way to ensure that no spaces remain in your dataset.
The Replace feature in Excel is designed for straightforward and comprehensive removal of all single spaces in selected data, offering users a quick solution for tidying up datasets. In contrast, the SUBSTITUTE function (see previous method) provides a more nuanced approach, enabling targeted replacement of specific spaces or characters with others. While Replace emphasizes efficiency in wholesale space removal, SUBSTITUTE ensures precision for specific character substitutions.
- Select all cells where you want to remove or replace spaces in

- Click “Home” in the Ribbon, then “Editing” and select “Replace”
Alternatively, you can use the hotkey “CTRL + F” and switch to the “Replace” tab.

- Use “Replace All” to remove all space characters
Enter a single space character in “Find what”, nothing in “Replace with” and click “Replace All”.

- Excel will let you know how many spaces were found and removed.

FAQ – Frequently Asked Questions About Excel Space Removal
How can I ensure that the TRIM function is applied automatically to new data entries in a column?
To automate the application of the TRIM function for new data entries in a column within Excel, convert your data range into a Table by selecting your range and using the shortcut Ctrl + T or navigating to the Insert tab and choosing Table. Ensure the “My table has headers” option is checked if your data includes headers. In a new column within this Table, enter the TRIM formula, such as =TRIM([@ColumnName]), where “ColumnName” is the header of the column you wish to clean. Excel Tables automatically extend formulas to new rows added, ensuring consistent application of the TRIM function.
Is there a way to use the SUBSTITUTE function to replace multiple consecutive spaces with a single space?
Yes, to replace multiple consecutive spaces with a single space in Excel, use a combination of the SUBSTITUTE and TRIM functions. Start by replacing all spaces with a unique character sequence that does not appear elsewhere in your text, such as =SUBSTITUTE(A1, ” “, “|||”). Then, apply TRIM to this result to reduce any instances of multiple consecutive unique characters to a single instance. Finally, use SUBSTITUTE again to replace the unique character sequence back with a single space: =SUBSTITUTE(TRIM(SUBSTITUTE(A1, ” “, “|||”)), “|||”, ” “).
Can I remove line breaks within a cell in addition to spaces using Excel functions?
To remove line breaks as well as spaces within a cell in Excel, combine the SUBSTITUTE function with the CHAR function. Use =SUBSTITUTE(SUBSTITUTE(A1, CHAR(10), ” “), CHAR(13), ” “) to replace line breaks represented by CHAR(10) and CHAR(13) with spaces or an empty string, effectively removing line breaks within the cell.
How do I apply space removal functions like TRIM or SUBSTITUTE across multiple sheets in a workbook at once?
Applying space removal functions across multiple sheets simultaneously in Excel requires VBA scripting. Write a VBA macro that loops through each worksheet in the workbook and applies the desired function to a specified range or entire sheet. For example, a simple VBA script to apply the TRIM function might look like the code below. This script iterates through all worksheets in the active workbook, applying the TRIM function to the used range in each sheet. You can customize the range and the function (e.g., SUBSTITUTE) as needed:
Sub TrimSpacesInAllSheets()
    Dim ws As Worksheet
    Dim rng As Range
    For Each ws In ThisWorkbook.Worksheets
        Set rng = ws.UsedRange ' Adjust this range as needed
        rng.Value = Evaluate("IF(ROW(" & rng.Address & "),TRIM(" & rng.Address & "))")
    Next ws
End Sub
What is the best approach to handle spaces in Excel when dealing with text functions like LEFT, MID, or RIGHT?
When using text functions such as LEFT, MID, or RIGHT in Excel, first clean your data using the TRIM function to remove any leading or trailing spaces. For inner text spaces, consider the SUBSTITUTE function for removal or replacement. Cleaned text ensures that these functions yield accurate results without unexpected spaces affecting the output.
How can I identify and highlight cells that contain non-breaking spaces which the TRIM function cannot remove?
To highlight cells containing non-breaking spaces, use Excel's Conditional Formatting with a formula like =ISNUMBER(FIND(CHAR(160), A1)). This setup will highlight cells with non-breaking spaces, distinguished by CHAR(160), aiding in their identification for further action.
Is there an efficient way to remove spaces from the beginning and end of text strings in Excel, but keep the inner spaces intact?
The TRIM function in Excel is specifically designed to remove spaces from the beginning and end of text strings while keeping inner spaces between words intact. For text like ” Hello World “, applying =TRIM(A1) would result in “Hello World”, preserving inner word spacing.
Can the ‘Find and Replace' feature be customized to remove spaces only from specific parts of the cell content, like the beginning or end?
Excel's ‘Find and Replace' feature is broad and cannot directly target spaces only at the beginning or end of cell content. For targeted space removal, use functions like TRIM for leading and trailing spaces, or a combination of text functions for more specific control. This approach allows for precise manipulation of cell content, addressing spaces in desired locations.
How can I combine space removal with other data cleaning steps in Excel for a comprehensive clean-up?
For a thorough data clean-up in Excel, including space removal, consider using Power Query. Import your data into Power Query, where you can apply a series of transformations such as “Remove Spaces”, filter rows, remove duplicates, and more. These steps can be applied sequentially for a comprehensive cleaning process. Once your data is cleaned, load it back into Excel. Power Query's transformations are saved, allowing you to reapply the same steps to new data easily.
What strategies can be employed to remove spaces in Excel while ensuring data integrity, especially with numerical data stored as text?
When cleaning numerical data stored as text, start with the TRIM function to remove leading and trailing spaces. If spaces within the numbers need removal, use SUBSTITUTE. To convert cleaned text back to numbers, wrap the result with the VALUE function: =VALUE(SUBSTITUTE(TRIM(A1), ” “, “”)). This ensures data integrity by converting the cleaned text to numbers, ready for analysis or calculations.
How do I revert changes made by space removal functions if I notice an error or need the original formatting?
To safeguard against irreversible changes, always create a backup before modifying your data. Use Excel's Undo feature (Ctrl + Z) for immediate reversion. For saved changes, consider restoring a previous version if supported by your storage solution, or rely on a “raw data” copy kept separately before making changes.
In collaborative environments, how can I ensure consistent application of space removal practices across different users' inputs in Excel?
Maintain consistency in data cleaning across collaborative environments by setting up Data Validation rules, utilizing predefined templates with embedded cleaning formulas, or employing VBA scripts for automated cleaning. Educating team members on the importance of data cleanliness and providing clear documentation on data entry standards can further enhance consistency.
Can Excel's text-to-columns feature be used in conjunction with space removal functions for data cleaning?
Excel's Text-to-Columns feature, when combined with space removal functions like TRIM, can be an effective tool for data cleaning. First, apply TRIM to remove extraneous spaces, then use Text-to-Columns to split concatenated data based on spaces or another delimiter. This method is useful for separating and cleaning data simultaneously.
How can I remove spaces from text that is combined from different cells without affecting the original cells?
To combine and clean text from different cells without altering the originals, use CONCATENATE or the “&” operator, wrapping cell references with TRIM. For example: =TRIM(A1) & ” ” & TRIM(B1). This ensures combined text is free from leading and trailing spaces of the original cells. For removing all spaces, including between words, adjust the formula accordingly.
Is there a method to track the number of spaces removed from a dataset after using space removal functions in Excel?
Track the number of spaces removed by using the LEN and SUBSTITUTE functions to compare the length of text before and after space removal. Calculate the total length of text with spaces, apply space removal functions, then calculate the new length. The difference in lengths indicates the number of spaces removed. Sum these differences across all affected cells for a total count, providing insight into the extent of cleaning performed.
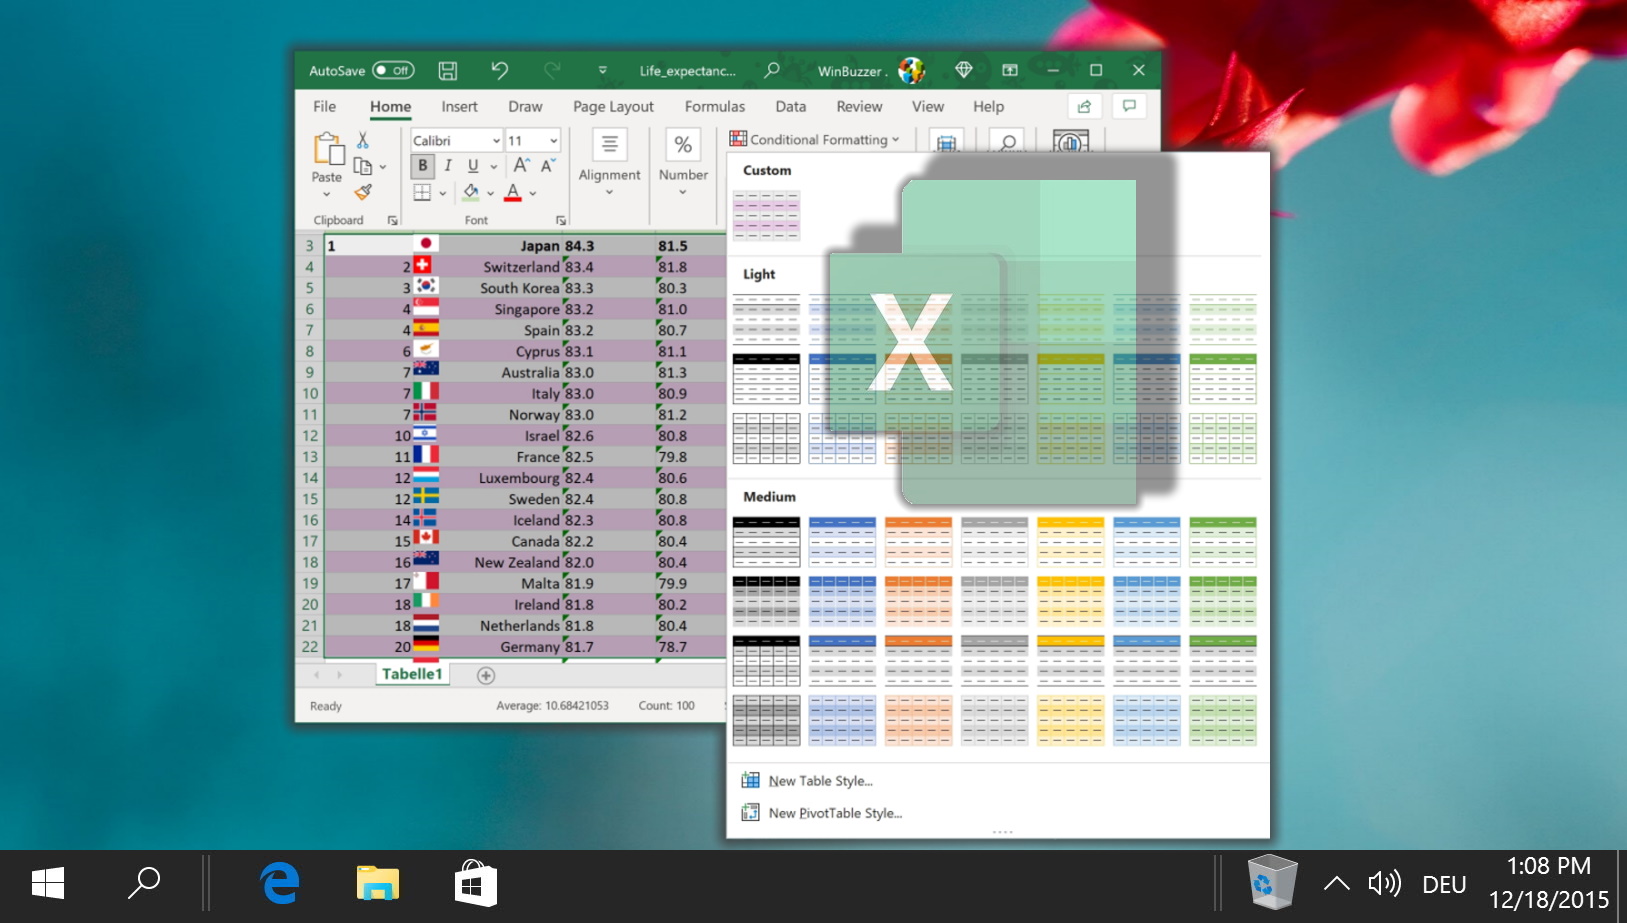
Related: How to Add Shading to Alternating Rows in Excel
It's an old trick at this point, but applying shading (zebra stripes) to alternative rows in Excel makes your sheet easier to read. The effect, also known as banded row, allows your eyes to keep their place more easily when you're scanning a spreadsheet. The difficulty, then comes in knowing where to look and how to format cells as a table in the first place. In our other guide, we show you how to apply and customize table formatting to form alternating rows in Excel.
Related: How to Divide in Excel
In Excel, you can divide using cell references, handle errors like dividing by zero, and even combine division with other operations for more complex calculations. In our other guide, you will learn basic to advanced functions for division, handle errors, and optimize calculations for maximum efficiency.

Related: How to Remove Table Formatting in Excel
In Excel, you can apply predefined table styles, making your data presentation-ready. However, there are instances where you might want to strip away the table formatting without losing the underlying data. In our other guide we show you various techniques to remove table formatting in Excel.

Related: How to Structure Collected Data in Excel
To make the most of Excel's features, you need to structure your data properly. Data structure refers to how you organize your data in a spreadsheet. A good data structure makes it easy to perform calculations, filter, and sort data, create charts and pivot tables, and apply formulas and functions. In our other guide, we show you how to structure collected data in Excel using some best practices and tips.

Last Updated on April 21, 2024 9:25 am CEST by Markus Kasanmascheff


