
 in Windows 10")
SSDs used to be high-end devices for which you had to shell out a lot of cash to get a worthwhile amount of storage. Over the past few years, however, prices have fallen substantially. You can now get 1 TB of NVMe SSD storage for under $100 and significantly speed up your system in the process.
However, many don’t realize that while a solid-state drive doesn’t have the moving parts of a hard drive, it still has a limited number of reads and writes. To maintain performance and health over time, an SSD requires regular maintenance. Enter SSD trimming: a tool to optimize your SSD in Windows 10.
What is TRIM for SSD drives?
The Windows TRIM command is a way for Windows to tell you SSD which of its data blocks aren’t being used anymore. The SSD can then wipe these data blocks and marks them for rewriting again. This speeds things up – without SSD trimming, the SSD will have to wait for the blocks to be wiped as it tries to copy data to that area. With it enabled, the blocks will have already been wiped and it can continue immediately.
That said, if the above is all technobabble to you, there’s no need to worry. SSD trimming is very safe and you don’t need to know how it works to use it – it’s just a bonus. Further, Windows 10 should automatically detect and enable TRIM so that you don’t need to run this command.
Today, we’re going to show you how to trim an SSD for instances where this feature is not enabled automatically. This can happen for various reasons, so through the course of this tutorial, we’ll also show you how to check if SSD trim is enabled or disable it if you wish. Let’s get right into it:
How to Disable or Enable SSD TRIM in Windows 10 via the TRIM Command
In most cases, if you have a modern SSD, Windows TRIM will already be enabled for your system. If it isn’t, and you have a very old SSD, it may be worth leaving it off. There’s a good chance Windows knows something you don’t.
However, if you have a modern SSD and a modern OS, SSD trimming should really be turned on for your performance and it’s possible something went wrong in the automatic detection process. Here’s how to check and enable SSD TRIM on Windows:
- Open Command Prompt
Press Start and type Command Prompt. In the right-hand panel of your Start menu, click “Run as administrator” with Command Prompt selected.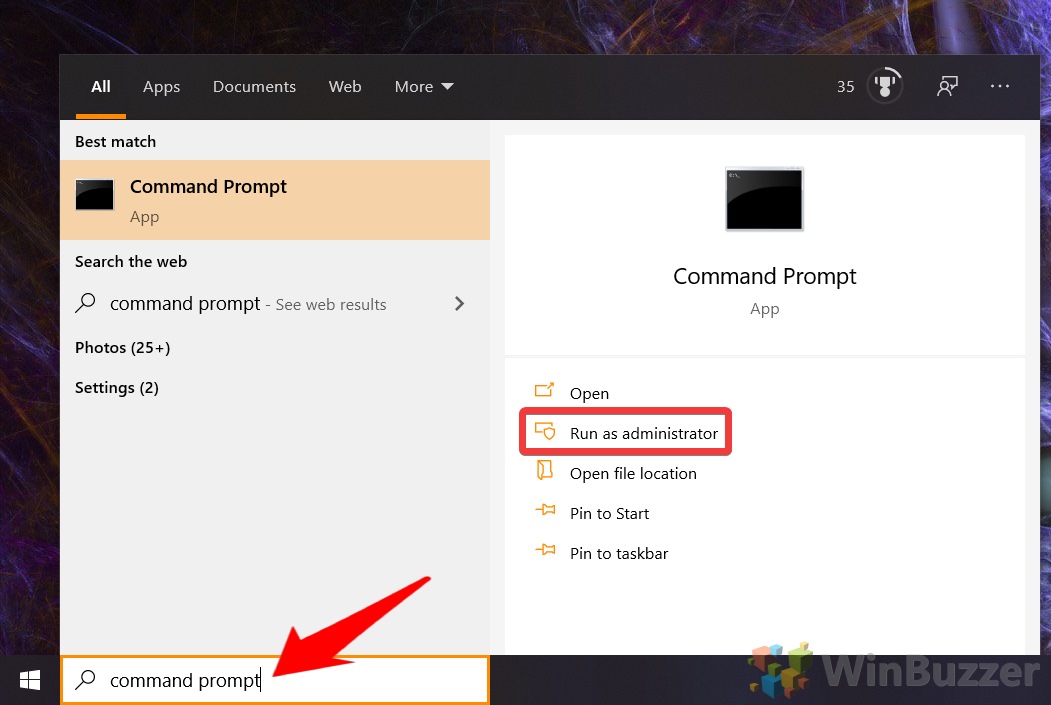
- Check if SSD TRIM is enabled
Before you go any further, you’ll want to check the status of Windows TRIM on your device. You can do so via the following command:fsutil behavior query disabledeletenotify
You’ll receive one of the following outputs, which will inform you whether TRIM SSD for Windows 10 is enabled. The output can be quite confusing, so make sure you read the table below:TRIM Command Results
Description NTFS DisableDeleteNotify = 0 (Disabled) SSD trimming is enabled for SSDs with NTFS NTFS DisableDeleteNotify = 1 (Enabled) TRIM SSD support is disabled for SSDs with NTFS NTFS DisableDeleteNotify is not currently set TRIM for SSDs with NTFS is not set but will be enabled if an SSD with NTFS is connected. ReFS DisableDeleteNotify = 0 (Disabled) SSD trimming is enabled for SSDs with ReFS ReFS DisableDeleteNotify = 1 (Enabled) TRIM support is disabled for SSDs with ReFS ReFS DisableDeleteNotify is not currently set TRIM support for SSDs with ReFS is not set but will be enabled if an SSD with ReFS is connected.
Essentially, if your value is 0, TRIM is already enabled.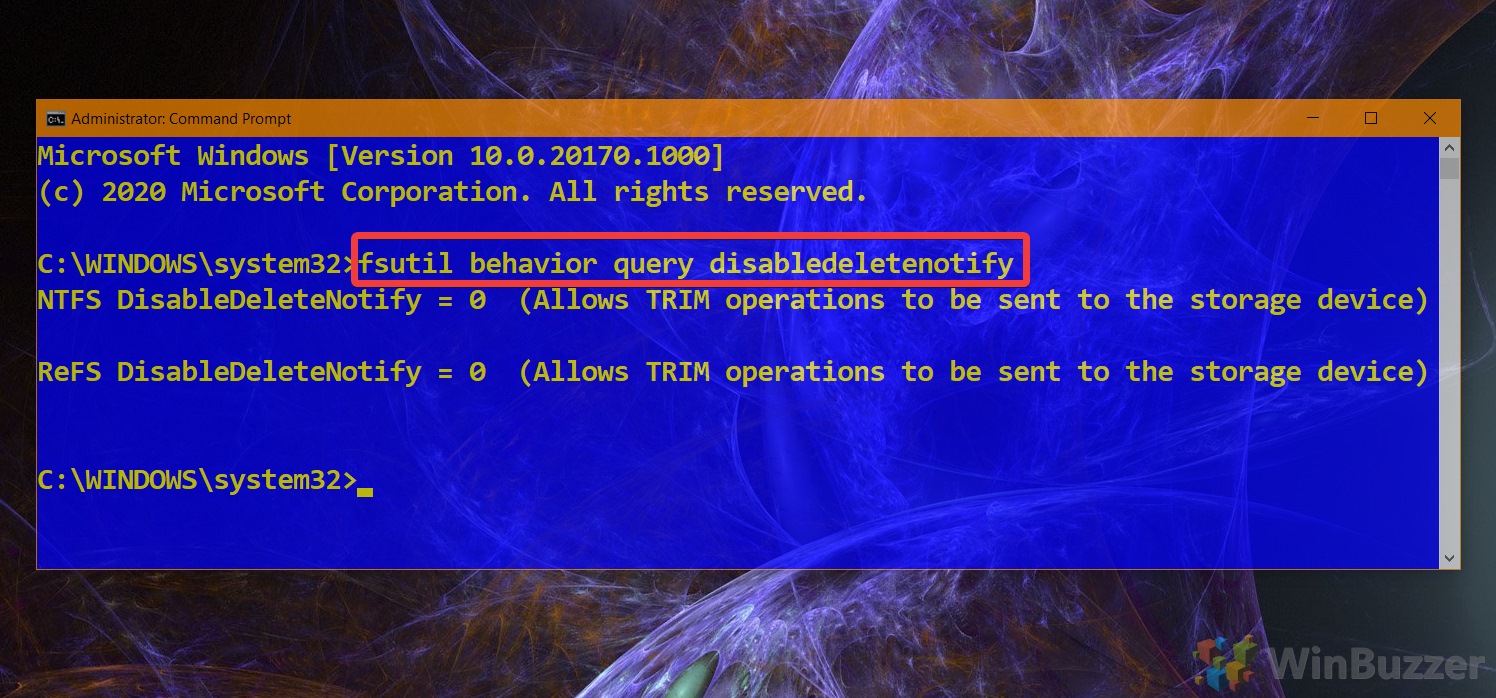
- Disable TRIM for an NTFS SSD with a TRIM command
If you’d like to disable TRIM, which we don’t recommend unless you have a good reason, you can paste the following command and press Enter:fsutil behavior set disabledeletenotify NTFS 1
The changes will take effect immediately, so there’s no need to restart your PC.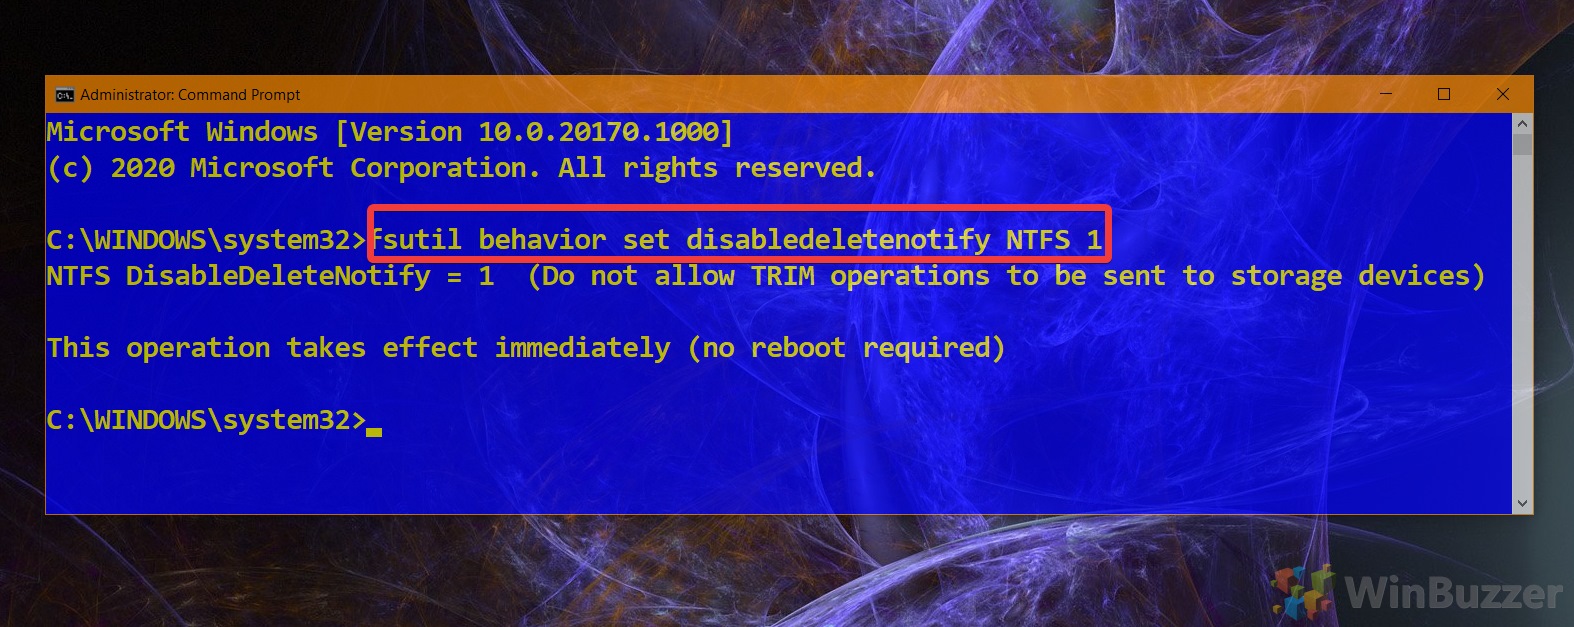
- Enable TRIM for an NTFS SSD with a TRIM command
If the check step returned a value of 1, you can enable SSD trimming with the following command:fsutil behavior set disabledeletenotify NTFS 0
This change will take effect right away without requiring a restart.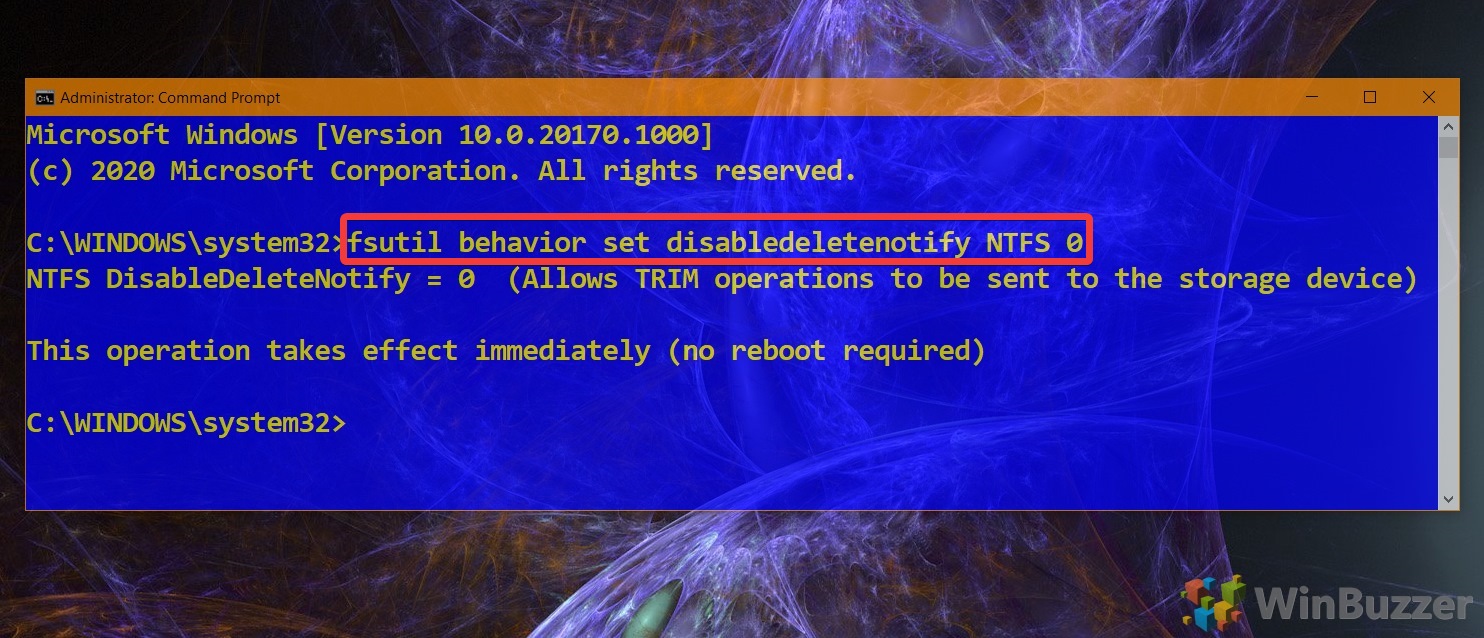
- Disable SSD trimming for a ReFS SSD with a TRIM command
If you wish to disable SSD trim for a ReFs drive, it requires only a small modification to the command above. Enter the following in your Command Prompt window and press Enter:fsutil behavior set disabledeletenotify ReFS 1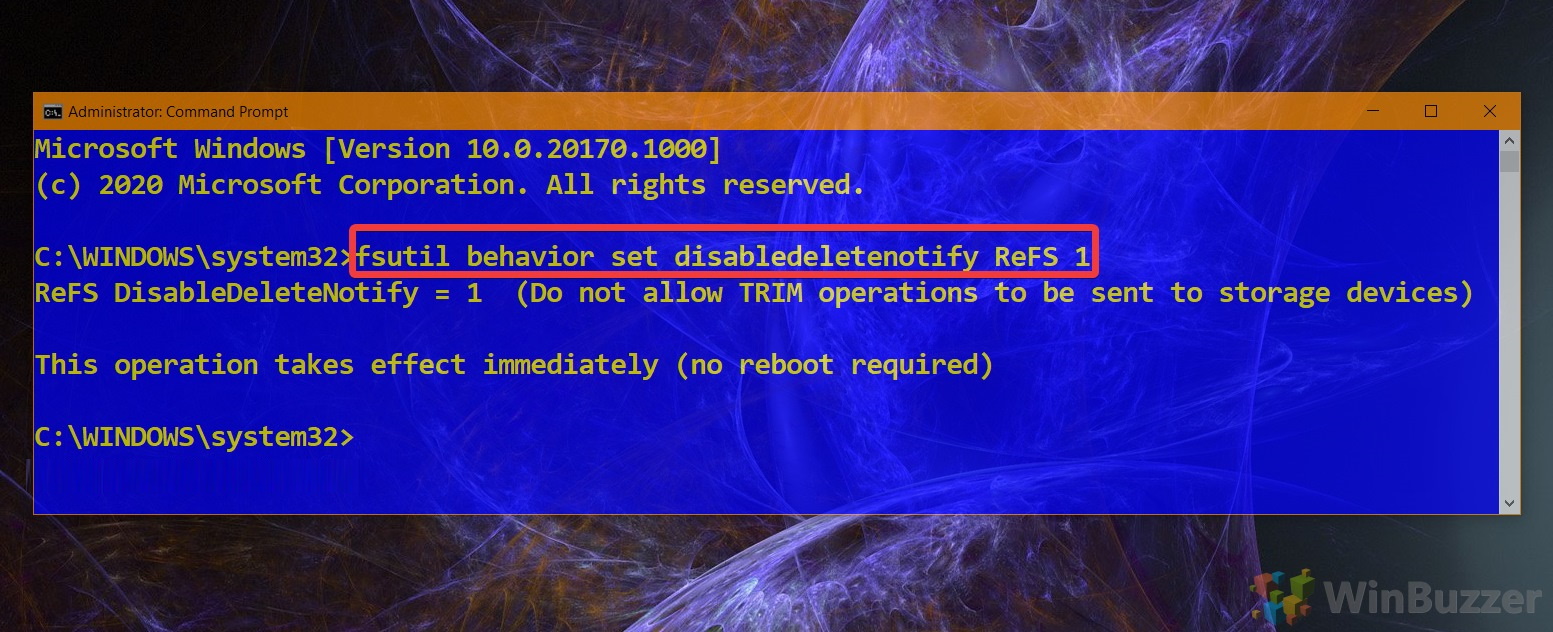
- Enable TRIM SSD in Windows 10 for a ReFS SSD
You can also enable TRIM for a ReFS SSD by switching the ‘1’ out for a ‘0’. Copy the following into your Command Prompt and press Enter:fsutil behavior set disabledeletenotify ReFS 0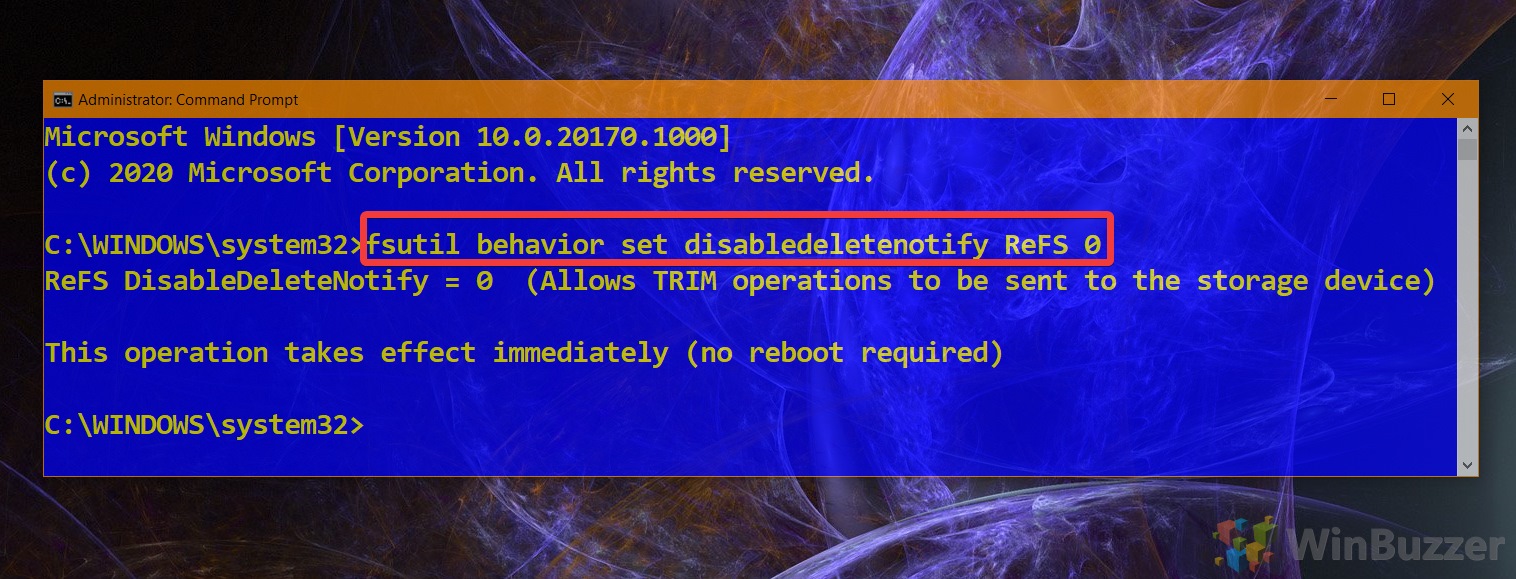
There you have it. The SSD trimming feature for Windows 10 will now be enabled or disabled for your drive to suit your preferences. For further SSD optimization in Windows 10, you may want to read our prefetch/superfetch and fast startup guides.


