
The “Show more options” line in the Windows 11 context menu is a departure from the traditional, instantly accessible full menu that users have become accustomed to in previous versions of Windows. While visually appealing, this change can disrupt the workflow by adding an extra step to access commonly used functions. For power users and those who prefer efficiency over aesthetics, this additional click can become a source of frustration.
In this tutorial, you will learn how to disable the “Show more options” feature in Windows 11. We will explore various methods, including registry edits and command-line solutions, to cater to different levels of technical expertise.
How to Disable “Show More Options” with Regedit
This method uses the Windows Registry Editor (Regedit) to disable the “Show More Options” feature in Windows 11. The Registry Editor is a powerful tool that allows you to make advanced modifications to the operating system. This approach is ideal for those who are comfortable with manual tweaking and wish to understand the underlying settings of Windows 11.
- Open the Registry Editor

- Delete the responsible registry key
- Navigate to
HKEY_LOCAL_MACHINE\SOFTWARE\Classes\CLSID\. -
Right-click and delete the key
{86ca1aa0-34aa-4e8b-a509-50c905bae2a2}.
- Navigate to
- Recreate the Registry Key
Right-click on “CLSID” and select “New – Key”.

- Name the Registry Key
Give it the name{86ca1aa0-34aa-4e8b-a509-50c905bae2a2}.

- Create a new Registry Key inside
Right-click{86ca1aa0-34aa-4e8b-a509-50c905bae2a2}and select “New – Key”.

- Name it “InprocServer32” and close the Registry Editor
After a reboot or manually restarting Explorer.exe, the full context menu will be shown without having to first click on “Show more options”.

How to Disable “Show More Options” using a REG-file
For users seeking a simpler and more straightforward approach, this part of the tutorial introduces the method of using a REG-file to disable the “Show More Options” feature. A REG-file is a pre-configured registry script that can apply the necessary changes with just a few clicks. This method is perfect for those who prefer a quick and hassle-free solution without the need to delve into the complexities of the Registry Editor.
- Download and extract the ZIP with the REG-files
- Download the ZIP-file from our server here.
- Right-click the ZIP-file and select “Extract All..”.

- Double-click and run the REG-file to disable “Show more options” in Windows 11
We offer you both a REG-file to enable or disable “Show more options”, based on what you want to do.

- Click “Run” when asked

- Confirm the warning of Registry Editor with “Yes”

- Click “OK”
After a reboot or manually restarting Explorer.exe, the full context menu will be shown without having to first click on “Show more options”.

How to Disable “Show More Options” with a Powershell Command
This section guides you through the process of using Windows PowerShell to disable the “Show More Options” feature. PowerShell is a powerful scripting environment that allows for automation and configuration of various system settings. By using a specific command, you can quickly modify the context menu settings.
- Open “Windows Terminal”

- Run a new tab with “Windows PowerShell”

- Run the PowerShell command to disable “Show More Options”
Run this command:
reg add "HKCU\Software\Classes\CLSID\{86ca1aa0-34aa-4e8b-a509-50c905bae2a2}\InprocServer32" /f /ve

- Optional: Run the PowerShell command to enable “Show More Options”
Run this command:
reg delete "HKCU\Software\Classes\CLSID\{86ca1aa0-34aa-4e8b-a509-50c905bae2a2}" /f

FAQ – Frequently Asked Questions About Disabling “Show More Options” in Windows 11
What should I do if I don’t have a “CLSID” key in my registry?
If the “CLSID” key is missing in your registry, it indicates a non-standard configuration of your Windows installation, which is rare. To manually create the “CLSID” key, right-click on “HKEY_LOCAL_MACHINE\SOFTWARE\Classes”, select “New > Key”, and name the new key “CLSID”. After creating the “CLSID” key, you can proceed with the specific instructions in the tutorial for disabling “Show More Options“. It’s crucial to follow each step carefully to avoid any unintended system changes.
Can I still access “Show More Options” after disabling it?
Once you disable “Show More Options” by following the tutorial, the extended context menu options will be directly visible, eliminating the need for an extra click. If you need to revert to the original context menu design with “Show More Options“, you can reverse the changes you made. This involves either deleting the newly created registry keys (if you used the Regedit method) or running the opposite command in PowerShell (if you used the PowerShell method).
How can I ensure my registry edits don’t affect system stability?
Editing the Windows Registry can be risky and might affect system stability if done incorrectly. To minimize risks, follow these precautions: Always back up the entire registry before making changes, so you can restore it if something goes wrong. Stick to the instructions provided and avoid changing any other settings. Use the “Export” function in the Registry Editor to back up the specific keys you’ll be modifying. If you’re unfamiliar with the Registry Editor, consider using the REG-file method for a safer approach.
Are there alternative methods to disable “Show More Options” without using the registry or PowerShell?
The tutorial focuses on registry edits and PowerShell commands as primary methods to disable “Show More Options“. While these are the most direct and effective methods, alternative approaches might involve third-party software designed to customize Windows 11’s UI. However, using third-party software comes with its risks, including potential compatibility issues and security risks. Always ensure any software you download comes from a reputable source and is compatible with your version of Windows.
Will customizing the context menu void my Windows warranty or support agreement?
Customizing the context menu through registry edits or PowerShell commands, as described in the tutorial, is generally within the scope of advanced Windows customization and should not void your warranty or support agreement. However, it’s crucial to follow the instructions carefully and understand that support might be limited for issues directly arising from such customizations. If you’re concerned, review your warranty or support agreement terms or consult with the support team before making changes.
How can I reverse the changes made by the REG-file manually?
If you’ve applied changes using a REG-file, you can manually revert the changes using the Registry Editor. Locate the registry keys modified by the REG-file and remove or edit them as needed to restore the original settings. If you’re uncertain of the specific changes made, restoring a previously made backup of your registry or using a system restore point (if one was created before the changes) can also revert your system to its prior state.
Is there a performance impact when disabling “Show More Options”?
Disabling “Show More Options” and showing the full context menu by default should have negligible, if any, impact on system performance. This customization primarily affects the user interface and how the context menu is displayed. It does not introduce additional processes or significantly alter the functionality of Windows, thus not affecting the overall performance of your system.
Can I apply these changes to only specific folders or file types?
The methods described in the tutorial apply changes system-wide, affecting all folders and file types. Applying context menu customizations to specific folders or file types involves more complex registry edits or the use of third-party software, which is not covered in the tutorial. Such customizations require a good understanding of the Windows Registry and how context menus are associated with different file types and classes.
What if the context menu looks different after applying these changes?
If the context menu appears different or not as expected after applying the changes, ensure that all steps were correctly followed. Double-check the registry keys or PowerShell commands used. If the issue persists, consider whether any third-party software or previous customizations might be affecting the context menu appearance. Reverting the changes you made or consulting with online forums or support communities can also provide further insights and solutions.
How can I troubleshoot errors when running PowerShell commands?
When encountering errors with PowerShell commands, ensure that you’re running PowerShell with administrative privileges as some commands require elevated permissions. Verify the syntax of the command for accuracy, paying close attention to spaces and special characters. If errors continue, consult the PowerShell documentation for detailed information on command syntax and options. Online forums and communities can also be valuable resources for troubleshooting specific PowerShell issues.
Can these changes affect other customizations I’ve made to Windows 11?
The changes outlined in the tutorial are specific to the context menu and should not directly interfere with other customizations. However, if you have previously customized the context menu itself (through third-party software or other registry edits), those customizations may be overwritten or need to be reapplied. It’s always a good idea to document your customizations and changes so you can easily track and manage them.
How do I know if the changes have been successfully applied without restarting?
Some changes may take effect immediately, but to fully ensure all changes are applied, a restart of the Explorer.exe process or a system reboot is recommended. To restart Explorer.exe, you can use the Task Manager: end the “Windows Explorer” process and then restart it via the “File” menu. If the context menu still doesn’t appear as expected, verify the steps were completed correctly.
Is it possible to create a system restore point instead of just backing up the registry?
Yes, creating a system restore point is a good practice before making significant changes to your system, including registry edits. To create a restore point, search for “Create a restore point” in the Start menu, open the System Properties dialog, ensure your system drive is selected, and click “Create”. Provide a descriptive name for the restore point, so you can easily identify it later. This allows you to revert your entire system to a previous state, not just the registry, if necessary.
What are the risks of downloading REG-files from the internet?
Downloading and running REG-files from the internet carries risks, including potential security threats like malware. The files offered here were created by us and are hosted on Winbuzzer. Before running any downloaded REG-file, you can inspect its contents by opening it with a text editor like Notepad. This allows you to verify that the file does what it claims and doesn’t contain malicious code. Employing robust antivirus software to scan downloaded files is also a crucial safety measure.
After disabling “Show More Options”, how can I access less frequently used options that were previously available?
Disabling “Show More Options” should make all context menu items immediately visible, including those that were less frequently used. If you find that certain options are missing, it’s possible they were added by third-party software or specific Windows features that require separate configuration. Investigate if any extensions or applications you installed previously modified the context menu and check their settings to ensure compatibility with your current context menu configuration.
Extra: How to Make the Windows 11 Taskbar Smaller or Bigger
For the Windows 11 taskbar, there isn’t a “small icons” or “labels” option to shrink it down. Luckily there is a workaround to make taskbar icons bigger or smaller in Windows 11 using a handy registry hack, which we are showing you in our other guide.
![]()
Extra: How to Start Apps Using Keyboard Shortcuts
Windows 11 and Windows 10 provide plenty of versatility when you want to open programs, apps, or games, like using the taskbar, desktop icons, or the Start menu. However, one lesser-known but highly efficient method is using keyboard shortcuts. Our other guide will show you how to create custom keyboard shortcuts in Windows, allowing you to launch your favorite applications quickly and enhance your productivity.

Extra: How to Pin a Website, Folder, Drive, or Files to the Taskbar in Windows 11
The taskbar is an essential part of how you use your Windows PC, but it often goes underutilized. In our other guide, we are showing you how to pin a website, folder, drive, or file to the taskbar in Windows 11.

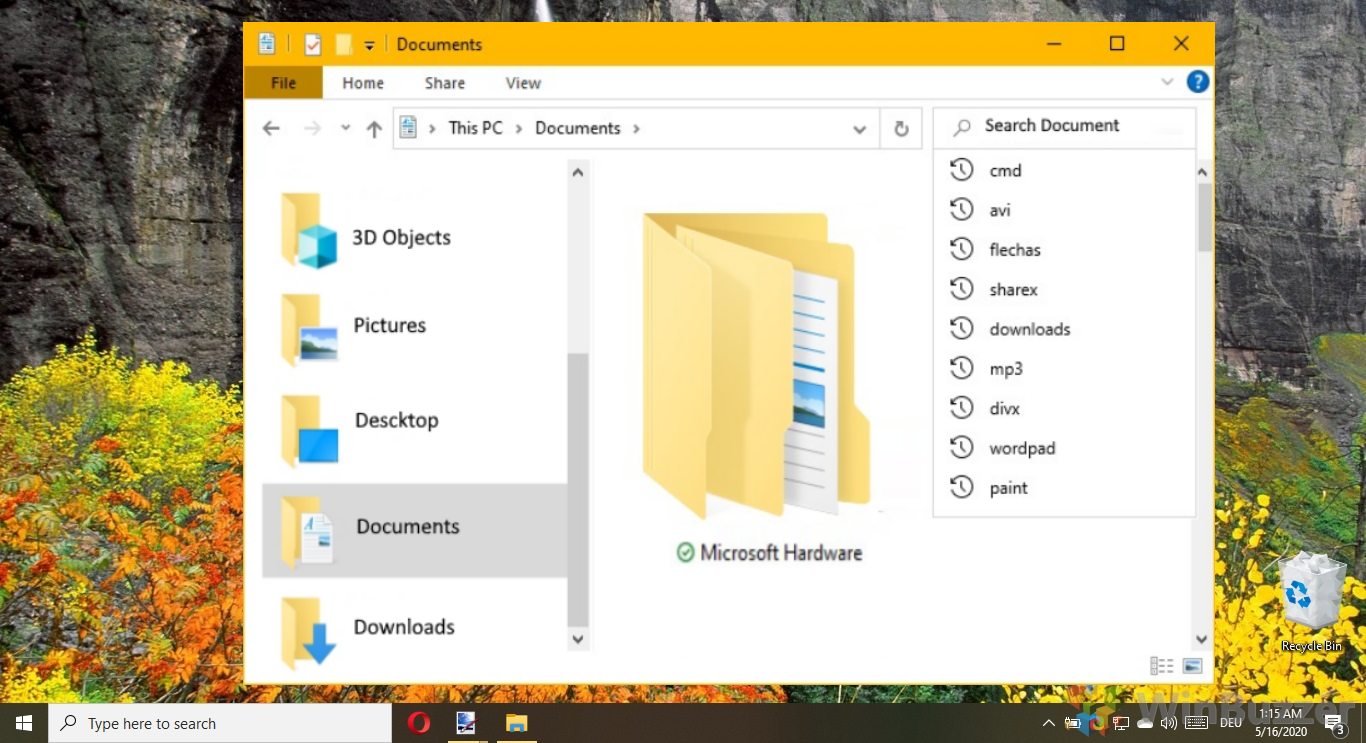
Extra: How to Clear File Explorer Search History or Disable It Permanently
Windows keeps a lot of data about your activities in the background. This is all well and good most of the time, but there are times when privacy is key. Each time you search for a file or string inside a file, Windows catalogs it for future use. If a family member or any other person on your PC clicks the search box, it will try to be helpful by showing a list of recent searches.
If you’re planning an engagement or surprise holiday, that’s the last thing you want. The suggestions are rarely useful, so you may also want to clear them to reduce UI clutter. In our other guide, we show you how to clear your File Explorer history and disable it via a registry key so you never have to worry about it again.
Last Updated on April 18, 2024 9:33 pm CEST by Markus Kasanmascheff


