

For numerous reasons, it’s a good idea to know how to check PC specs, whether you’re planning an upgrade, need a repair, or want to know if you can run a game. Ideally, you should even have these noted down physically or in the cloud in case your hardware fails and you can’t access the computer to check.
Checking system specs: There are different methods
If your computer at least boots, there are several ways to find your system spec in Windows 10, from the system information tool to PowerShell, Command Prompt, and third-party tools. As not every method shows the same types and details of system specs, it´s good to always have some alternatives at hand.
We’re going to show you how to check PC specs with various ways and find information about your computer that you wouldn’t be able to otherwise. A quick PC hardware check should only take a few minutes but can save you a lot of hassle down the line.
How to Check PC Specs via About your PC
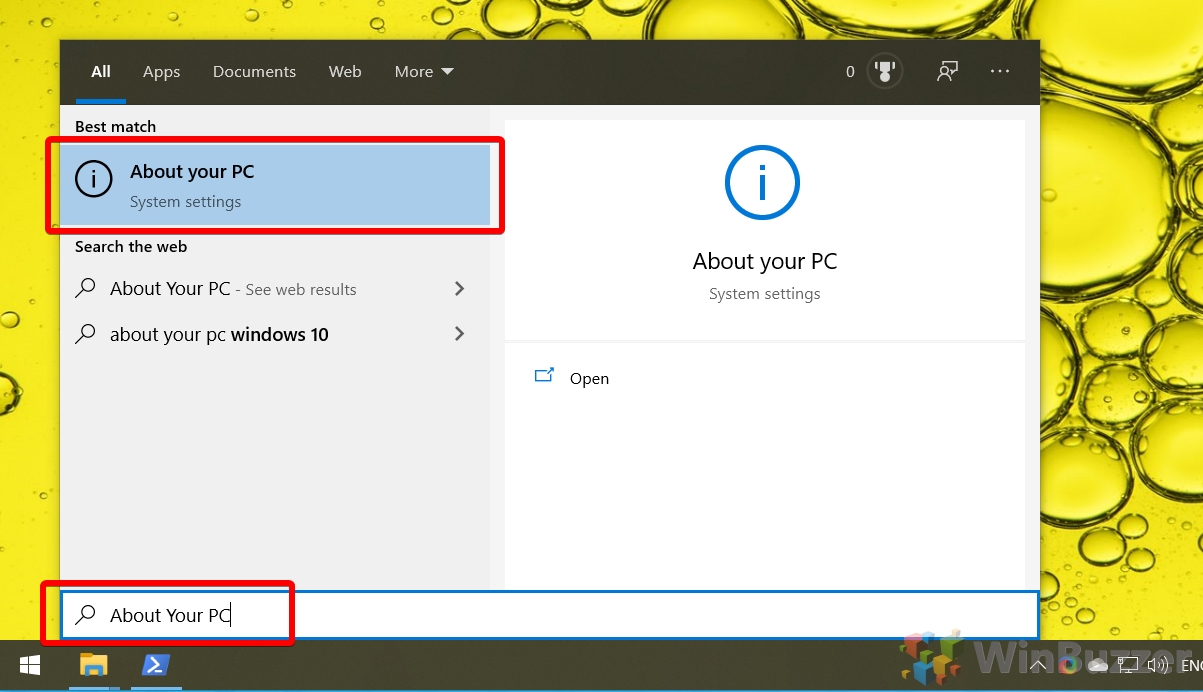
The most user friendly (though not the most verbose) way to check your specs is via the About your PC interface.
- Open system settings
Press “Windows”, then type “About your PC”. Click the top result.
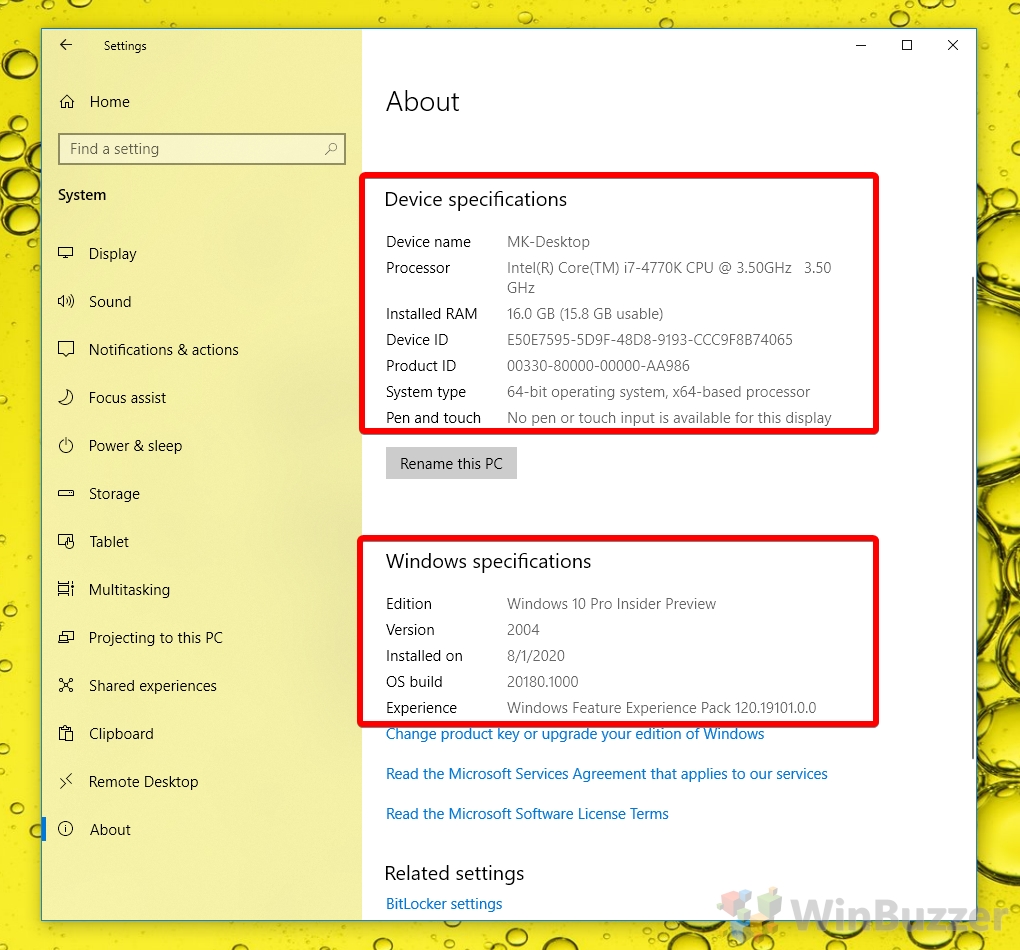
- Note down your computer specs
Your PC hardware info can be found under the “Device specifications” heading, while your Windows install details are under “Windows specifications”.
How to Check Computer Specs via Windows 10 System Information
Another easy way to check your specs is via the Windows 10 System Information tool, which offers a little more detail, but still keeps it relatively simple.
- Open Windows 10 System Information
Press the “Start” button, then type “System Information”. Click the top result.

- Check PC specs via the system summary
In the default “System summary” view, you’ll see an overview of your PC stats, including hardware info such as installed RAM, processor, OS name and version, and motherboard.
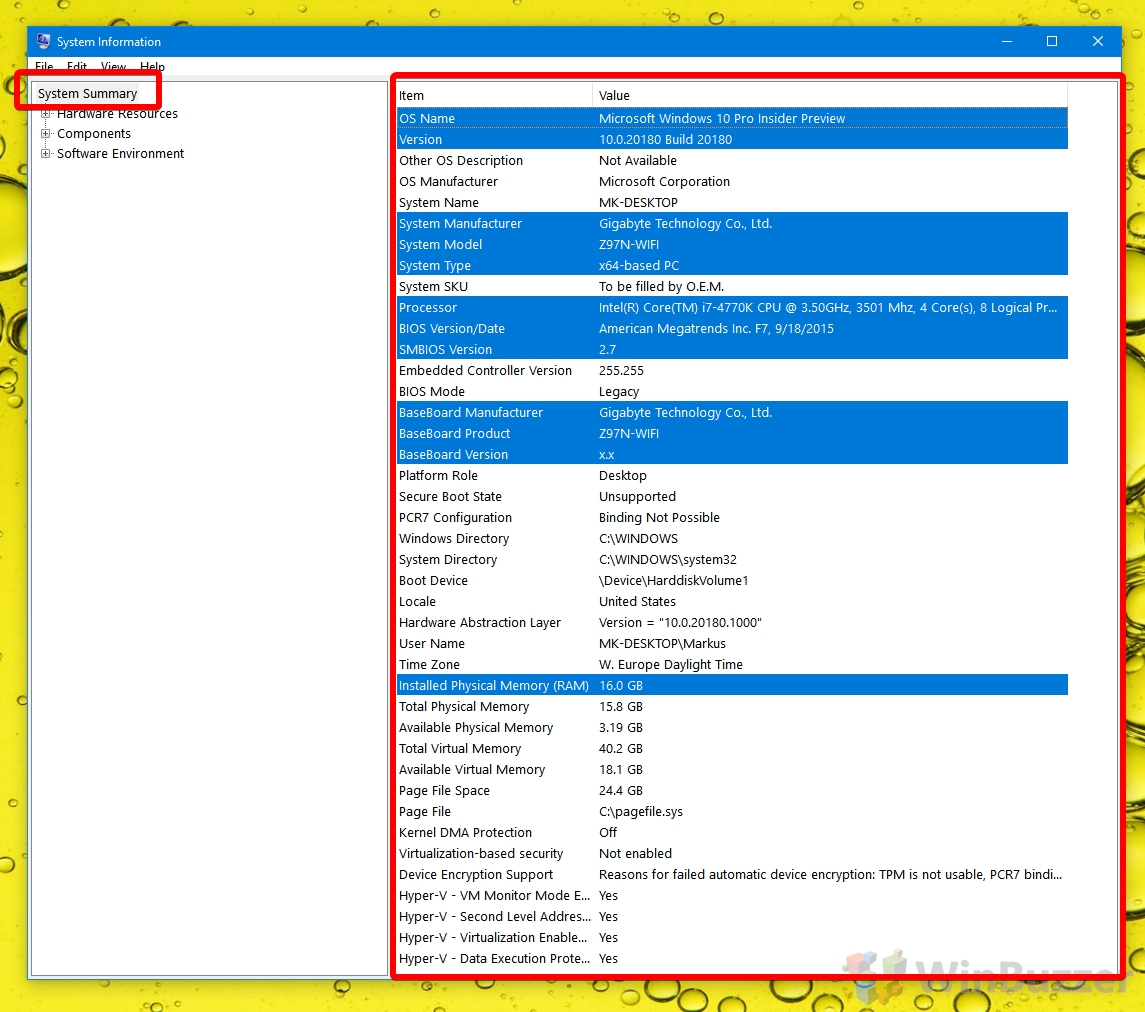
- View your GPU specs
You’ll notice that your graphics hardware info doesn’t show in the system summary screen. For that, you need to maximize the “Components” heading, then click on “Display”. You’ll see your graphics card information in the main pane. You also find more information about your GPU via our dedicated GPU check guide.

How to Check Computer Specs via Device Manager
Though it’s a bit more unconventional, you can also use Device Manager as a spec checker.
- Open Device Manager
Press “Windows + X”, then click “Device Manager”.

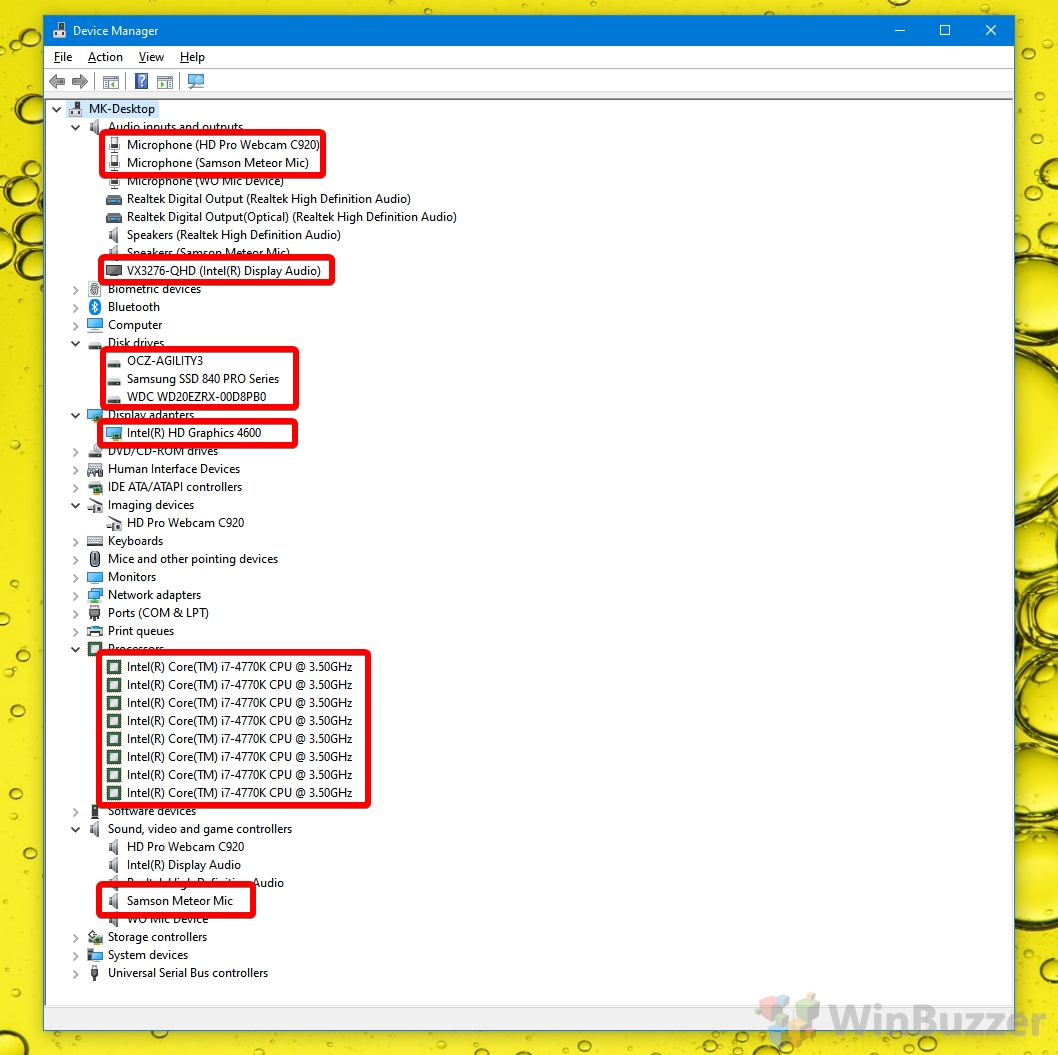
- View your system spec
You can view all of the hardware attached to your system in device manager by expanding the headings. As long as they have the correct drivers, you’ll see the correct name for your microphone, speakers, displays, drives, CPU, sound cards, and more. Your CPU clock speeds will also be displayed, but your RAM speed won’t. For that, follow our guide.
How to See Computer Specs and Check Processor via PowerShell
If you don’t have access to your system GUI, for example if you’re repairing your PC with installation media, you can use PowerShell to find your specs.
- Open PowerShell
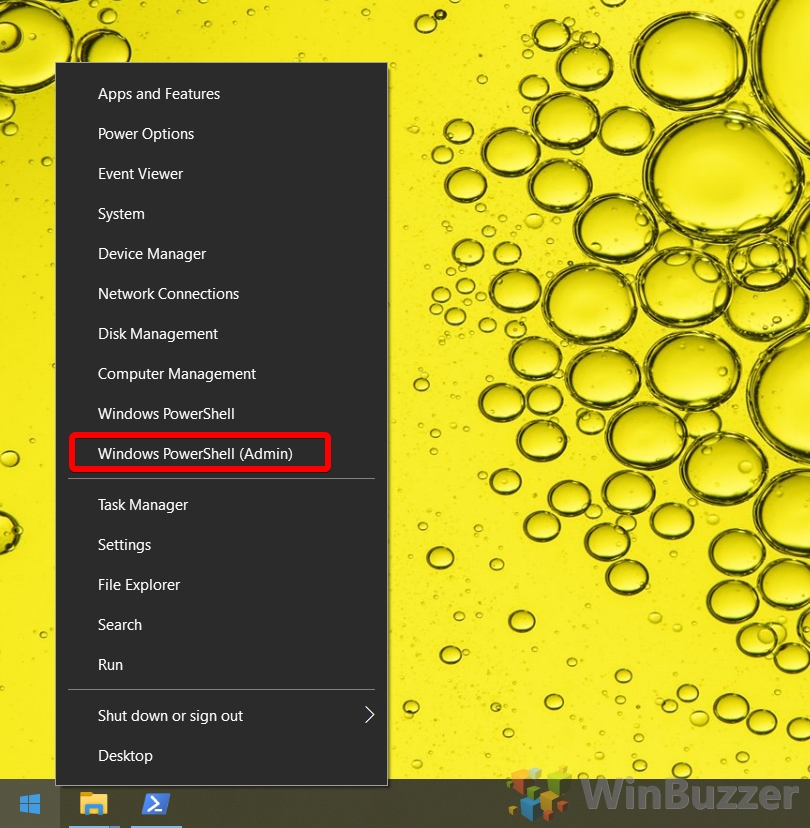
Press “Windows +X” and click “Windows PowerShell (Administrator)”.
- Enter the PowerShell system info command
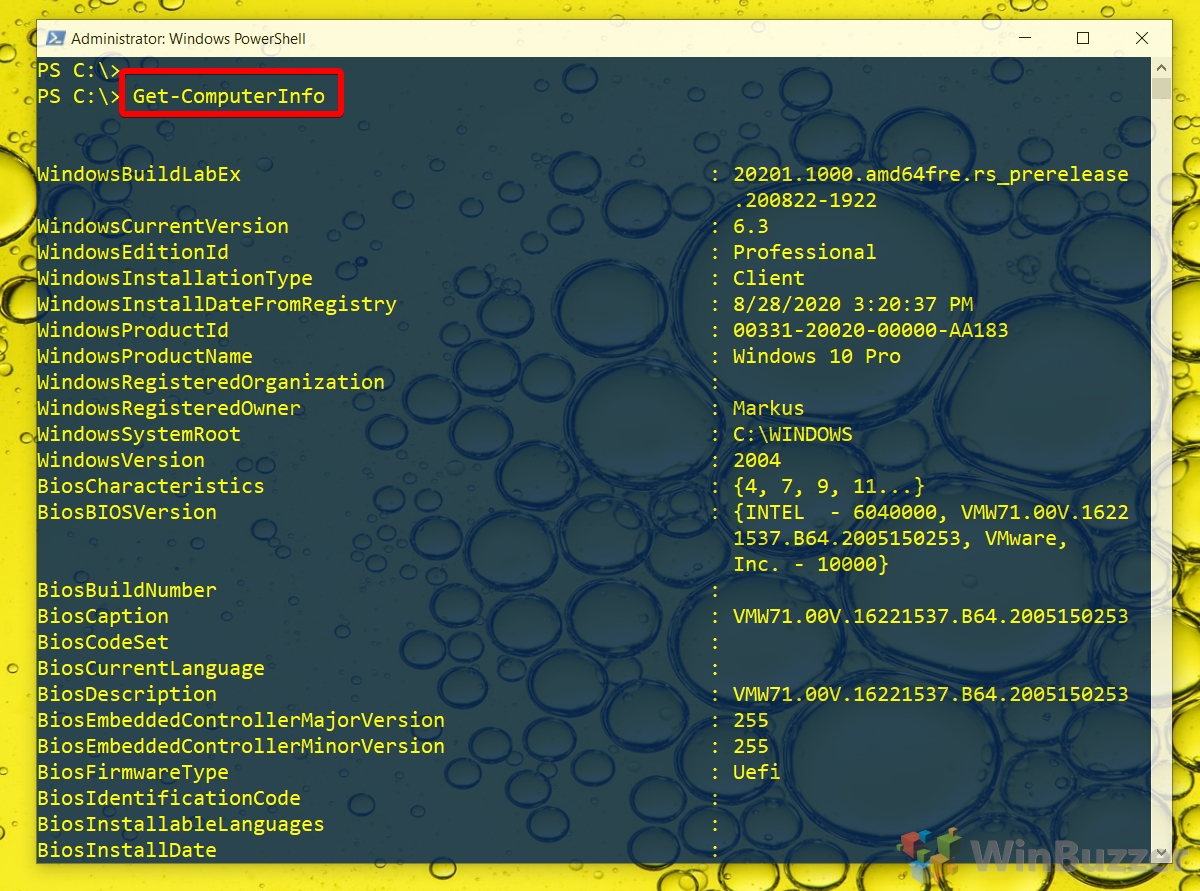
TypeGet-ComputerInfoand press “Enter”. It will return all of your system specifications, from the Windows version to Bios data.
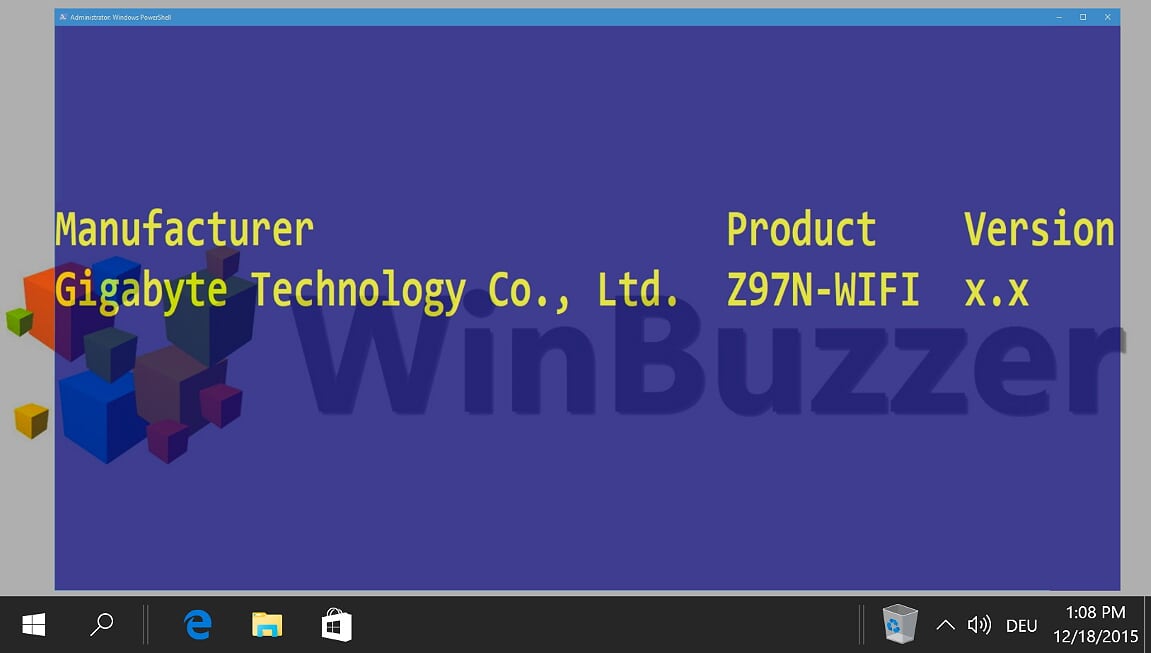
- How to check CPU specs with the the PowerShell system info command
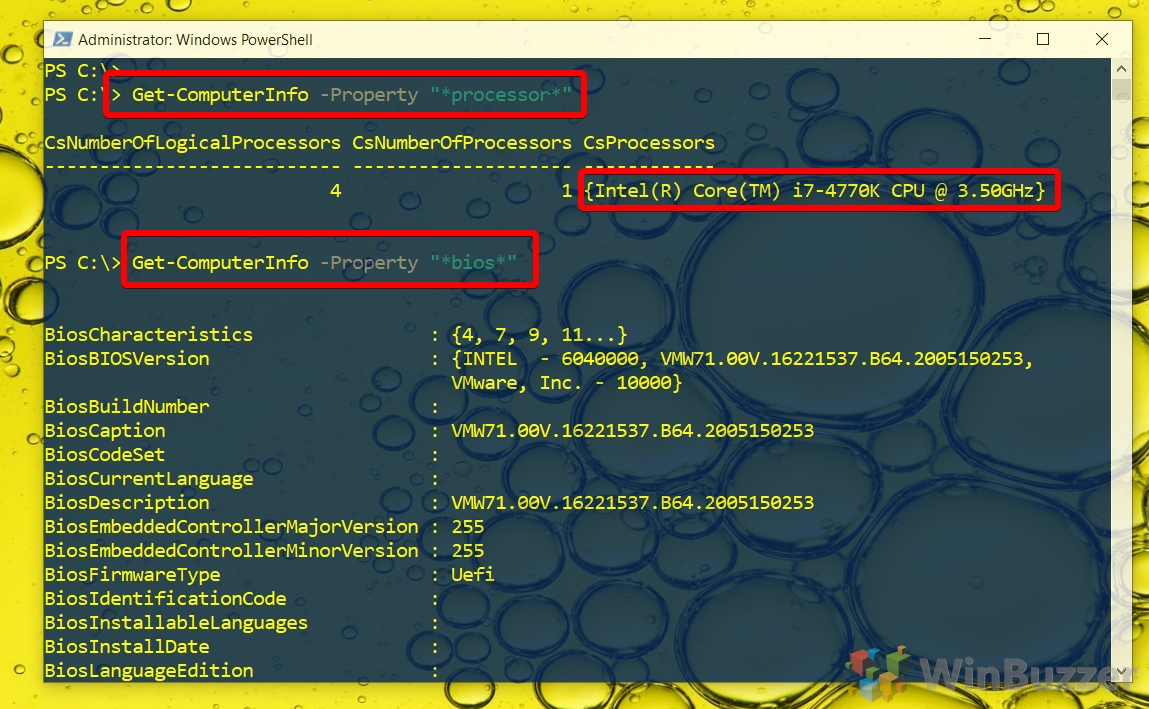
Alternatively, you can query a specific piece of system information, such as your processor details or bios info, by adding the-Propertyattribute followed by the hardware information you need, in quotes and asterisks. For example:
Get-ComputerInfo -Property "*processor*"
How to Get System Specifications via the System Info CMD command
If you don’t have access to or aren’t familiar with PowerShell, you can also use a system info cmd command to return similar information.
- Open Command Prompt
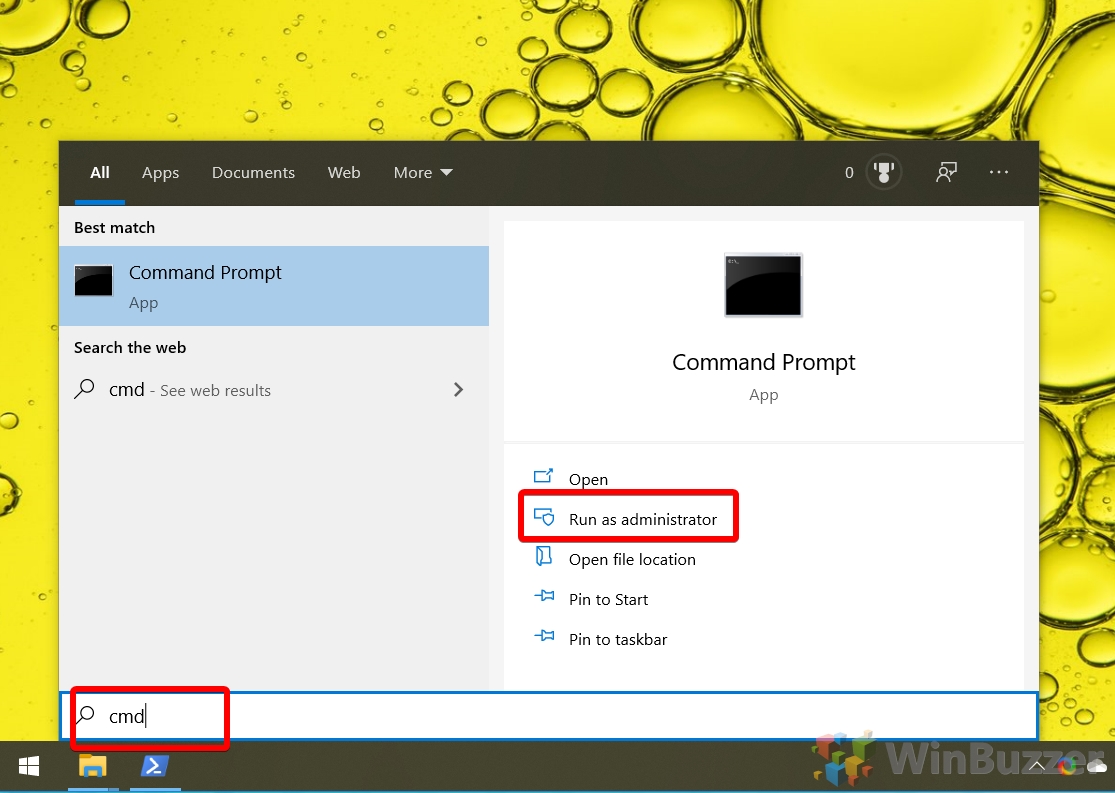
Press “Windows”, then type “cmd”. Click “Run as administrator” to open it.
- Enter the system info cmd command
In CMD typesysteminfoand press enter. It will return a full list of your hardware info, much the same as the system information app.

How to See PC Specs with Belarc Advisor
While Microsoft’s in-built tools do a serviceable job, third-party applications can give more detailed readouts in an easily shareable readout. One popular solution in that regard is Belarc Advisor, which is free for personal home use. After running it, you can follow the instructions below to see your full PC info.
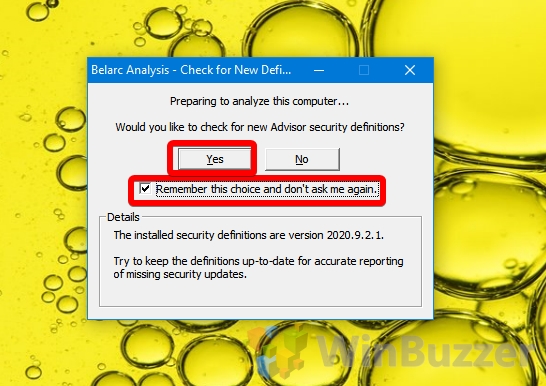
- Check for new security definitions
One major benefit to Belarc is that it will automatically check your PC to see if you have any missing security definitions that could affect the safety of your device. On first start, it’ll ask if you’d like to check for these definitions. Tick “Remember this choice and don’t ask me again”, then press “Yes”.
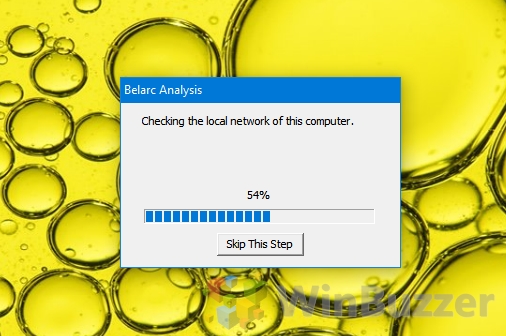
- Wait for the local network check
Belarc will scan the local network for relevant information. It’s up to you if you want to skip the step or wait for it to complete, but it shouldn’t take long at all.
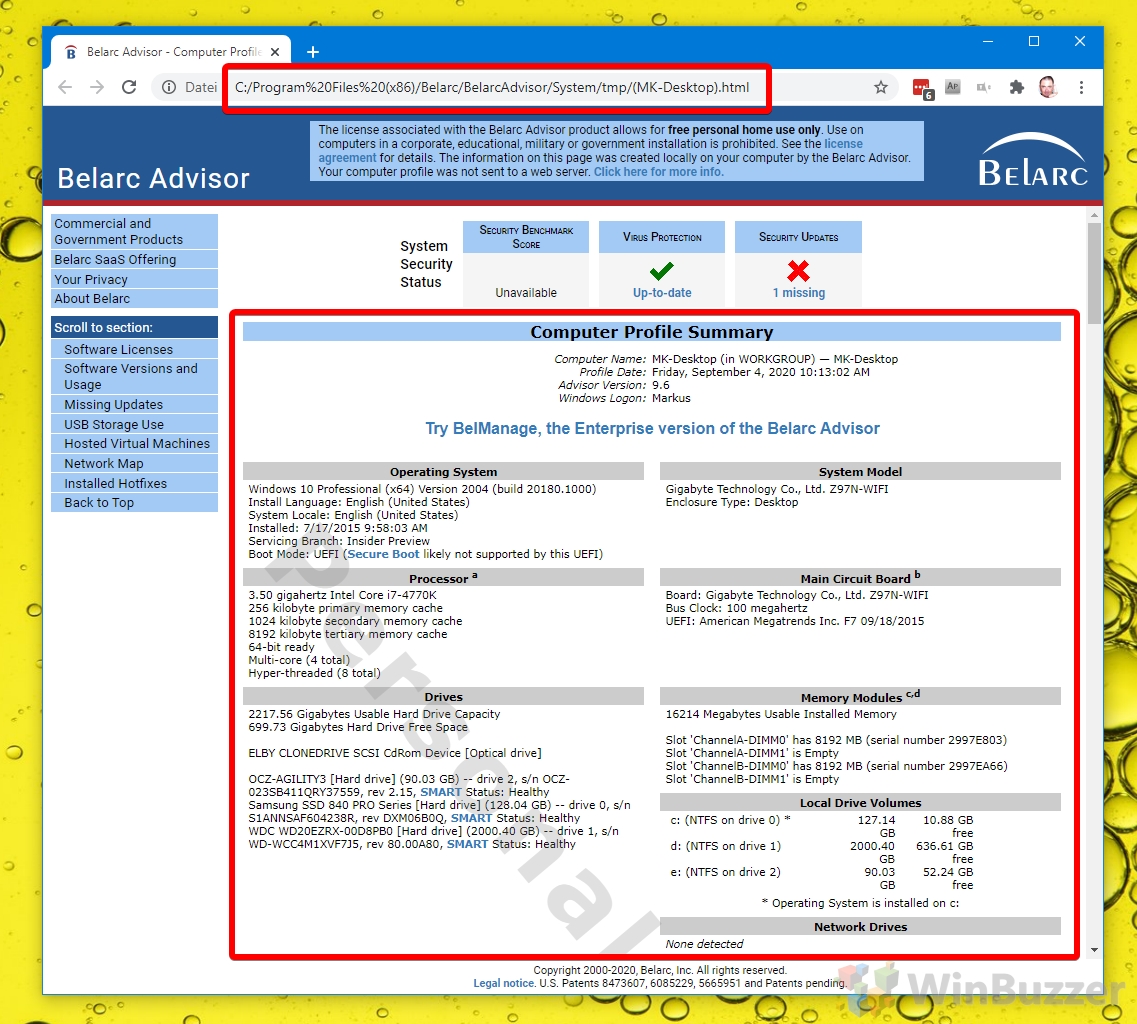
- Check your system information report
Belarc Advisor will open its report in your default browser after saving a .html file to your install folder. The readout will include information like your OS build and localization; processor model, memory caches, and cores; available space on each drive; and RAM information and even the Windows 10 product key and other serial numbers of installed third party software.
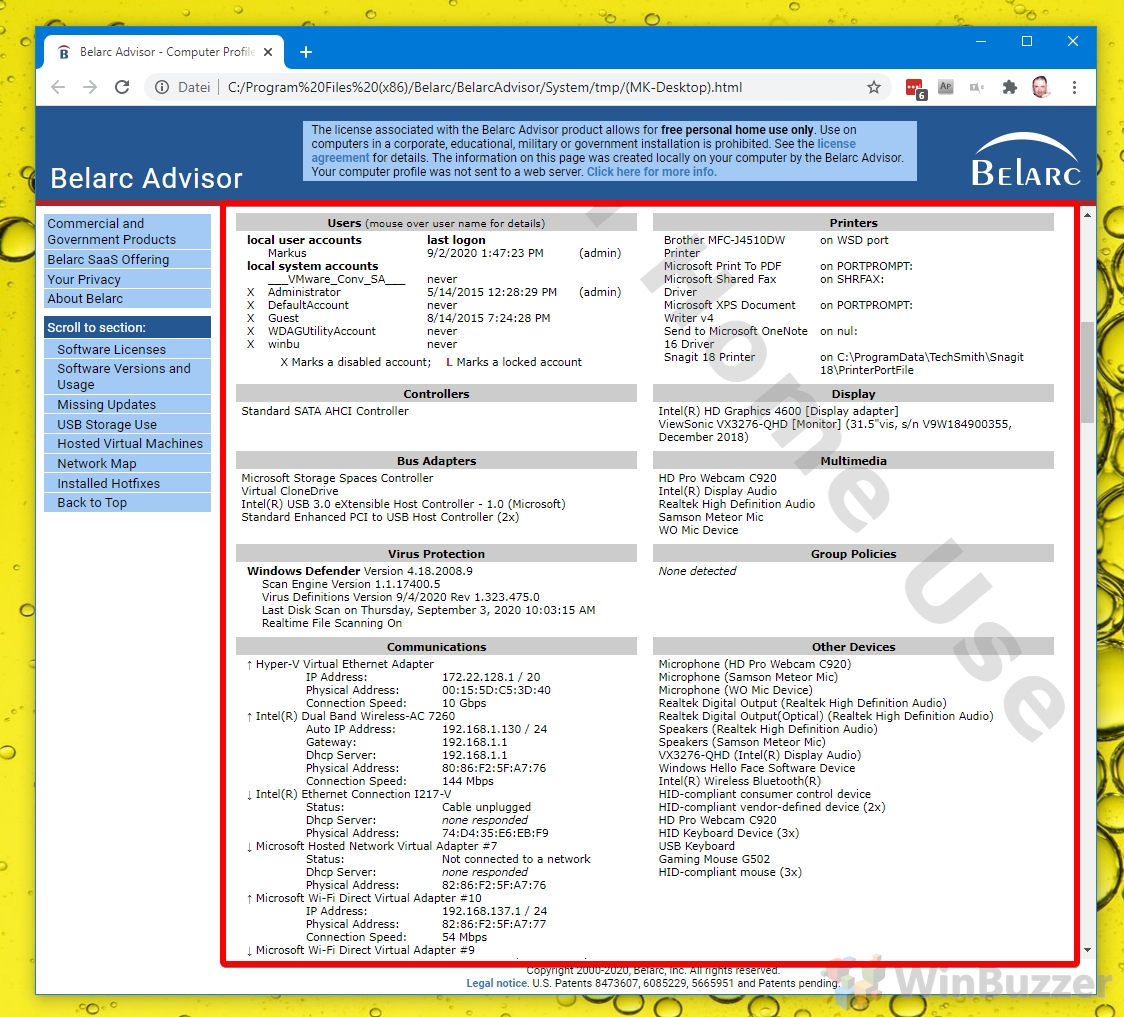
- Check GPU specs, users, and internet adaptors
Scrolling down will net you further information, including the local user accounts and their last login date, printers and their port, GPU/display adaptors, webcams, virus protection and definition version, and network adaptors. Some of this information can be a pain to get to with default windows tools, so it may we worth uploading the .html file or some screenshots to the cloud for safekeeping.
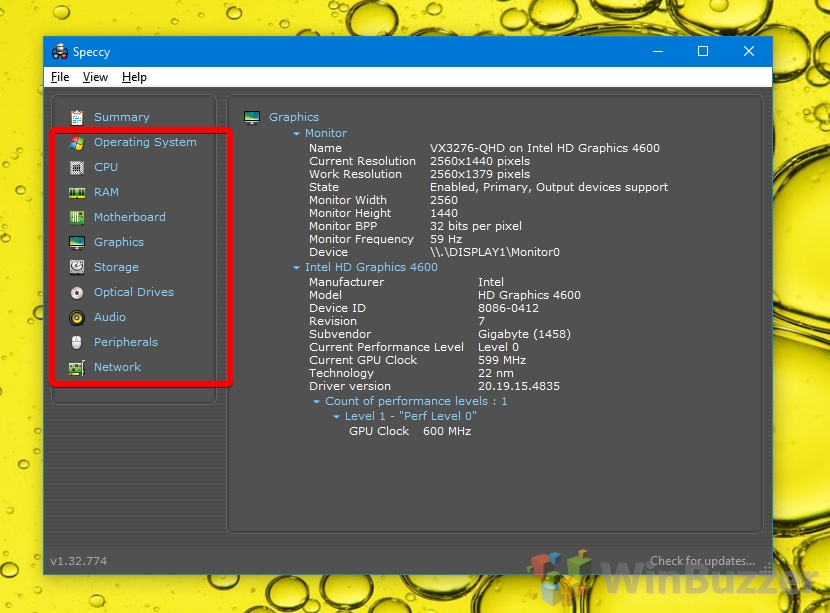
How to See Your Computer Specs with Speccy
While some third-party programs have Microsoft beat in the information provided, others do so while being more user-friendly and readable. Speccy provides much of the same information as Belarc Advisor, but displays it in an icon-based user-friendly readout.
- View your Windows configuration and specs with Speccy
After installation, Speccy will open to a summary of your PC which includes the operating system; processor model and clock speed; RAM; motherboard model; graphics card and monitor models; storage devices; audio devices; and more. Handily, it also displays the temperature of each device next to its name.

- Check your detailed system info
Move down the column on the left-hand side for more detailed PC info. The graphics section, for example, shows model, resolution, device ID, current clock, and driver version.
Extra: How to Check Which Graphics Card You Have
Regardless of if you’re planning an upgrade or checking if your PC makes a game’s system requirements, it’s useful to know how to check a graphics card on Windows. Though users often turn to third-party tools to so, there are also plenty of ways to perform a graphics card check via Windows tools, as we show in our other tutorial.
Extra: How to Check What Processor / CPU Is in Your PC
The Processor, commonly known as the CPU (Central Processing Unit) in any computing system, is the main chip designed to accept and execute instructions and produce a result for a specific purpose. If you want to know what Processor you have in your PC, check out our other guide.
Extra: How to Check RAM Type, Speed and Size on Windows
Whether you’re planning an upgrade, tuning CPU timings, or just curious, it’s handy to know information about your RAM. However, with old methods not being as user-friendly, many are left wondering how to check RAM speed on Windows and find information like its size and type. In our other guide, we show you how to check RAM speed, type, and size using several built-in Windows tools. You can then decide what method works best for you if you want to check hardware information in the future.

Extra: How to Check Your Motherboard Model Information on Windows
Have you ever asked how to check the motherboard model in Windows? How to find the motherboard serial number? Our tutorial will show you 3 simple methods for checking your motherboard model and related information on Windows.
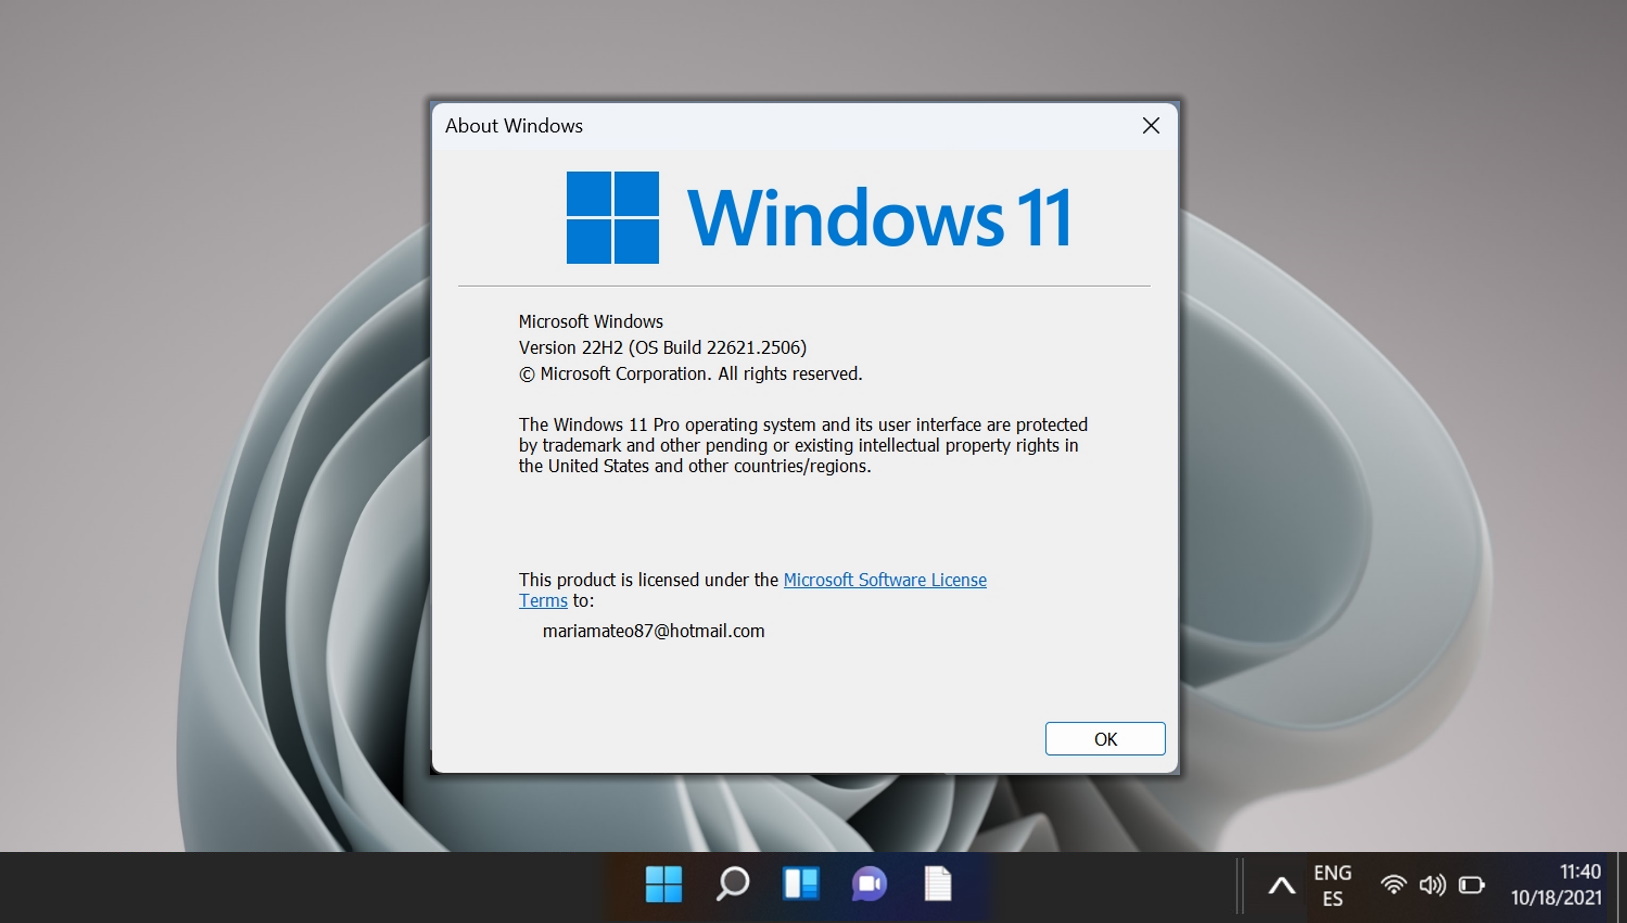
Extra: How to Check Your Windows Version, Edition and Build Number
Understanding the version of your Windows operating system is crucial for a variety of reasons, such as installing new programs, troubleshooting, and ensuring you have the latest security updates. In our other guide, we show you how to find your Windows version, edition and exact build number with various internal tools.
Last Updated on December 12, 2023 6:01 pm CET by Markus Kasanmascheff


