OS updates are something we all take for granted, but that doesn’t make it any less annoying when they experience issues. If you’re experiencing an unexplicable Windows Update error, we’re here to help.
Problems with Windows Update can take many forms, but for the most part, they can be resolved via a couple of methods. When Windows Update is not working in Windows 10, the first point of call is the Windows Update troubleshooter, but many find Microsoft’s tool to be next to useless. If you need to fully reset Windows Update, read on.
Is Windows update stuck on checking for updates?
We are going to show you how to reset Windows Update completely using advanced scripts from Microsoft Technet contributors Ryan Nemeth and Manuel F. Gill. These may get things moving if you’re stuck or are experiencing one of the following errors:
- Windows Update error 0x80070424
- Windows Update error 0x80240fff
- Windows Update error 0x80080005
- Windows Update error 0x80070422
- Windows Update error 0x80070424
What is the Windows Update Agent?
It’s good for peace of mind to know exactly what you’re dealing with before you change it. The Windows Update Agent (WUA) is a program that works in tandem with other update services to push patches to the system. It looks for the version number of your system and then searches a catalog of updates that come from Microsoft. It then downloads any missing files and can install them depending on your preferences.
This tutorial will cover a reset of both the Windows Update Agent and the settings of the Windows Update client. Let’s get started:
How to Reset Windows Update Client Settings
TechNet forums user Ryan Nemeth has made resetting the Windows Update client settings much easier by crafting a lightweight PowerShell script.
- Download the script
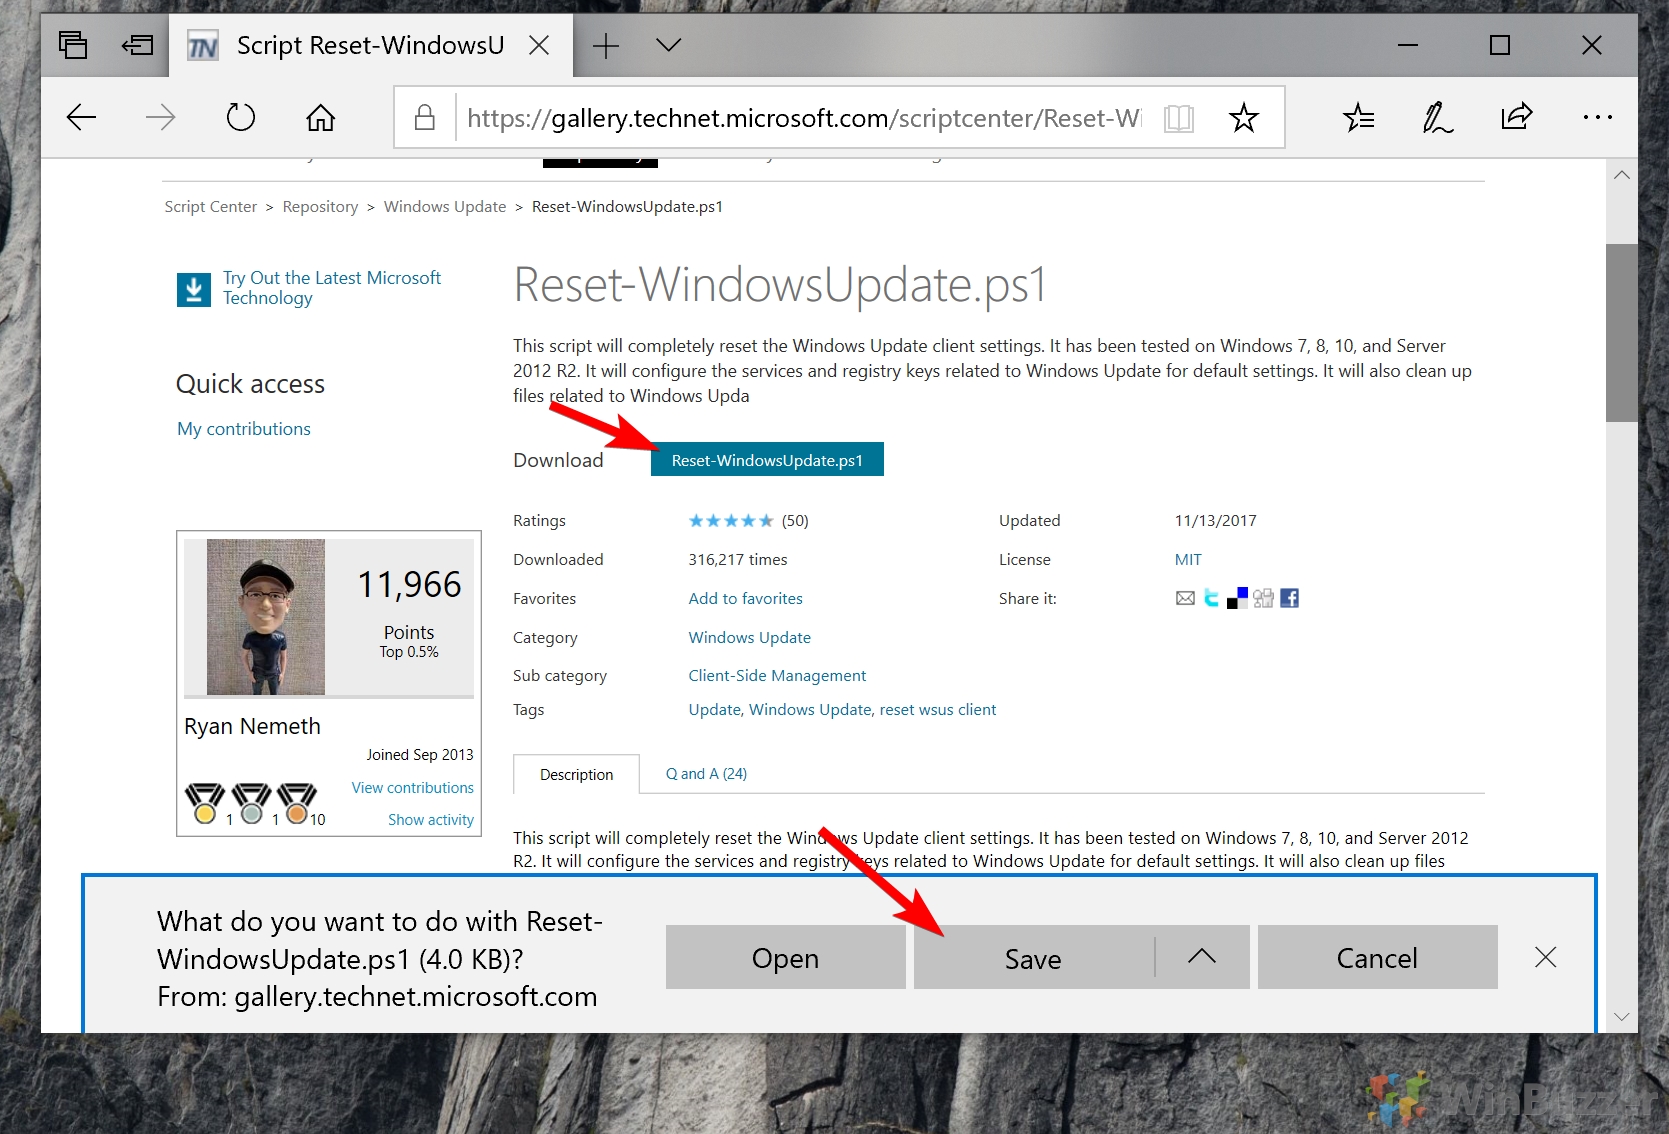
You can find the first script here (or here). Click “Reset-WindowsUpdate.ps1” to download it and hit “Save”.
- Edit the script
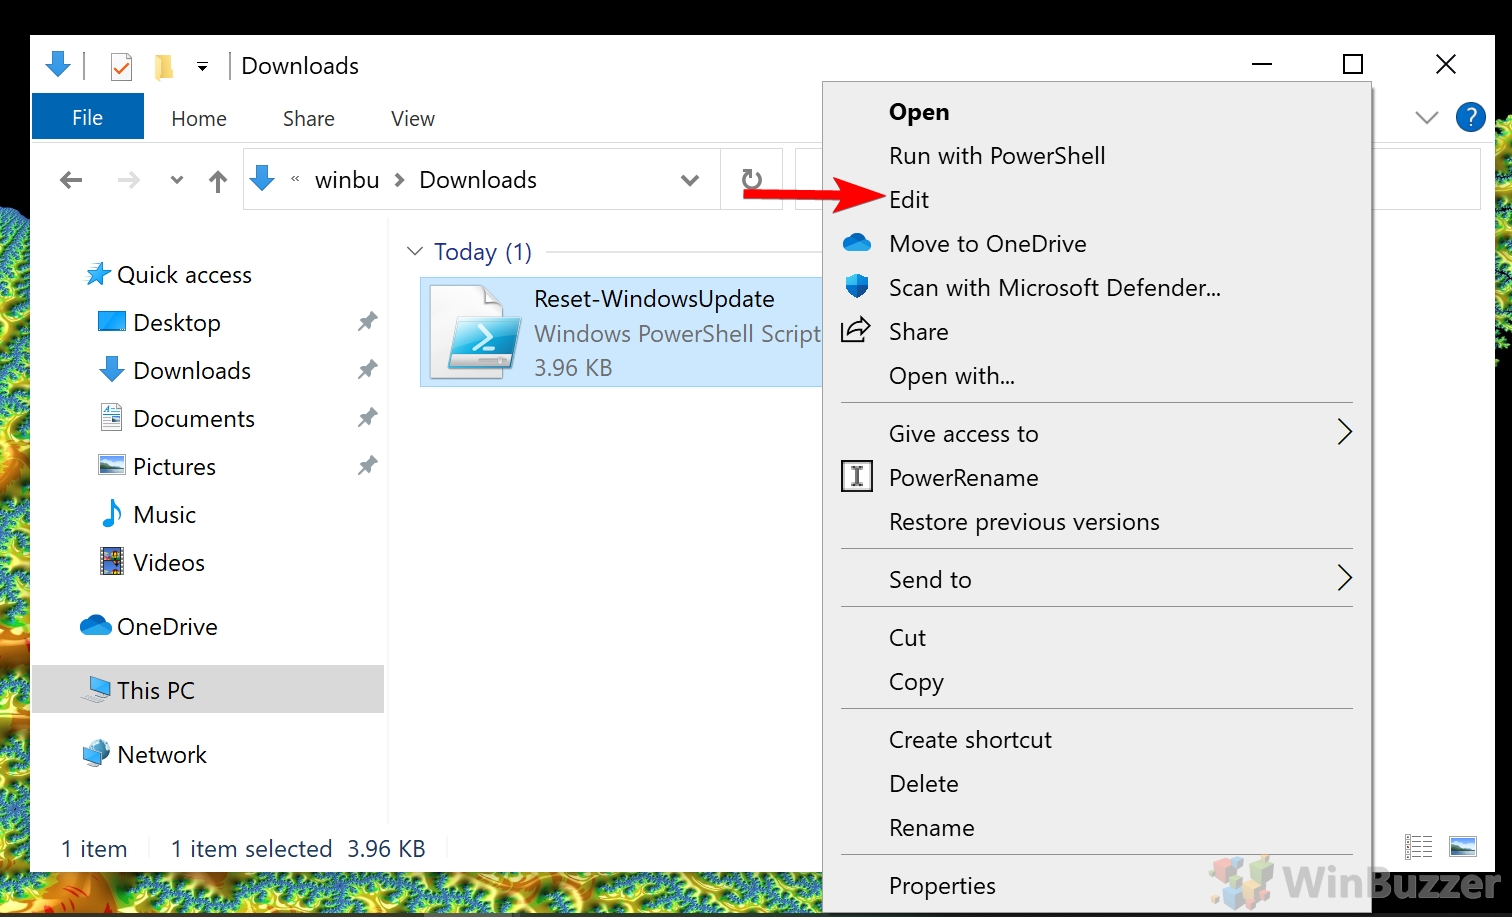
If you aren’t using Windows’ hidden administrator account, the script may throw up “Access Denied:” errors. You can download our modified script and move to step 4, or right-click the script and choose “Edit”.
- Add an administrator permissions prompt to the script
In Windows PowerShell ISE add the following code at the beginning of the script:if (!([Security.Principal.WindowsPrincipal][Security.Principal.WindowsIdentity]::GetCurrent()).IsInRole([Security.Principal.WindowsBuiltInRole]::Administrator)) { Start-Process PowerShell -Verb RunAs "-NoProfile -ExecutionPolicy Bypass -Command `"cd '$pwd'; & '$PSCommandPath';`""; exit; }
Press the save icon. The script should now prompt you to run PowerShell as an admin. - Run the script with PowerShell
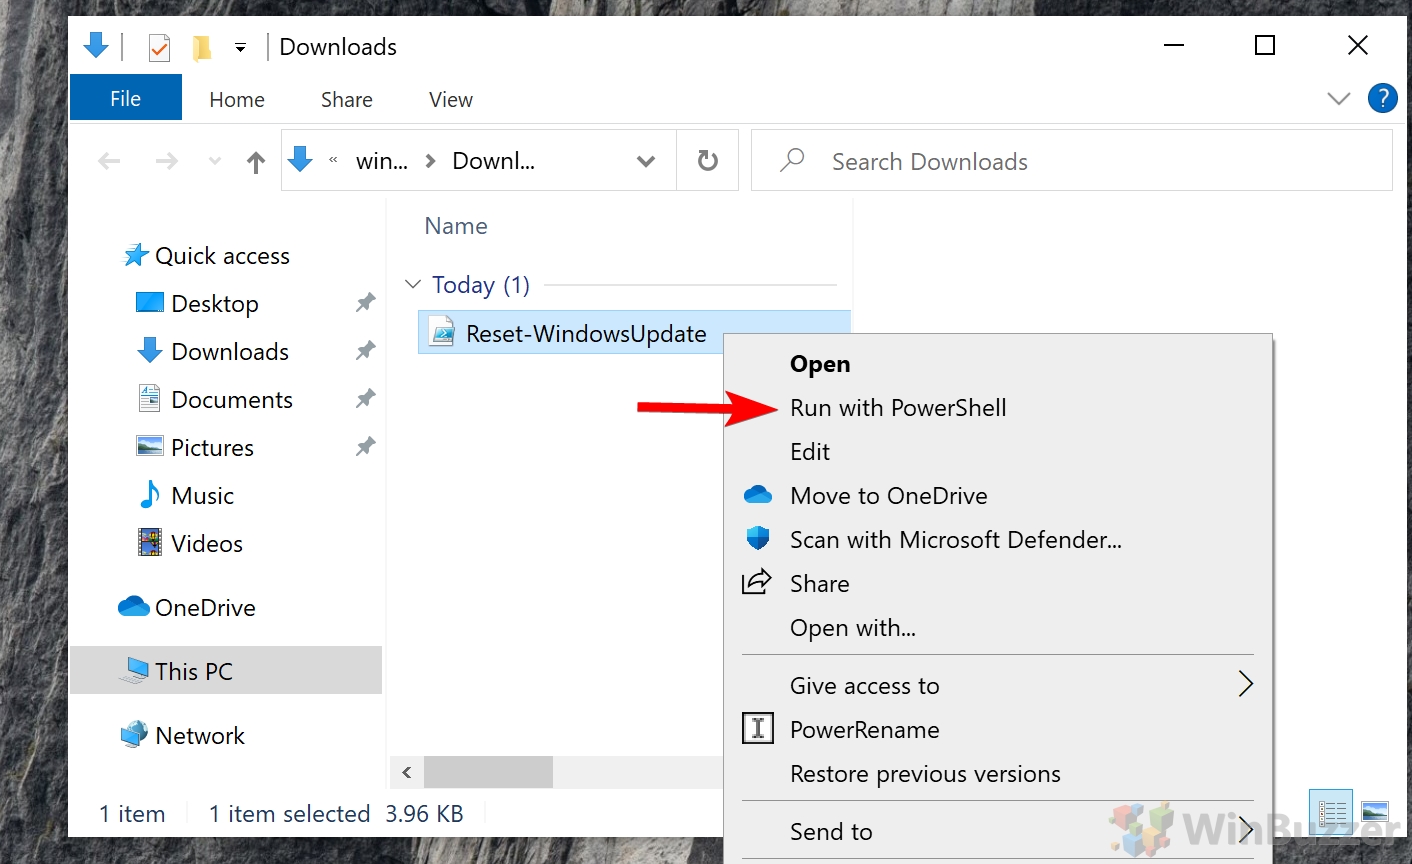
In the Downloads folder or wherever you saved the file, right-click it and choose “Run with PowerShell”.
- Accept the Execution Policy Change
For protection, Windows 10 does not let you run random scripts without its approval. PowerShell may prompt you to change the execution policy. As we only want to accept this script, not all scripts, reply with “Y” in the command line. Press “Enter”.
- Wait for the script to run
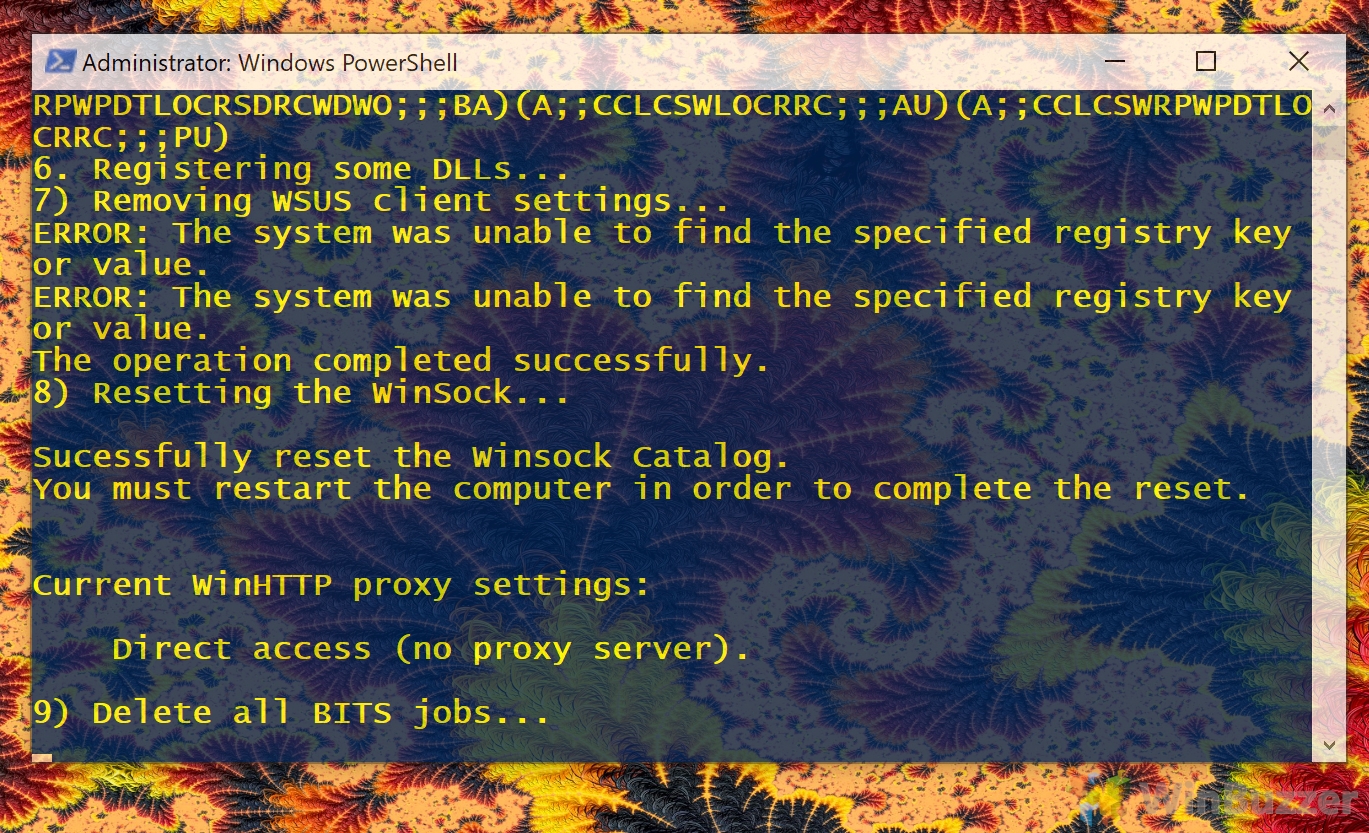
The script will now perform all the necessary changes to your Windows Update client. Restart your PC.
How to Reset the Windows Update Agent with PowerShell
Resetting the Windows Update agent follows much the same process, but uses a script by Manuel F. Gil.
- Download the script
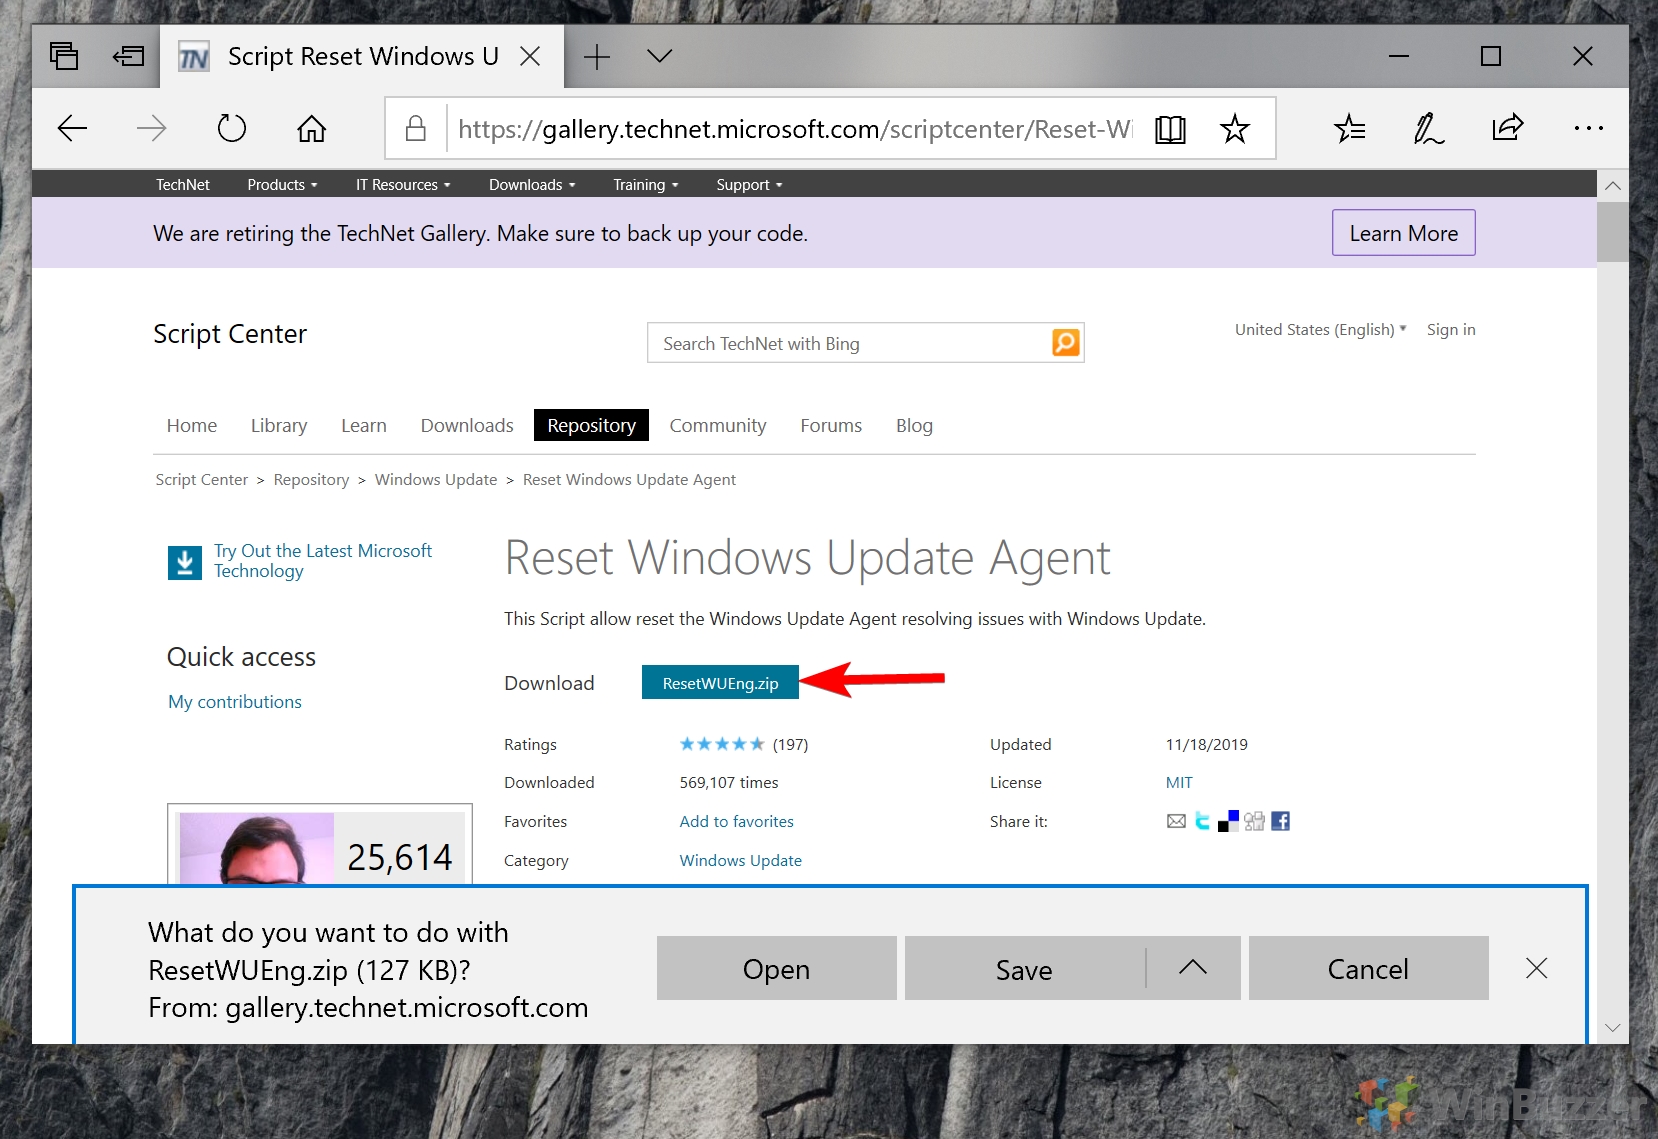
You can find the Windows Update reset script here (or here) Press the “ResetWUEng.zip” button to download it and click “Save”.
- Extract the files
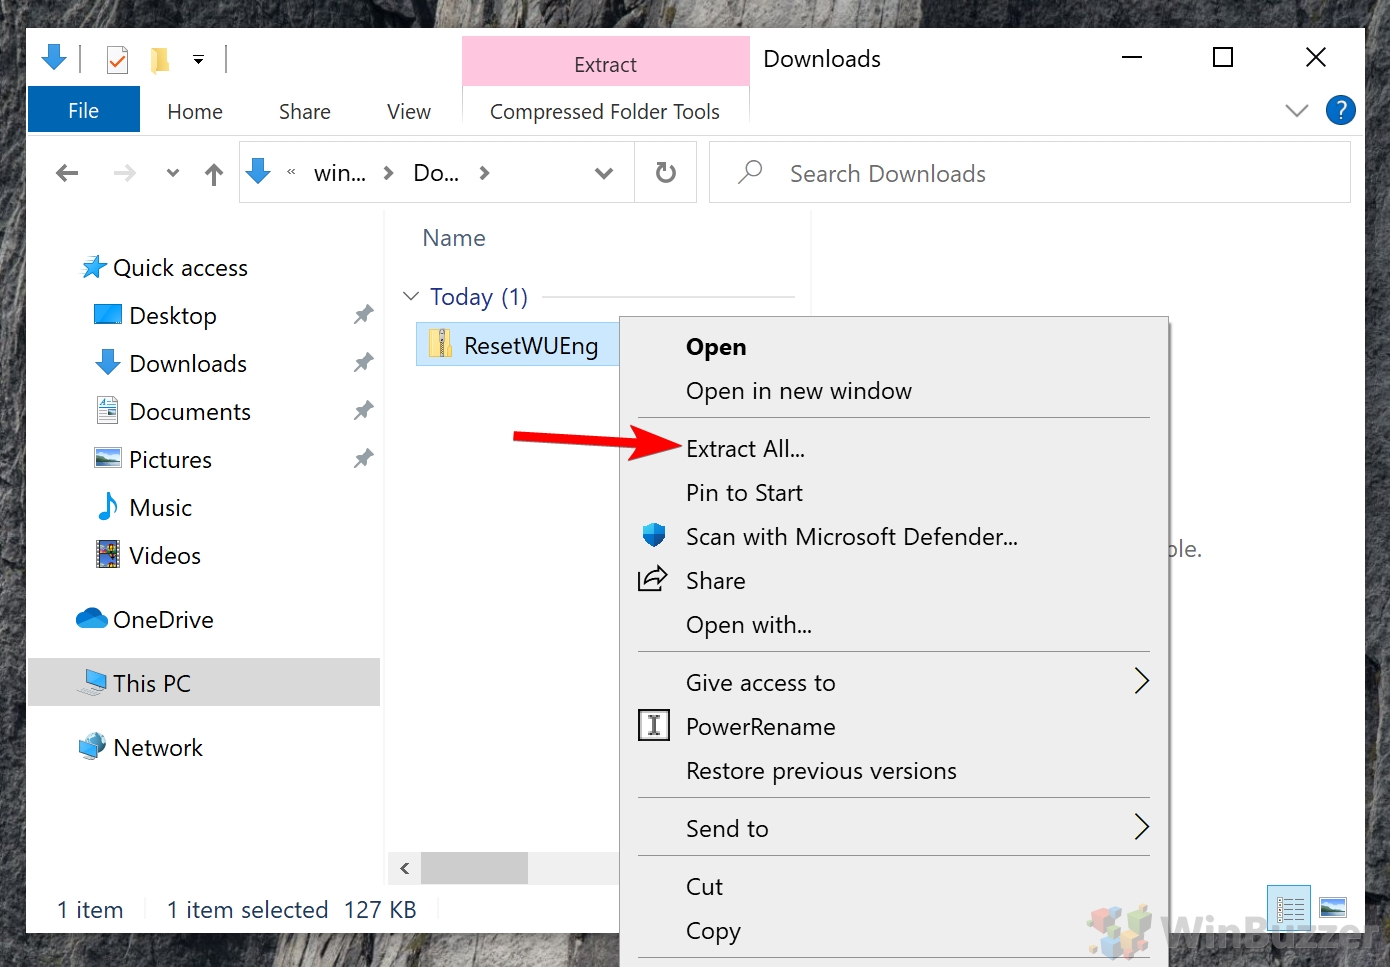
In your downloads folder, right-click “ResetWUEng” and choose “Extract All…”.
- Run SetupDiag.exe
In the extracted files look for “SetupDiag.exe” and double-click it. This tool will look for any issues with Windows Update Agent and reset it if it finds them.
Last Updated on March 18, 2021 5:04 pm CET by Markus Kasanmascheff

