Windows 10's move towards the cloud can be both a blessing and a curse. This can be seen most clearly in its Sync your settings option, which ensures your OS remains familiar even if you're on a different PC. For some, this is a useful time-saver, but it can be frustrating if your configuration varies for a reason. We're going to show you how to configure Windows 10 sync settings to remove those annoyances.
First, it's worth noting that Windows 10 sync settings only apply to a single account. If you use a different account for work and school, the options won't be affected. This is primarily for those who own a laptop and a desktop, for example, or share their account with someone on a separate PC.
For those who fall somewhere in between, Windows 10 sync settings offer a modular system. You can sync your wallpaper, for example, but not your language preferences, or passwords. The Windows 10 Timeline's activity history syncing can also be adjusted, albeit through a different window, as can clipboard sync. Let's jump into how to configure each of them:
How to Enable or Disable Windows 10 Sync Your Settings
Microsoft makes Sync your settings adjustments very simple via in-built toggles.
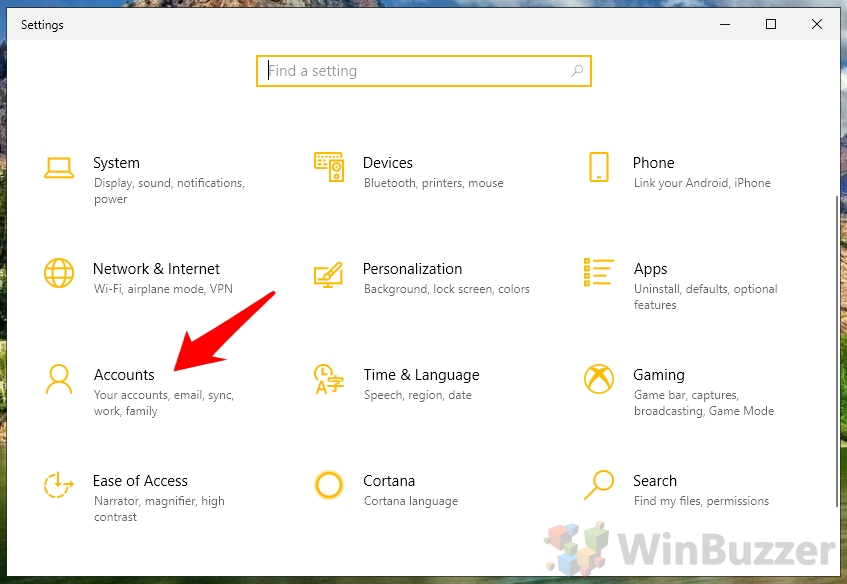
- Open Windows 10 account options
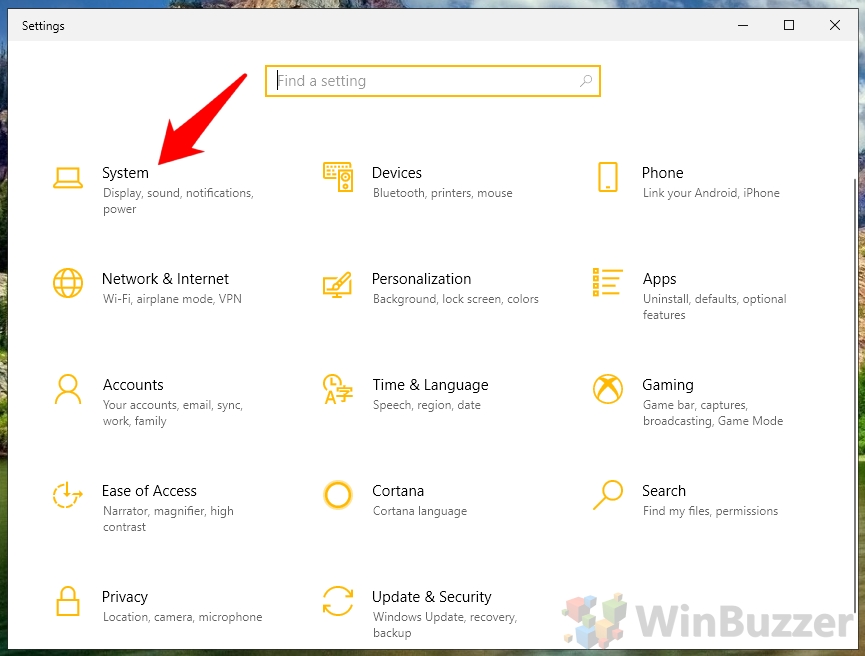
Press “Windows + I” to open Windows 10 settings and click “Accounts”.
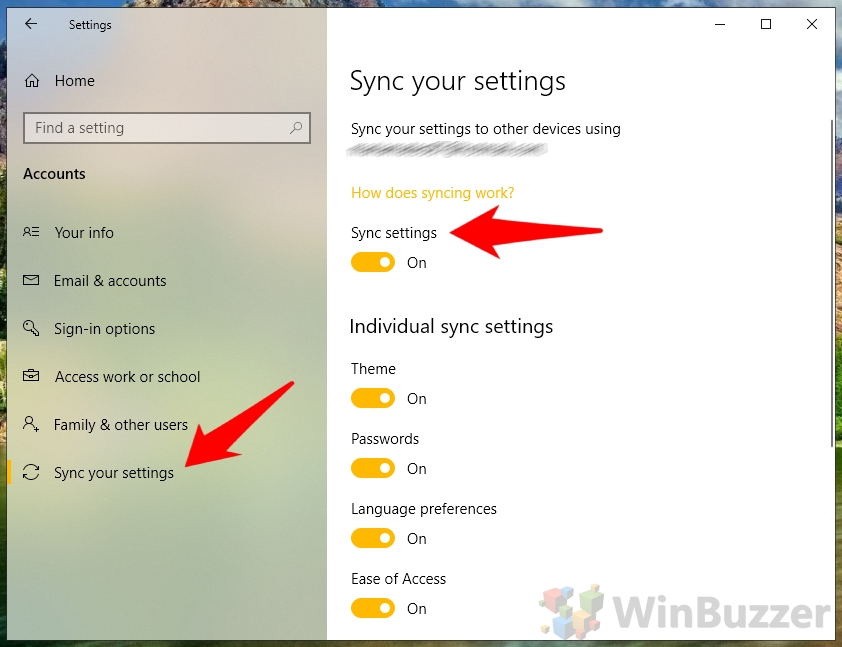
- Toggle Sync your settings
On the accounts screen, click “Sync your settings”. Here, you can toggle the “Sync settings” button to complete enable or disable the feature.
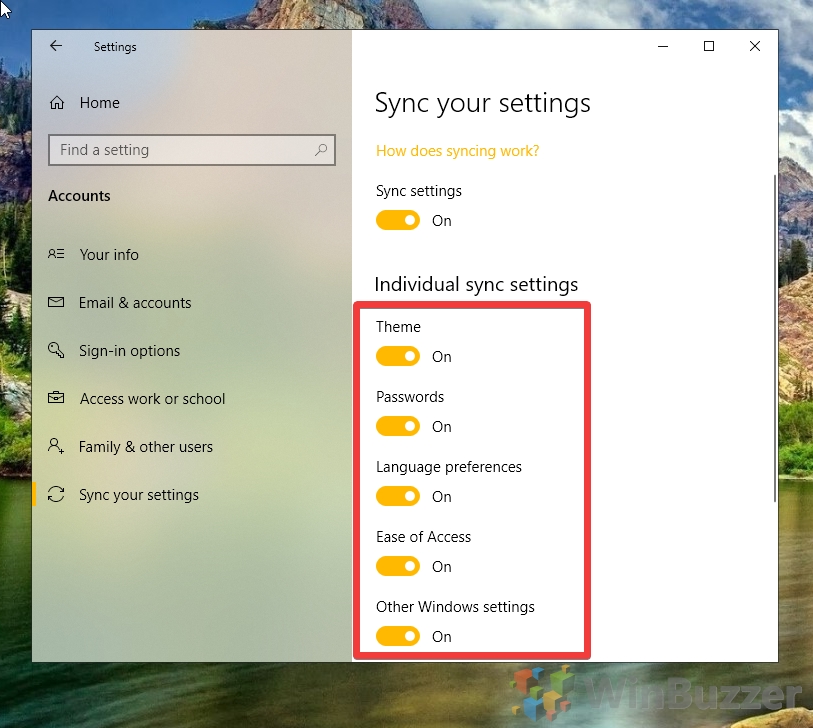
- Partially sync your settings
You can sync just the settings you want under the “Individual sync settings” sub-heading, including Theme, Passwords, Language preferences, or Ease of Access.
How to Enable or Disable Windows 10 Activity History Sync
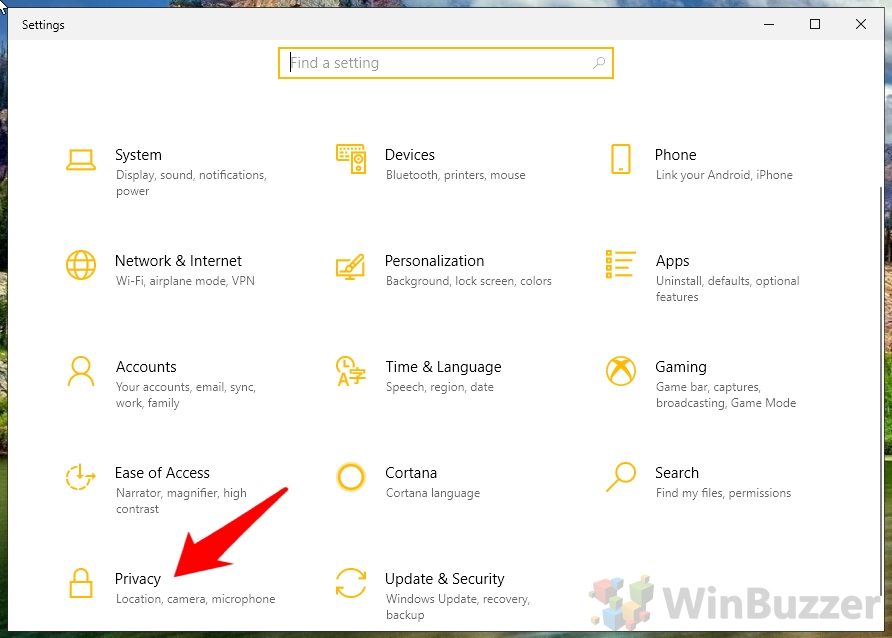
As mentioned earlier, Activity History sync options are found in a different place, but the process is just as simple.
How to Enable or Disable Windows 10 Clipboard Sync
Clipboard Sync is found under yet another different settings menu.


