There are few things more frustrating than persistent blue screens or crashes that you are unable to identify the cause of. To aid in this type of troubleshooting, Microsoft offers the Windows 10/Windows 11 memory dump feature. Today, we’re going to show you how to do a complete memory dump in Windows 11 or Windows 10 today so you can get the root of your issues.
What Are Windows System Memory Dump/Crash Dump Files?
A Windows 10/Windows 11 memory dump is a copy of your computer’s memory at the time of a crash. It’s because of this that you may have heard to them referred to as Windows 10 or Windows 11 crash dumps.
Though it isn’t widely discussed, there are actually three types of memory dump in Windows 11 and Windows 10: a complete memory dump, a kernel memory dump, and a small memory dump.
A small memory dump comes in at just 256kb, and contains only the barebones information about the crash. Information such as the error code, a list of loaded drives, and some kernel information.
The kernel memory dump is about one-third of the size of your system’s physical memory. It contains only memory related to the Windows kernel and hardware extraction level, as well as memory allocated to kernel-mode drivers and programs.
In most cases, the kernel memory dump will give everything you need. In some cases, however, you may need the final type: a complete memory dump. A complete memory dump will create a copy of all the information in your computer’s memory at the time of the crash. So, if you’re using 16GB of RAM, that will be a 16 GB file. In some cases, this can be used to better diagnose the source of the issue.
⚠️ Please note: The process described below is the same in Windows 11 as it is in Windows 10. However, bear in mind that we’ll be using screenshots from Windows 11, so your UI may look a little different. We’ll point out any changes you need to be aware of as they come up.
How to Do a Complete Memory Dump in Windows 11 and Windows 10
To generate a complete memory dump in Windows 11 or Windows 10 you first need to modify your boot options to include the maximum memory option. You can then use the system properties menu to enable a complete memory dump, which will complete next time you experience a crash.
- Open System Configuration
Press the “Start” button, type “System Configuration”, and click the top result. This action opens the System Configuration utility, a central location for modifying various system settings.

- Access Boot Options
Navigate to the “Boot” tab and click “Advanced options…”. This step allows you to modify boot parameters, which is necessary for enabling complete memory dumps.

- Enable Maximum Memory
In the BOOT Advanced Options, check the “Maximum memory” box and press “OK”. This setting ensures that Windows uses the maximum available memory, which is required for capturing a complete memory dump.

- Confirm and Restart
Click “OK” on the main System Configuration screen. You’ll need to restart your computer for these changes to take effect.

- Note Down BitLocker Key if Needed
If you receive a BitLocker warning, make sure to note down your BitLocker key before pressing “Yes“.

- Adjust System Properties
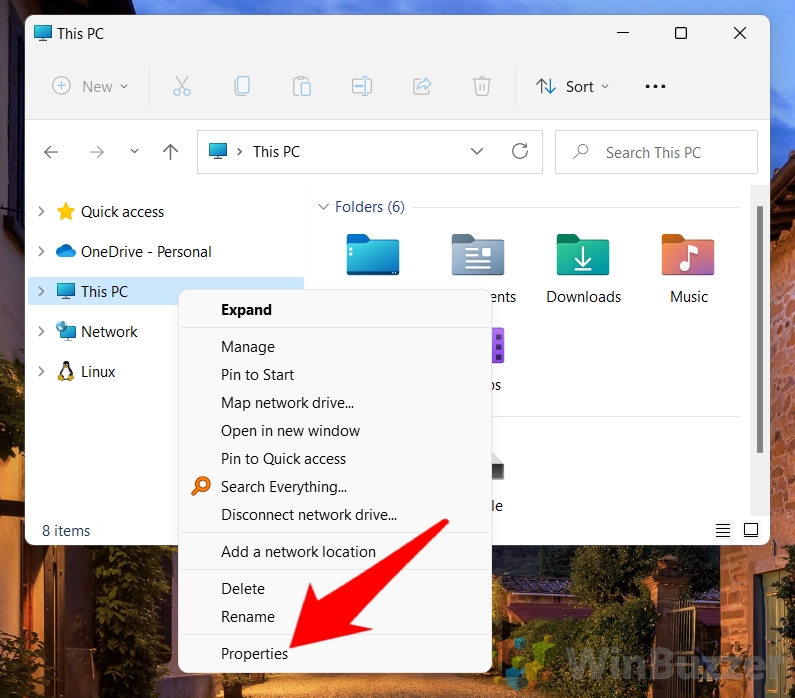
Open File Explorer, right-click “This PC”, and choose “Show more options”. Then, select “Properties” from the context menu to access your system’s properties.

- Press “Properties” in the “Show more options” menu
This opens the “About” section in the “Settings” app.

- Access Advanced System Settings
Scroll to the “Related links” section and click “Advanced system settings”. This action opens the System Properties window directly on the Advanced tab.

- Modify Startup and Recovery Settings
Click the “Settings…” button under the “Startup and Recovery” section. This opens a dialog where you can specify how Windows reacts to system failures.

- Select Complete Memory Dump
In the Startup and Recovery settings, click the dropdown under “Write debugging information” and choose “Complete memory dump”. Press “OK” and restart your system to apply the changes.

- Reproduce the Issue and Locate the Memory Dump File
After enabling complete memory dumps, the next step is to reproduce the issue that leads to the system crash. Once the crash occurs, Windows will generate a memory dump file located in%SYSTEMROOT%, typically named MEMORY.DMP. You can analyze this file using the WinDbg tool to diagnose the cause of the crash.


FAQ – Frequently Asked Questions About Memory Dumps
What should I do if I don’t see the option for a ‘Complete memory dump’ in the settings?
If the “Complete memory dump” option is missing, first verify that your page file (virtual memory) is set large enough; it should be at least the size of your physical RAM plus 257 MB. Additionally, this option may not be available on all editions of Windows, such as some Home versions. Ensure you have administrative privileges when making changes and consider updating to the latest Windows version if applicable.
Can a memory dump contain sensitive information?
Yes, a memory dump can contain very sensitive information, including passwords kept in memory at the time of the crash, personal data, and information about running programs. Given this, memory dumps should be secured appropriately. If you’re sending a dump file to a support team or third party for analysis, ensure they’re reputable and understand the potential privacy implications.
How much disk space do I need for a complete memory dump?
The required disk space for a complete memory dump can be considerable. It is directly related to your system’s RAM size, as the dump file includes all the content of your computer’s memory at the time of the crash. You’ll need disk space equal to at least the size of your installed RAM plus an additional 257 MB to ensure there’s enough space for the dump file and metadata. It’s a good idea to regularly monitor disk space if your system frequently generates dumps.
Is it safe to delete old memory dump files?
Yes, it is generally safe to delete old memory dump files if they are no longer needed for diagnostic purposes. However, it’s wise to analyze and ensure the issues related to those dumps have been resolved before deleting them. Memory dump files can take up a significant amount of space, so removing unnecessary files can help manage disk usage. Always back up important data before deletion.
Can enabling complete memory dump slow down my system?
Enabling complete memory dump functionality itself should not directly slow down your system since the dump is only created at the time of a system crash. However, it requires making sure there’s enough disk space for the dump file, which can be large, depending on your RAM size. Without sufficient disk space, your system might run into issues unrelated to the memory dump settings, potentially impacting performance.
How can I trigger a manual memory dump for testing purposes?
Manually triggering a memory dump, commonly used for testing or diagnostic purposes, involves specific configurations and might require changes in the registry or physical memory settings. Professional users can configure keyboard shortcuts (such as a specific key combination) through Windows Registry to initiate a memory dump manually. Caution is advised when making these changes, as incorrect settings can lead to system instability.
What tools can I use to analyze a memory dump file in Windows?
The primary tool for analyzing memory dump files in Windows is the Windows Debugger (WinDbg), available as part of the Windows Software Development Kit (SDK). This tool requires some technical knowledge to use effectively. For less technical users, Microsoft offers the Online Crash Analysis tool, and there are third-party solutions that provide a more user-friendly interface for basic analysis.
Is it possible to automate the analysis of memory dump files?
While automating the analysis of memory dump files is advanced and requires technical knowledge, it is possible. Using scripts with WinDbg or integrating with automated analysis platforms can help streamline the process for repeated issues or for developers monitoring application stability. Ensure you have a deep understanding of scripting and the tools used for analysis.
How do I ensure my memory dump analysis is accurate?
Ensuring accuracy in memory dump analysis involves a few key steps. First, always use the latest version of debugging tools and ensure they’re configured correctly, particularly with the correct symbol files, which are crucial for mapping memory addresses to meaningful data. Understanding the context of the crash and comparing multiple dumps (if available) can also provide insights into recurring issues versus one-time events.
What is the difference between a complete memory dump and using the Reliability Monitor?
A complete memory dump provides a detailed snapshot of everything in system memory at the moment of a crash, helpful for in-depth analysis. In contrast, the Reliability Monitor presents an overview of system health, including a timeline of system events like software installations, system updates, and crashes. While Reliability Monitor helps identify patterns or recurring issues, it does not offer the in-depth data of a memory dump.
Why might I not want to enable complete memory dumps?
Opting against complete memory dumps may be due to concerns about disk space, as these dumps can be very large, or due to privacy concerns, considering the potential for sensitive information to be included in the dumps. In environments where disk space is limited or data sensitivity is paramount, configuring smaller, more targeted dumps (such as kernel dumps) might be preferable.
Can I choose a custom location for the memory dump file?
By default, Windows stores memory dump files in the %SYSTEMROOT% directory, but advanced users can configure Windows to store these files in a custom location. This involves modifying the registry or using Group Policy settings, actions that should be taken with caution as improper configurations can lead to system issues.
Does configuring for a complete memory dump impact system performance during normal operation?
The configuration for complete memory dumps should not impact the performance of your system during normal operation. The setting primarily alters how the system reacts to crashes, not affecting regular system performance. However, ensuring the system has adequate resources and monitor disk space usage is essential, as lack of space can cause issues.
How frequently should I check for new memory dump files?
The necessity to check for new memory dump files largely depends on the stability of your system. For stable systems, periodic checks during routine maintenance should suffice. However, if troubleshooting persistent issues, checking after each crash or system failure is recommended. Regular monitoring helps early identification and resolution of new or aggravating issues.
Can the complete memory dump settings affect my system’s startup time?
The settings for a complete memory dump are designed to take effect only in the event of a system crash and do not influence the system’s startup time under normal conditions. You should notice no change in how quickly your system boots up after configuring these settings, as they do not impact the system’s operation until a crash occurs.
Extra: How to Configure Blue Screen (BSOD) Dump Files in Windows 11 or Windows 10
A dump file, memory dump, or crash dump is a copy of your PC’s memory at the time it crashed. Knowing exactly what was in your computer’s memory before it departed to the blue realm is naturally useful to discover what caused it. In our other guide, we show you how to configure a BSOD dump file in Windows 11 or Windows 10 via the Control Panel/CMD, and where to find dump file locations.

How to Use Reliability Monitor to Analyze System Crashes and Freezes in Windows 11 / Windows 10
For users seeking alternative methods to diagnose system crashes, Windows also offers tools like the Reliability Monitor. This utility provides a timeline of system events, including crashes, which can help identify problematic software or drivers without delving into memory dumps. In our other guide, we show you how to use Reliability Monitor, including how you can view Reliability History in Windows 11 or Windows 10 and create a shortcut for easier access.

Extra: How to Use DISM and SFC to Repair Windows 11 or Windows 10
The SFC tool is a native Windows utility that scans for and repairs corrupted or missing system files. It’s a straightforward process that can quickly resolve many common issues with Windows 11 and Windows 10. DISM checks and repairs the Windows component store, a repository for system files. In our other guide, we show you how to use the SFC and DISM repair tools in Windows 11 and Windows 10.