

Microsoft Word tables are a useful way to display information without having to resort to an Excel spreadsheet. Sometimes, however, it’s necessary to merge or split cells in a Word table to better get your point across. We’re going to be showing you how to merge cells in Word so that two columns become one, as well as how to split a cell in Word to do the opposite. We’ll be guiding you through the same for entire tables, too.
What do I mean by that? Let’s use an example: you have two tables, one above the other, but you want to combine them into a single, larger table. By using the merge function, you can do just that. If you then want to break them apart again, you can do so using the split function.
How to Merge Cells in Word
Merging cells in Word is a straightforward process. This tutorial will guide you through two different methods to achieve it.
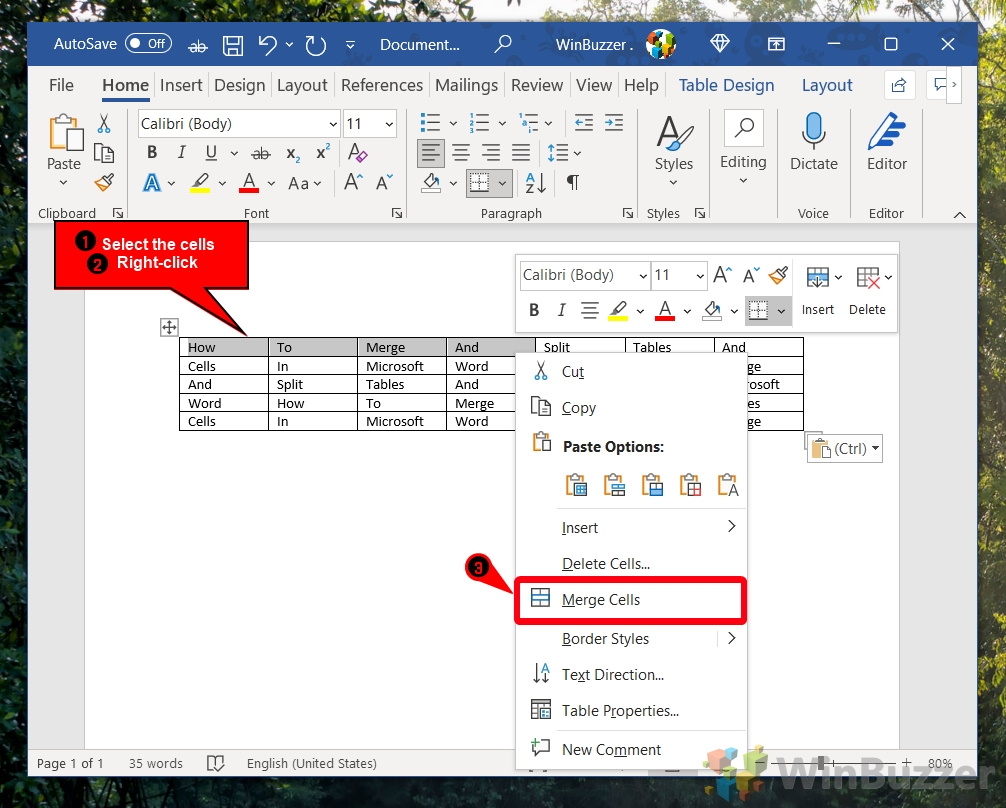
- Method 1: Select the Cells You Want to Merge, Right-Click, and Choose “Merge Cells”
Firstly, select the cells you wish to merge. After making your selection, right-click on the highlighted area and choose “Merge Cells” from the context menu.

- Method 2: Use the “Merge” Button
Alternatively, after selecting the cells to merge, navigate to the “Layout” tab on the ribbon. Click on the “Merge” button, then select “Merge Cells” from the dropdown menu.

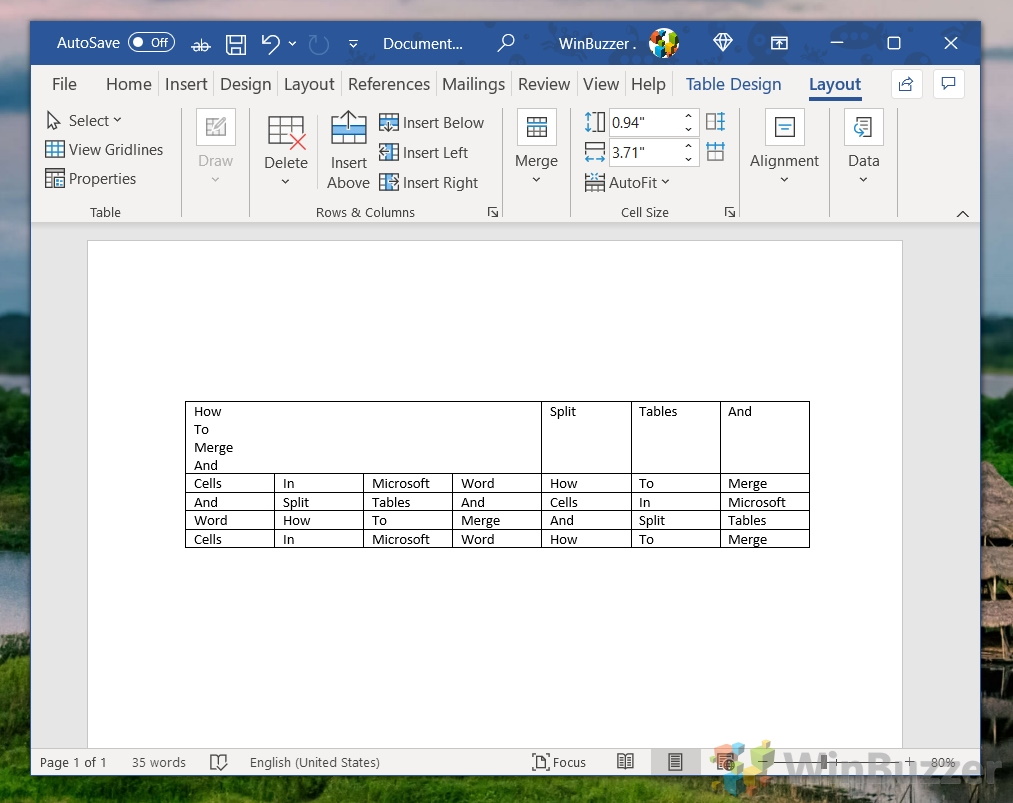
- Enjoy Your Merged Cells
Upon merging, the table will automatically adjust, expanding the cell size to accommodate the combined content.


How to Split Cells In Word
Splitting cells in Word is a similar process to merging them, with only a few adjustments required as described below:
- Method 1: Use the Context Menu
To begin, select the merged cell you want to split. Right-click on the cell and select “Split Cells…” from the context menu.

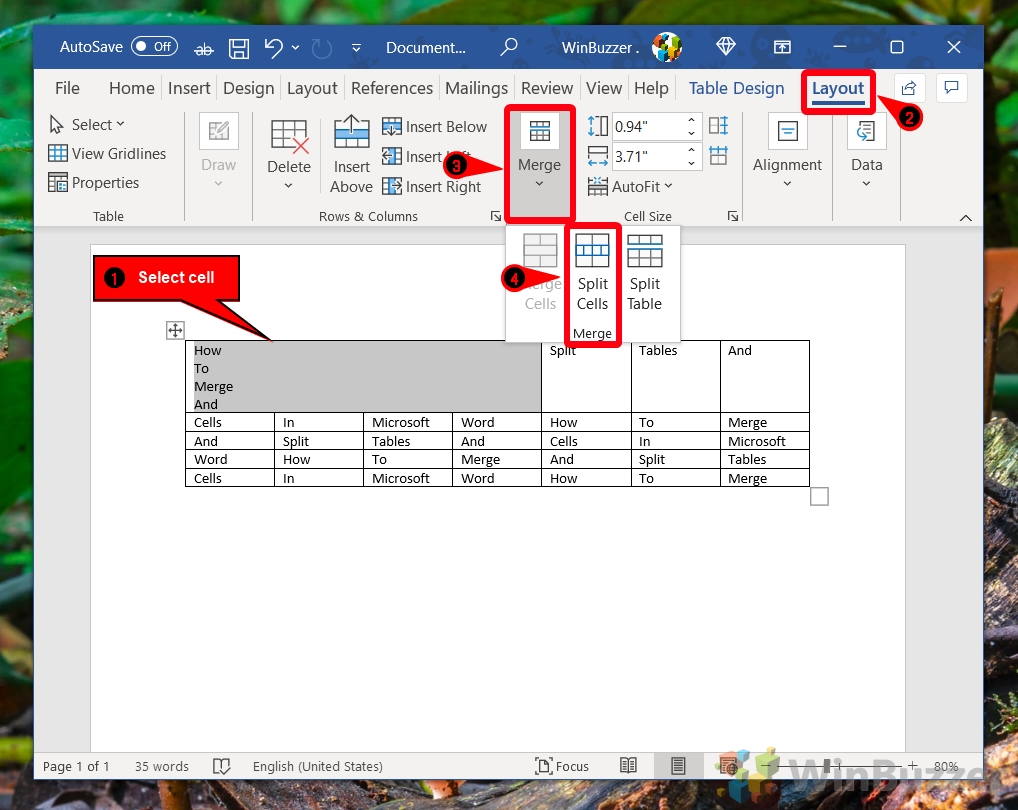
- Method 2: Use the Ribbon
Next, with the cell selected, head over to the “Layout” tab on the ribbon. Click on the “Merge” dropdown, then choose “Split Cells” from the presented options.

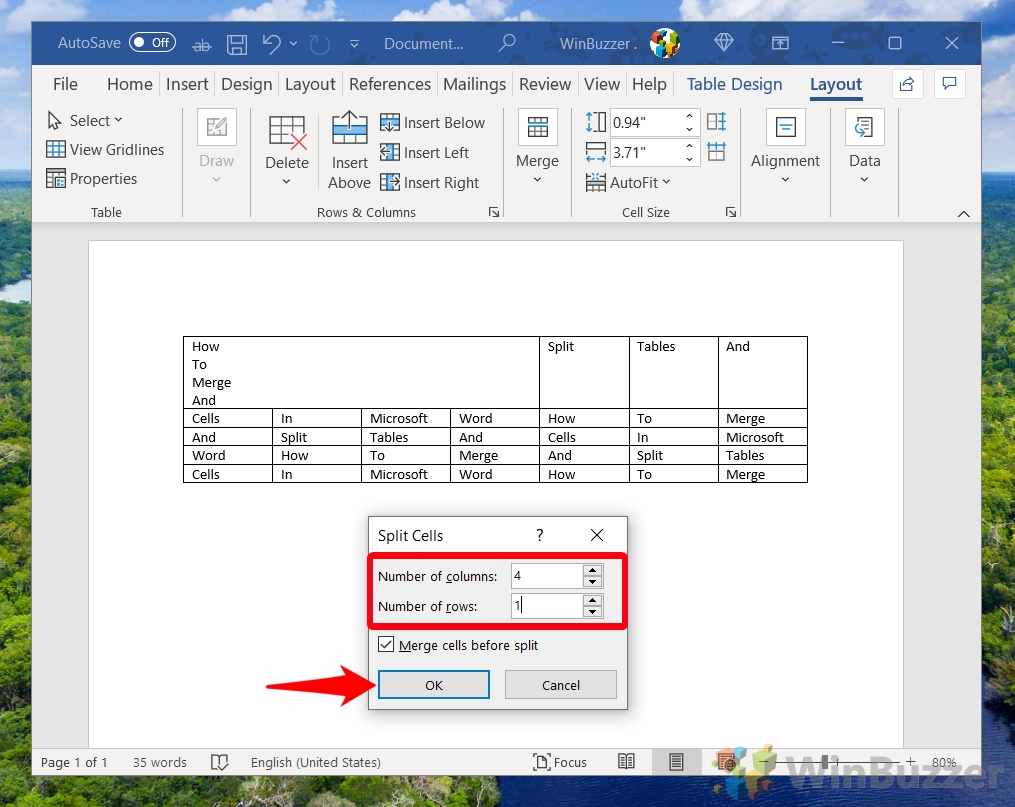
- Choose the Number of Columns and Rows to Split Into
Determine the number of columns and rows you wish to split the cell into. In this example, for four different words, select four columns and one row, then click “OK“.

- Enjoy Your Split Cells
The result should reflect your specifications, displaying the content across the designated number of columns and rows.

- How to Perform More Complex Cell Splitting
For more complex scenarios, such as splitting a column into multiple cells, select the column, right-click, and choose the split option. Customize your row and column count as needed.

- Split into Four Squares
After customizing your split settings, you’ll end up with four equally sized squares.


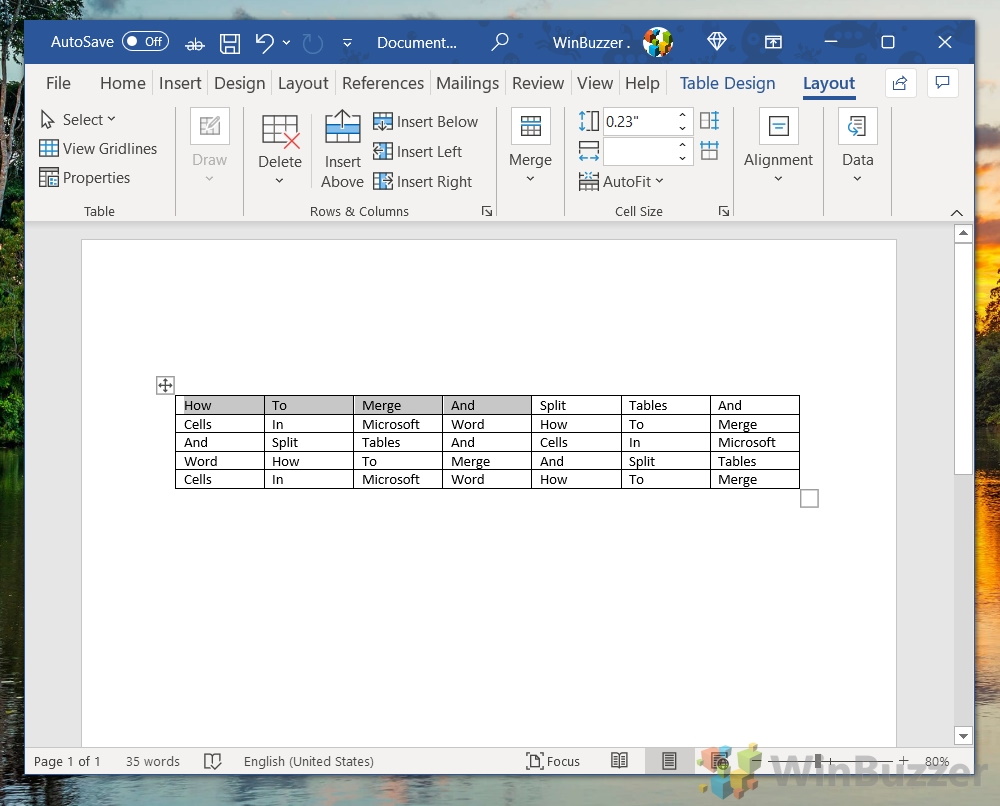


How to Split a Table in Word
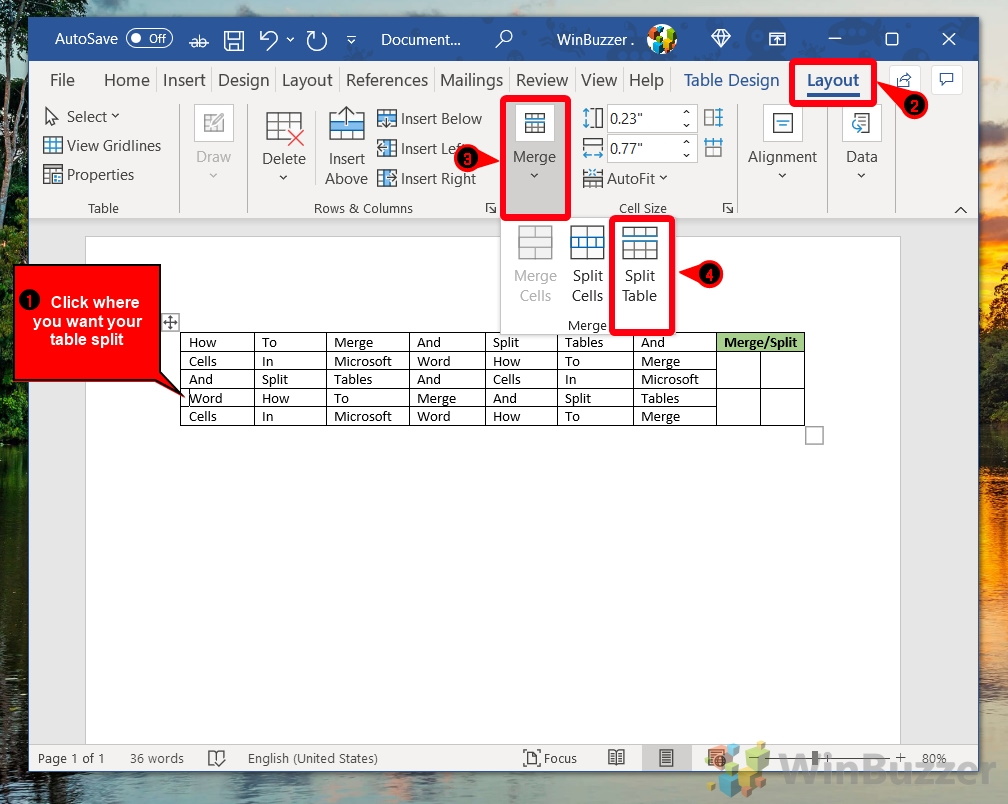
- Apply the Split Table Option using the Ribbon
Place your cursor in the row where you want the table to split, then select “Merge > Split Table” from the ribbon toolbar. The “Merge” option can be found under the “Layout” tab.

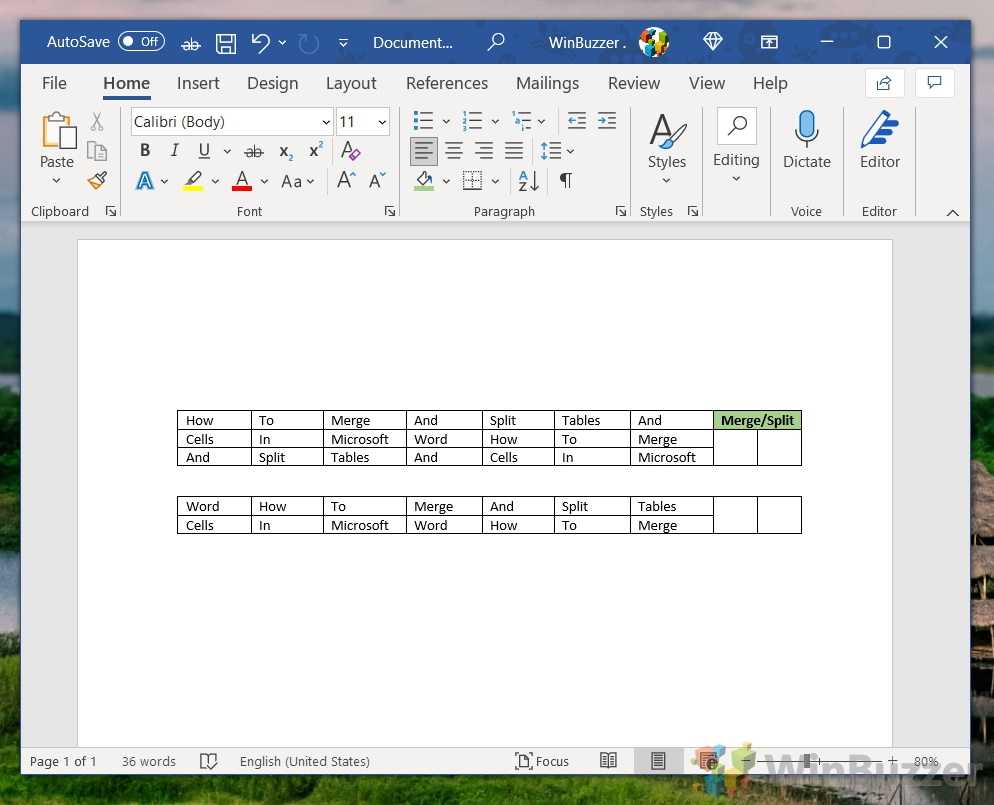
- Enjoy Your Split Tables
Check the segmentation of your table into two sections. They should now be neatly arranged for your desired presentation or document structure.

How to Merge Tables in Word
If you’re wondering how to combine tables in Word after you’ve split them or if you already made two separate tables, look no further. The process is even simpler than you might think.
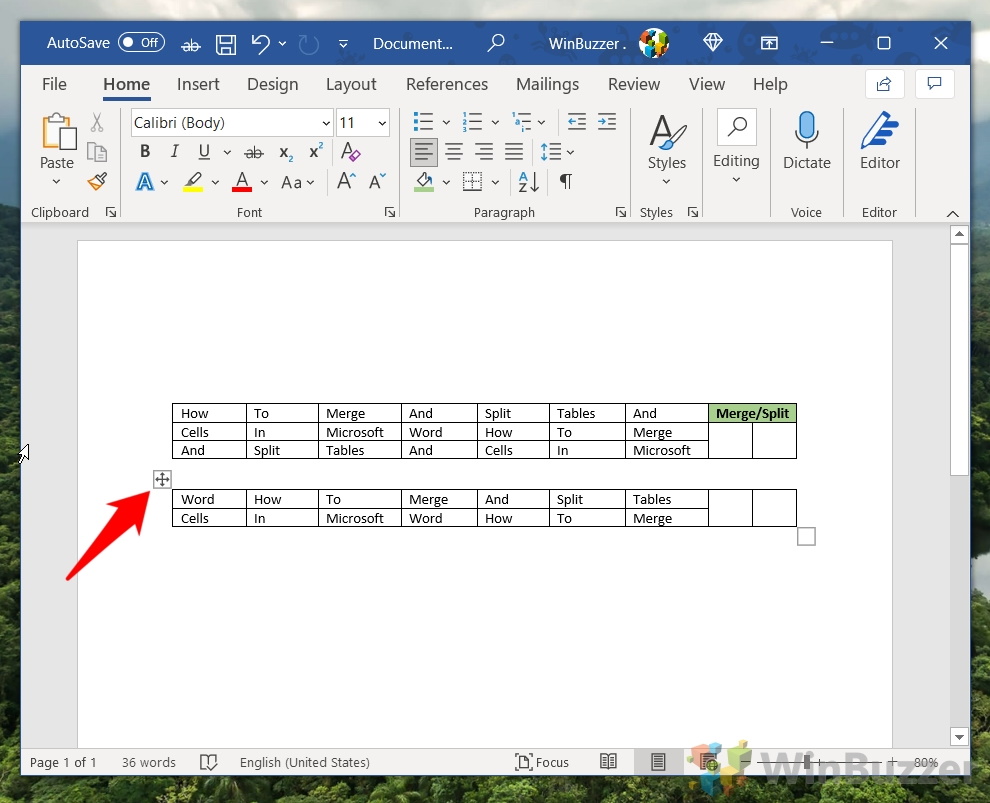
- Hover over a table and grab the tables’ handle
Locate the handle, which should appear as a square with a plus or cross symbol in the top-left corner of the table.

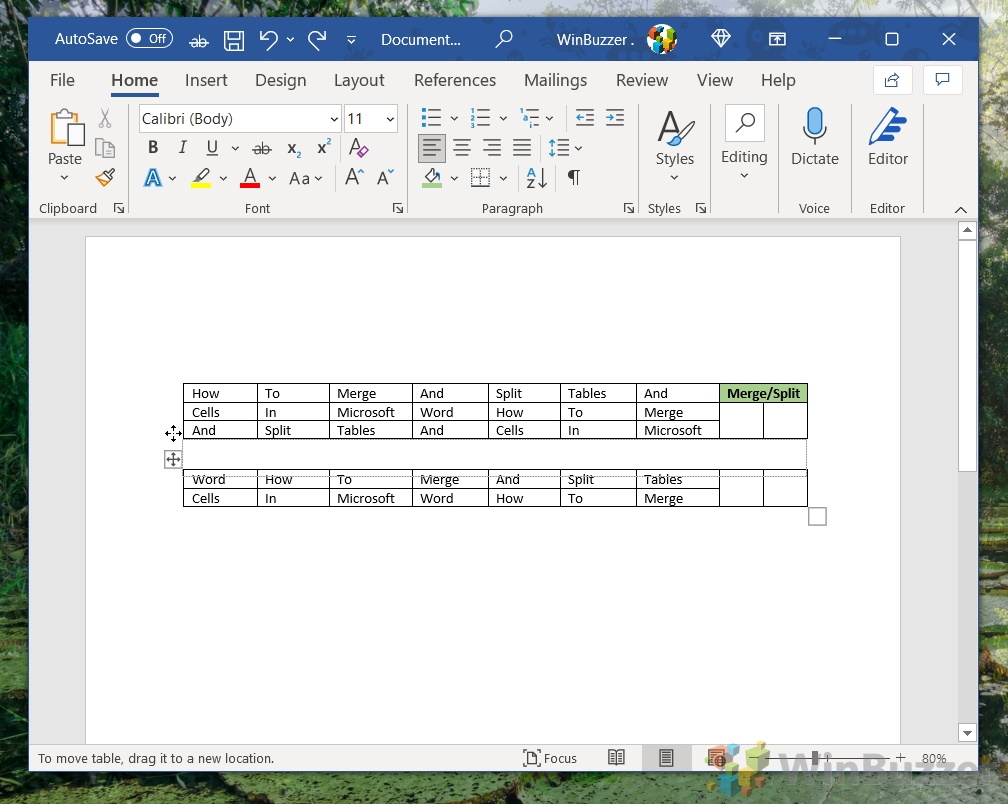
- Drag it over your other table until its top row aligns with the bottom row of the other table
As you drag the table, look for the grey box that will appear, indicating how the tables will merge upon release.

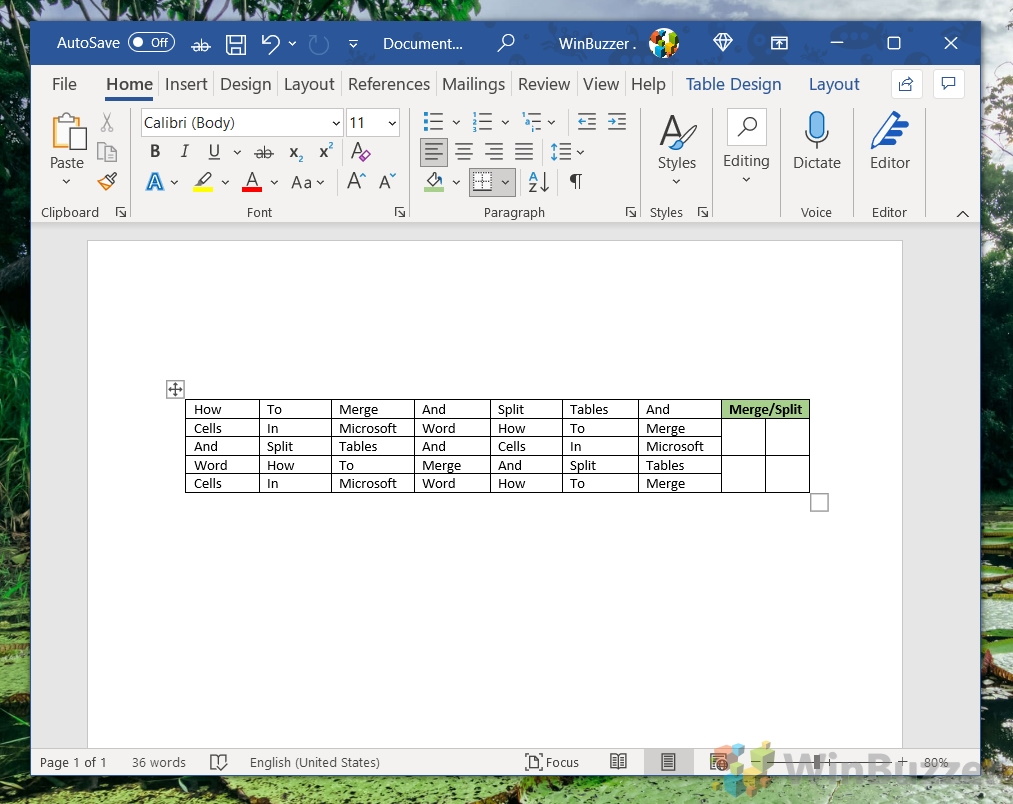
- Release your cursor to merge the tables in Word
Upon releasing the cursor, the tables should fit together seamlessly. If you encounter any issues with the layout or alignment of certain cells, consider employing splitting or cutting techniques to refine the merge.

FAQ – Frequently Asked Questions About Tables in Microsoft Word
How can I convert a list into a table without manually creating the table first in Word?
To convert a list into a table in Word, highlight the list you intend to convert. Navigate to the “Insert” tab on the ribbon and select “Table.” Choose the “Convert Text to Table” option. A dialog box will appear, allowing you to specify how Word should distinguish between the table columns, typically based on tabs, commas, or other delimiters in your list. Adjust the column and row specifications as needed, and then click “OK.” This feature is particularly useful for quickly organizing plain text information into a structured format without manual table creation.
How do I add a title to my table in Word?
Adding a title directly above or within your table enhances readability and context. To add a title within the table, insert a new row at the top by right-clicking the top row, selecting “Insert,” and then “Insert Rows Above.” Merge all cells in this new top row by selecting them, right-clicking, and choosing “Merge Cells” from the context menu. You can then type your title directly into this merged cell. For a title outside the table, simply type your title above the table and format it as needed, using Word’s text formatting options to distinguish it as a heading.
Can I resize merged or split cells in Word?
Yes, after merging or splitting cells, you can easily resize them to better fit your content or to align with the overall layout of your table. To adjust cell size manually, hover over the cell border until the cursor changes to a resizing tool, then click and drag to your preferred dimensions. For more precision, right-click on the cell, select “Table Properties,” then go to the “Cell” tab where you can specify exact measurements for cell height and width. Keep in mind that resizing cells can affect the appearance and layout of neighboring cells, so it may be necessary to adjust several cells to achieve a uniform look.
How do I align text vertically within a cell in Word?
To vertically align text within a cell or multiple cells, select the cell(s) you wish to adjust. Navigate to the “Layout” tab under “Table Tools” in the ribbon. In the “Alignment” group, you’ll find options for vertical alignment: top, center, or bottom. Select the desired alignment option. This control is particularly useful for enhancing the visual appeal and readability of your table, especially when dealing with varying amounts of content within cells.
Is there a way to add page borders to select pages only, instead of the entire document?
To add page borders to specific pages without affecting the entire document, navigate to the page where you want the border to appear. Go to the “Design” tab and select “Page Borders” in the “Page Background” group. In the “Borders and Shading” dialog box, switch to the “Page Border” tab, choose your desired border style, and then under “Apply to,” select “This section” if your document is divided into sections, or “This section – First page only” if you’re working with a document that treats the first page of each section differently. If your document isn’t already divided into sections, you’ll need to use section breaks (found under the “Layout” tab) to separate the pages where you want borders from those you don’t.
Can I undo a cell split if I change my mind?
You can quickly undo a cell split in Word by pressing Ctrl + Z (the undo command) immediately after the action. This command reverses the last action, including cell splits, thus restoring the cells to their prior state. If you have performed other actions after the split and can no longer use the undo command, you’ll need to merge the cells manually by selecting them, right-clicking, and choosing “Merge Cells” from the context menu. This manual method allows you to correct the cell structure even after multiple subsequent edits.
How can I duplicate an entire table within a document in Word?
Duplicating a table in Word is straightforward. Click on the table you wish to duplicate to summon the Table Tools. Then, hover over the table until you see the move handle in the top left corner of the table. Click the move handle to select the entire table, press Ctrl + C to copy, place your cursor where you want the duplicate table, and press Ctrl + V to paste. This action creates an exact duplicate of your table, including all data and formatting, which you can then place anywhere within your document.
What’s the best way to ensure table formatting is preserved when splitting and merging tables?
When splitting or merging tables, Word generally tries to maintain the original formatting. However, for more nuanced control over formatting, particularly with intricate table designs, consider manually adjusting cell sizes, borders, and text formatting after the merge or split to ensure a consistent appearance. Additionally, the “Format Painter” tool can be invaluable in these scenarios. Simply select a cell with the desired formatting, click the “Format Painter” button, and then select the cells you wish to apply that formatting to. This method helps maintain a cohesive look across your tables.
Can tables with different column widths be merged together?
Yes, you can merge tables with varying column widths in Word, although the resulting table may require manual adjustments to unify its appearance. After merging, select the merged table and adjust the column widths by dragging the column dividers so that they align properly across the table. It may also be necessary to adjust text alignment and cell sizes for a seamless integration of the two original tables into the new, combined layout.
What happens to text content when cells with different data are merged?
When merging cells that contain different text, Word combines the data into a single cell, placing the content together, typically separated by spaces. If the cells contain significantly different amounts of text, you may need to manually adjust the text formatting or spacing post-merge to ensure readability and maintain the intended flow of information. It’s a good practice to review the merged content for coherence and to apply any necessary formatting adjustments.
Can I split a table in Word without text or specific cursor placement?
To split a table, cursor placement is essential. Position the cursor in the row where you wish the new table to begin. Going to the “Layout” tab under “Table Tools,” select “Split Table.” This action splits the table into two separate entities at the cursor’s location, without requiring additional text. The cursor’s placement effectively dictates where the table divides, allowing for flexibility in structuring document content.
How do I apply automatic formatting to tables in Word?
Word offers a variety of predefined table styles that automatically format tables for a polished look. After inserting or selecting a table, navigate to the “Design” tab under “Table Tools” and browse through the “Table Styles” gallery. Here, you can choose from a range of styles that automatically adjust border, shading, and color settings. These styles can be applied with a single click and adjusted via the “Table Style Options” group to suit your document’s needs, streamlining the formatting process.
Is there an efficient way to add the “Merge Cells” command to my toolbar for quick access?
To make merging cells more efficient in Word, you can add the “Merge Cells” command directly to your Quick Access Toolbar. Right-click the “Merge Cells” button found under the “Layout” tab in “Table Tools,” and select “Add to Quick Access Toolbar.” This places the command at the top of the Word window, available regardless of which tab you’re viewing, significantly speeding up the cell merging process during your document editing workflow.
Can cells be resized to specific dimensions after merging or splitting?
For precise control over cell dimensions following a merge or split, right-click on the cell and choose “Table Properties.” Under the “Cell” tab, you can specify exact height and width measurements. This level of precision is beneficial when consistency across the table is crucial, especially in professional documents where the visual impact of the data presentation matters significantly.
How do I adjust the spacing between tables after merging them?
Adjusting spacing between merged tables or within a singular table can be crucial for readability and design. To modify this spacing, right-click within the table and select “Table Properties.” Under the “Table” tab, you’ll find options for adjusting both the margins within cells and the spacing between cells, which can help achieve the desired table layout and improve the overall appearance of your document. After merging tables, it may be particularly important to revisit these spacing settings to ensure that the document maintains a consistent and professional look.
Related: How to Use Tables in Word: Creating, Editing, Formatting etc.
Creating and formatting tables in Microsoft Word is not just a skill—it’s an art form that enhances the clarity, accessibility, and visual appeal of your documents. A well-constructed Word table can transform a mundane document into an engaging and informative piece of content. Whether you’re compiling data, organizing information, or designing a layout, learning how to insert and format tables in Word is indispensable.

Related: How to Duplicate a Page in Microsoft Word
The process to copy a page in Word is simple, but it varies slightly depending on the document you have and your intentions. There’s some variation between whether you have a single page or multi-page document, for example. In our other guide, we show you how to duplicate a page in Word for both single-page and multi-page documents, as well as how to insert a blank page.

Related: How to Add a Page Border in Microsoft Word
Page borders are a useful tool. They make your document stand out without looking tacky, while providing a guide should somebody want to staple or hole punch. In our other guide, we show you how to add a border in Microsoft Word, as well as how to change their style, colour, width, or apply them to specific pages.

Last Updated on April 1, 2024 5:48 pm CEST by Markus Kasanmascheff


