Though it’s not common, occasionally you may run into the error: “Windows could not “Start the Windows Audio service on Local Computer”. This usually occurs because the audio service is not running due to a crash and is unable to restart itself.
When the audio service is not running, you’ll have no sound across your entire system, which can get very frustrating. Worse, it may persist even after a restart. This is because the Windows Audio service is set to automatically run-on startup, but it’s failing and producing the error.
Today, we’re going to show you how to enable Windows audio service again so you can listen to your movies and music as normal. Let’s start:
How to Fix “Windows could not start the Windows Audio Service on Local Computer”
The first thing you should try when you run into this error is the sfc /scannow command. If you don’t know how to do that, you can follow our dedicated tutorial. Running the command should hopefully repair any damaged system files, including those responsible for your audio crash.
However, if that doesn’t work and you’re left wondering how to enable the Windows audio service again, you can follow the steps below. By copying the Windows audio service registry key from a working computer and merging it with yours, you can usually eliminate any issues.
- Open Registry Editor
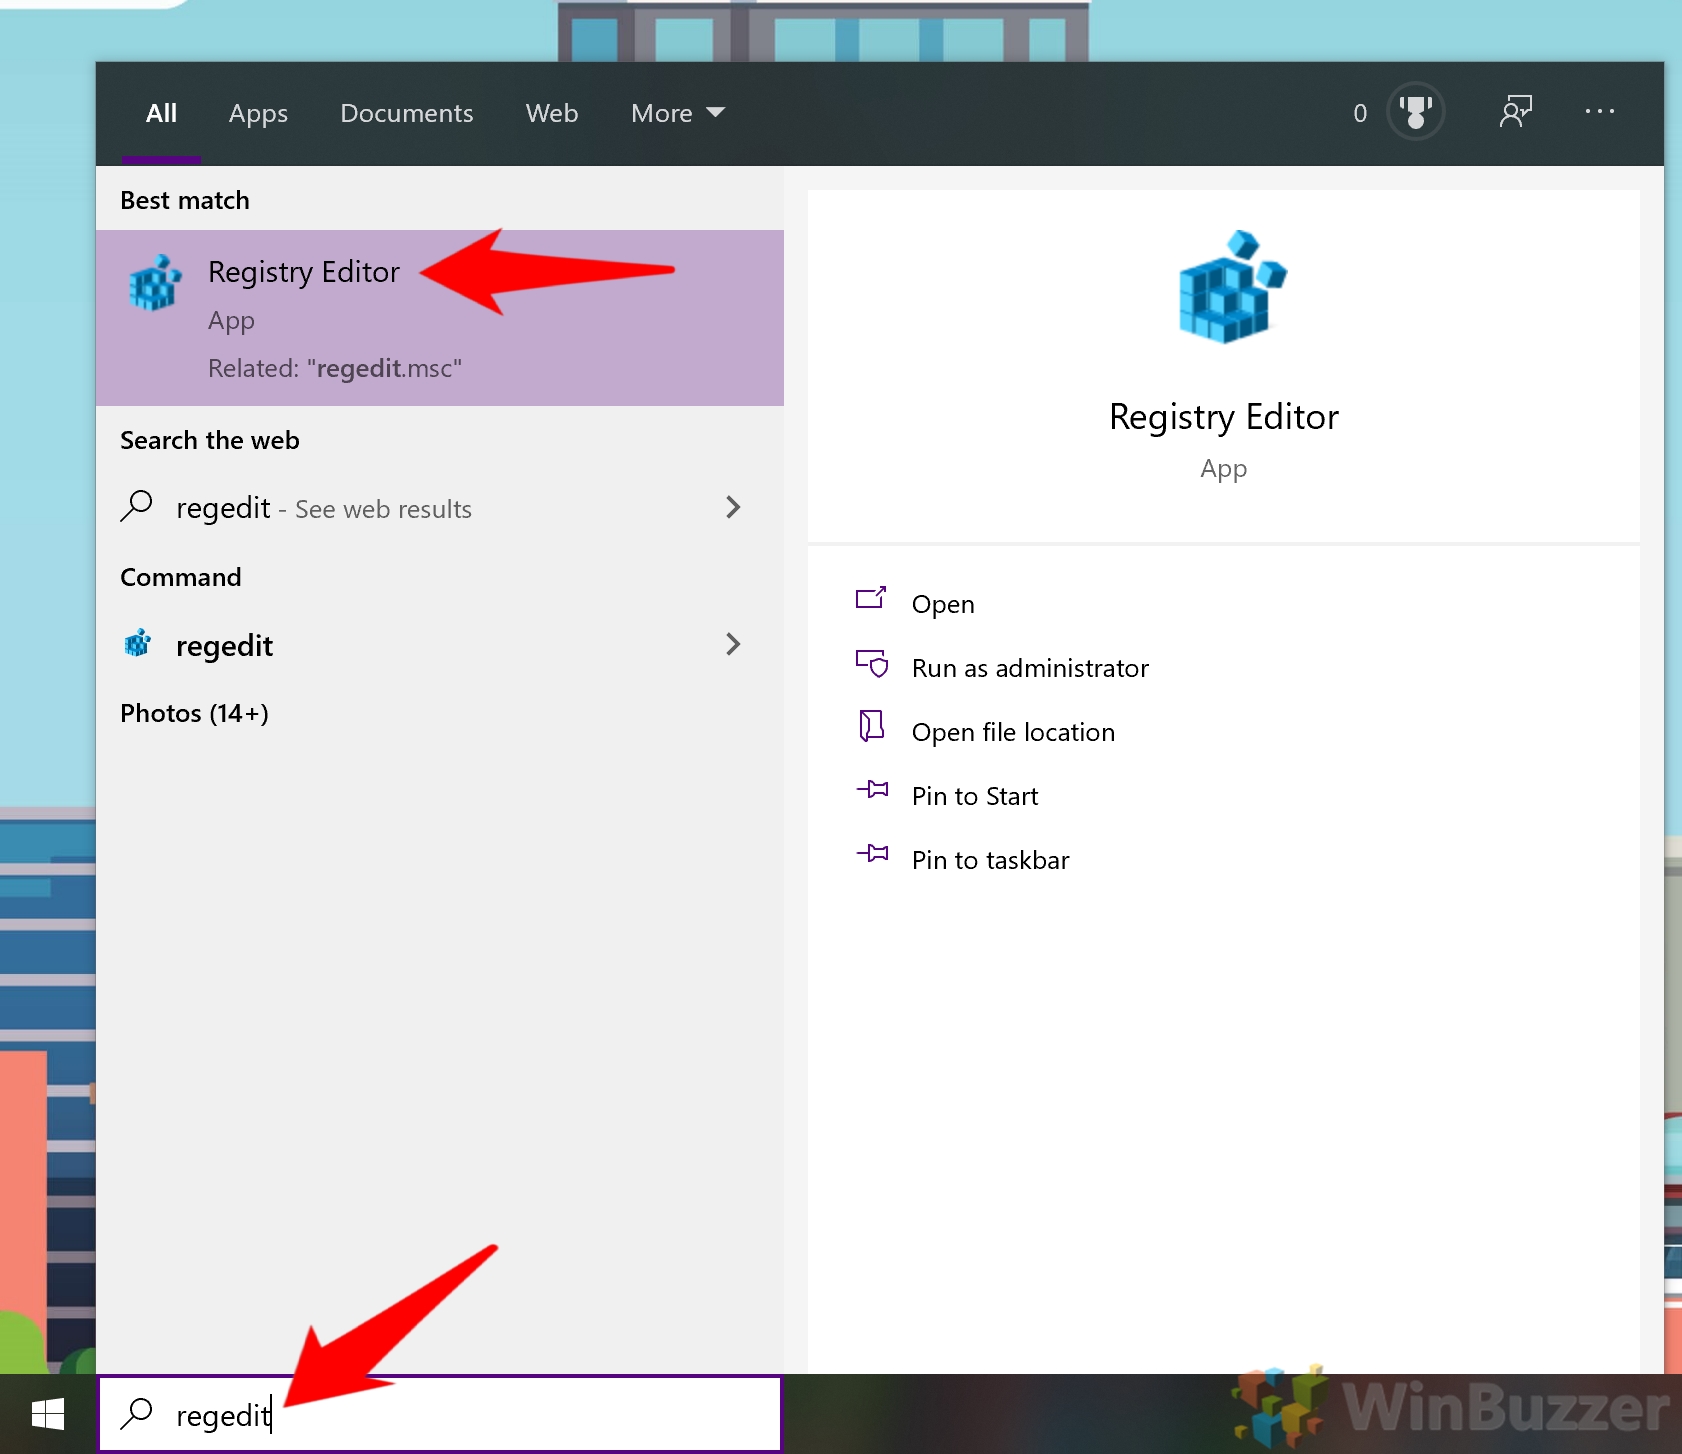
On the computer with working audio, press Start and then type “regedit”. Click the top result.
- Navigate to the Windows audio service registry key
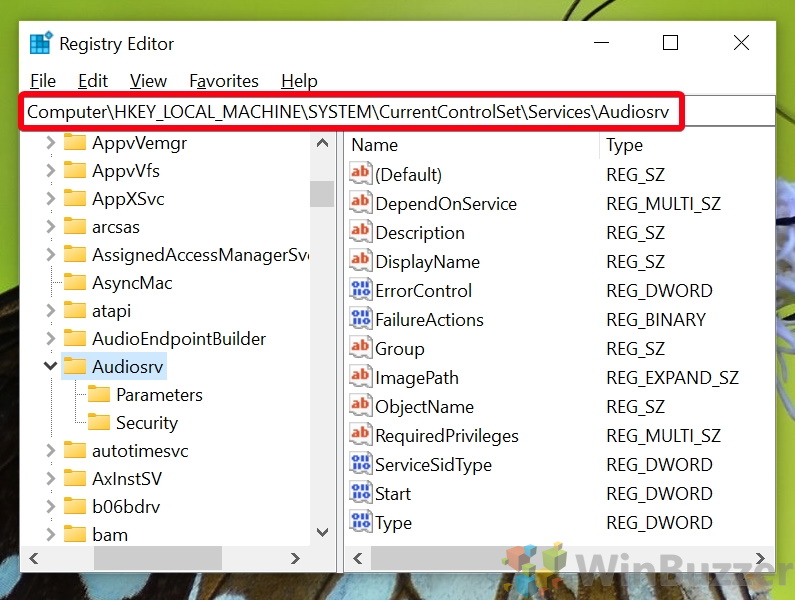
In your Regedit browser bar, past the following:
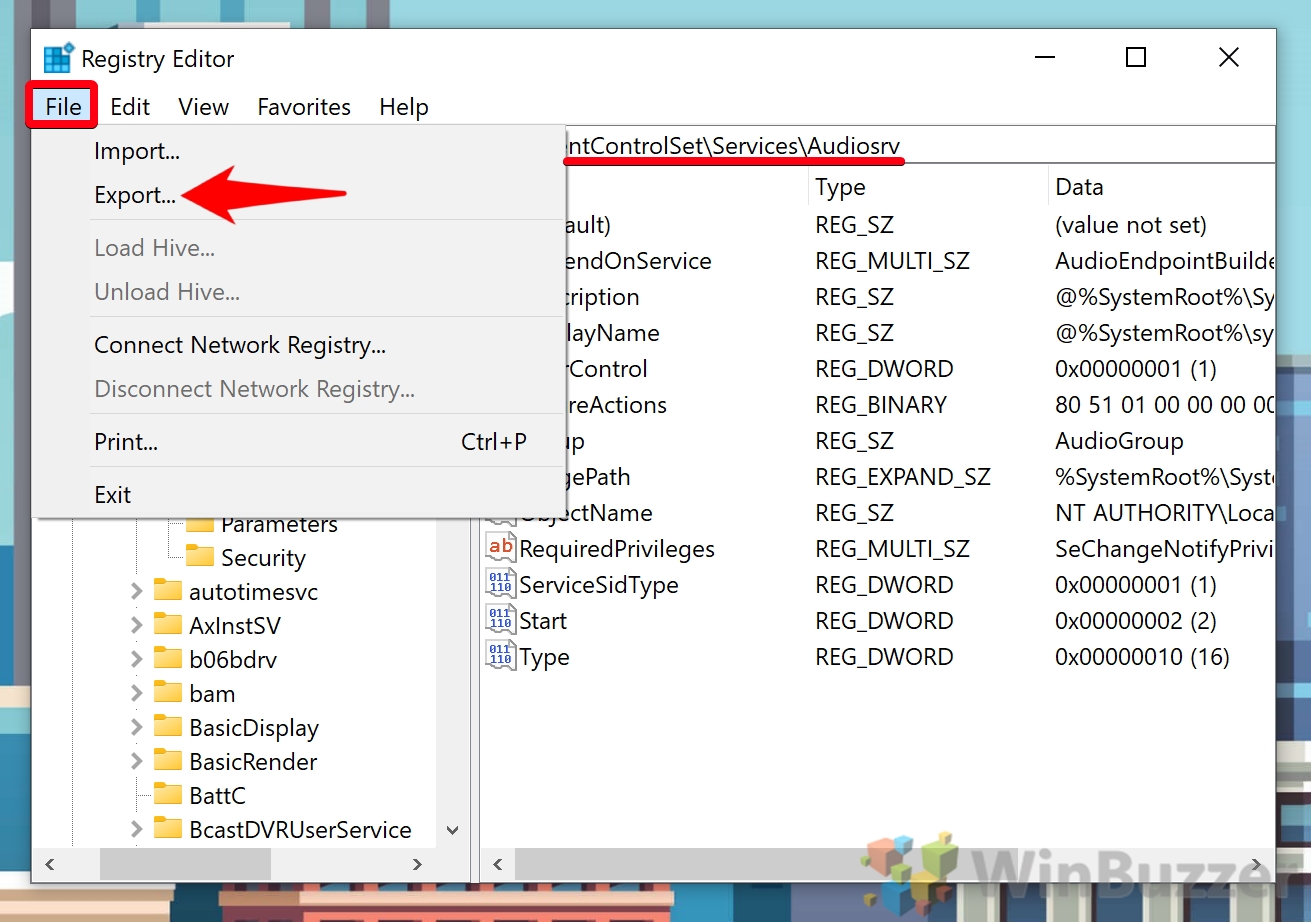
Computer\HKEY_LOCAL_MACHINE\CurrentControlSet\Service\Audiosrv - Press “File > Export…”
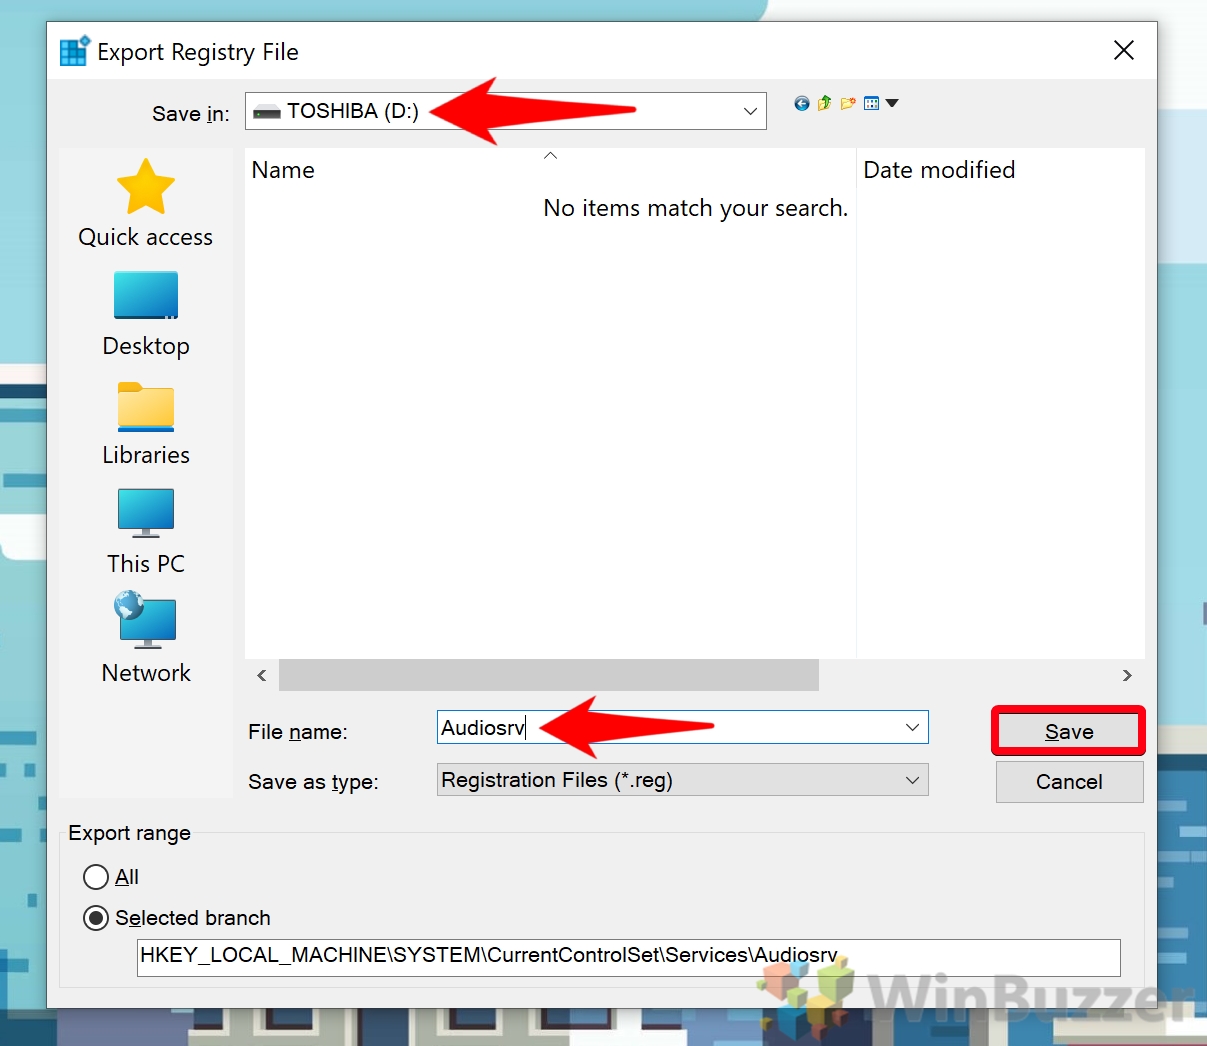
- Save the Windows audio service key to a USB stick
Name the file “Audiosrv” and press “Save”.
- Merge the file on the PC where the audio service is not running
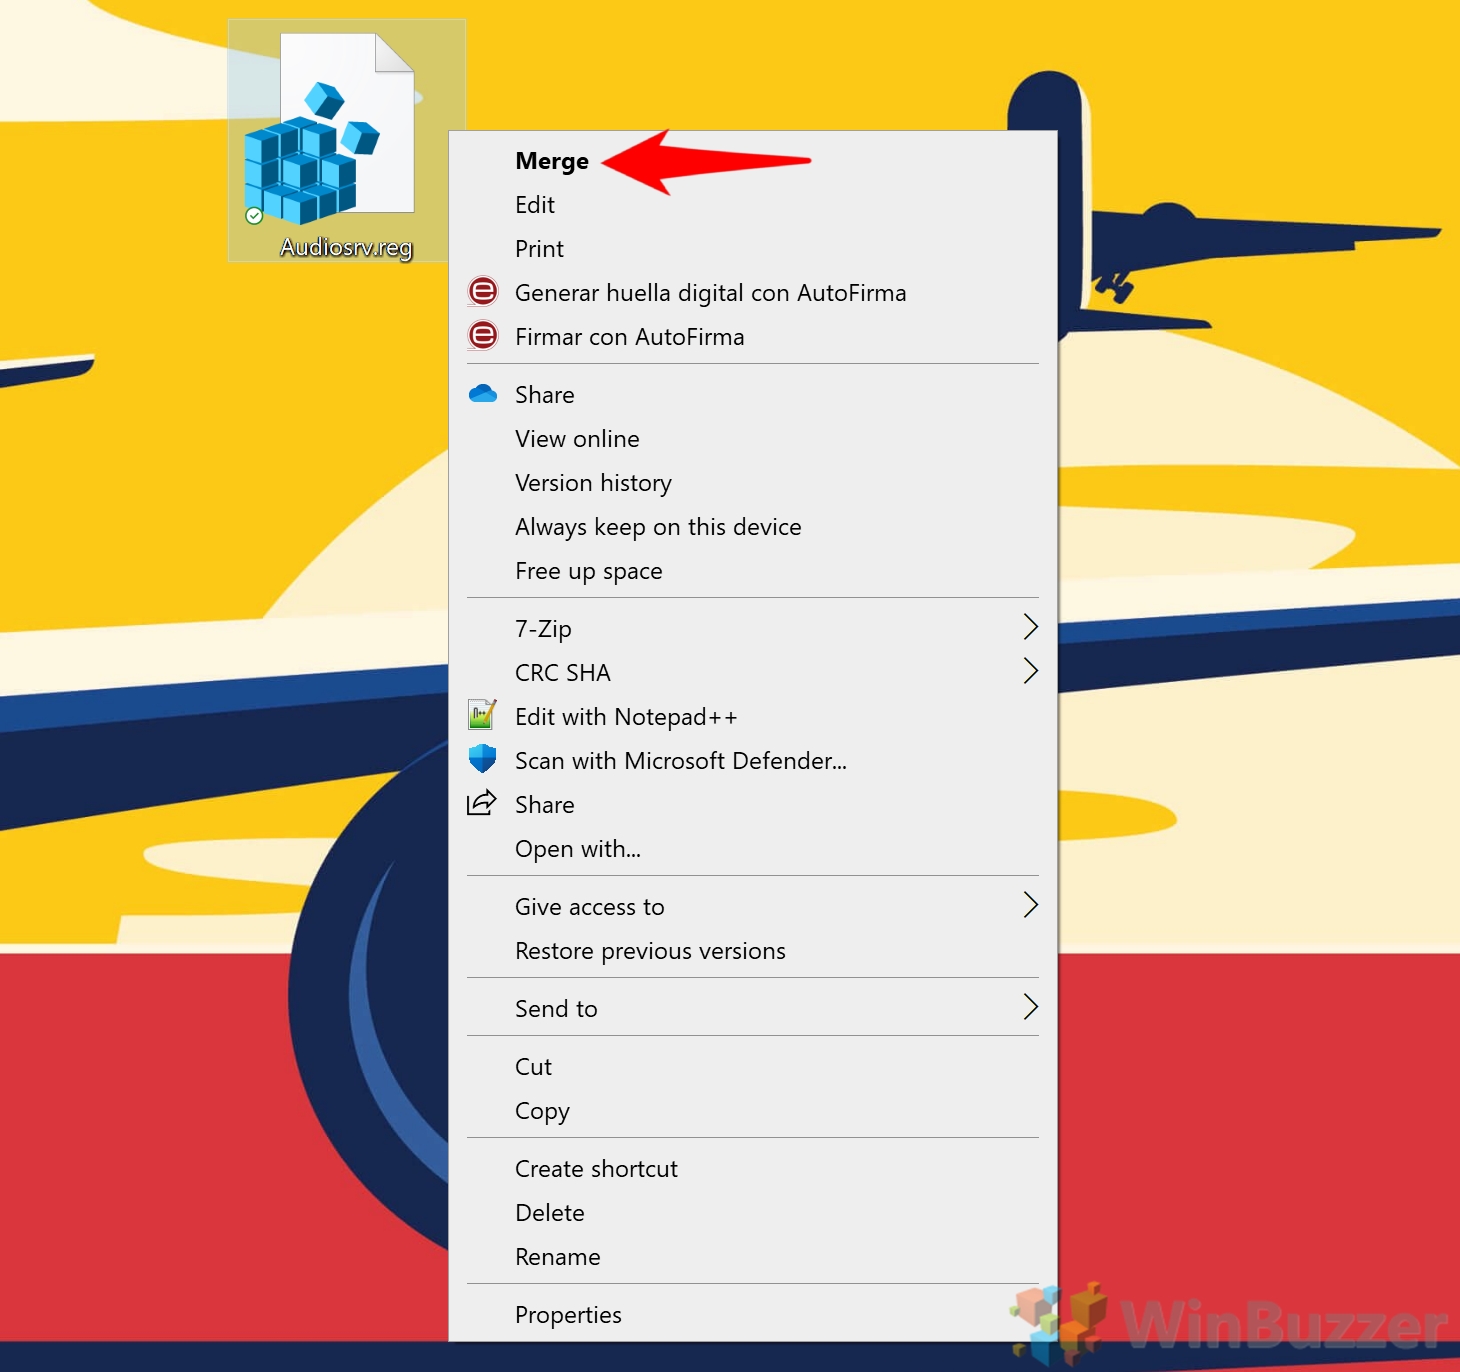
Copy the .reg file to the desktop of the PC where the Windows audio service is stopping. Right-click it and select “Merge” from the context menu.
With that, you should be able to restart the audio service in Windows 10 and get your sound back. You can do so by following our services tutorial or simply restarting your PC. If you still don’t have audio, you may need to set up your headset on your PC again.
Last Updated on February 14, 2022 7:43 pm CET by Markus Kasanmascheff

