

OneDrive Personal Vault adds an additional layer of security to your most important files. When users save a document or photo to their OneDrive vault, they can only access it via an additional method of authentication.
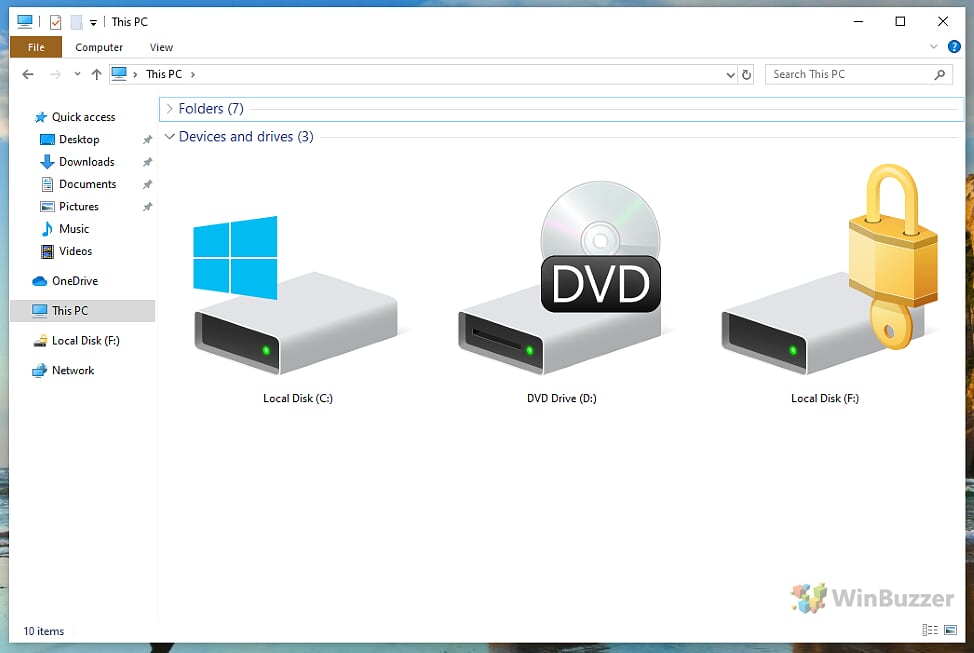
You can, for example, set up OneDrive Personal Vault to require a fingerprint, a code sent to you via email or SMS, facial recognition, or a PIN. On Windows 10, this protection goes further. As well as the usual OneDrive encryption, your synced Personal Vault files are saved directly to a BitLocker encrypted area on your hard drive.
In this guide we show you how to set up OneDrive Personal Vault on Windows 11 or Windows 10. We’ll then walk you through how to unlock the vault to access the files at any time.
⚠️ Please note: The process described below is the same in Windows 11 as it is in Windows 10. However, bear in mind that we’ll be using screenshots from Windows 10, so your UI may look a little different. We’ll point out any changes you need to be aware of as they come up.
How to Set Up OneDrive Personal Vault in Windows 11 or Windows 10
- Click the OneDrive Icon
Locate the OneDrive icon on your taskbar and click on it, then select “Open Folder“. This action opens your OneDrive folder where you can access all your stored files.

- Open Personal Vault Shortcut
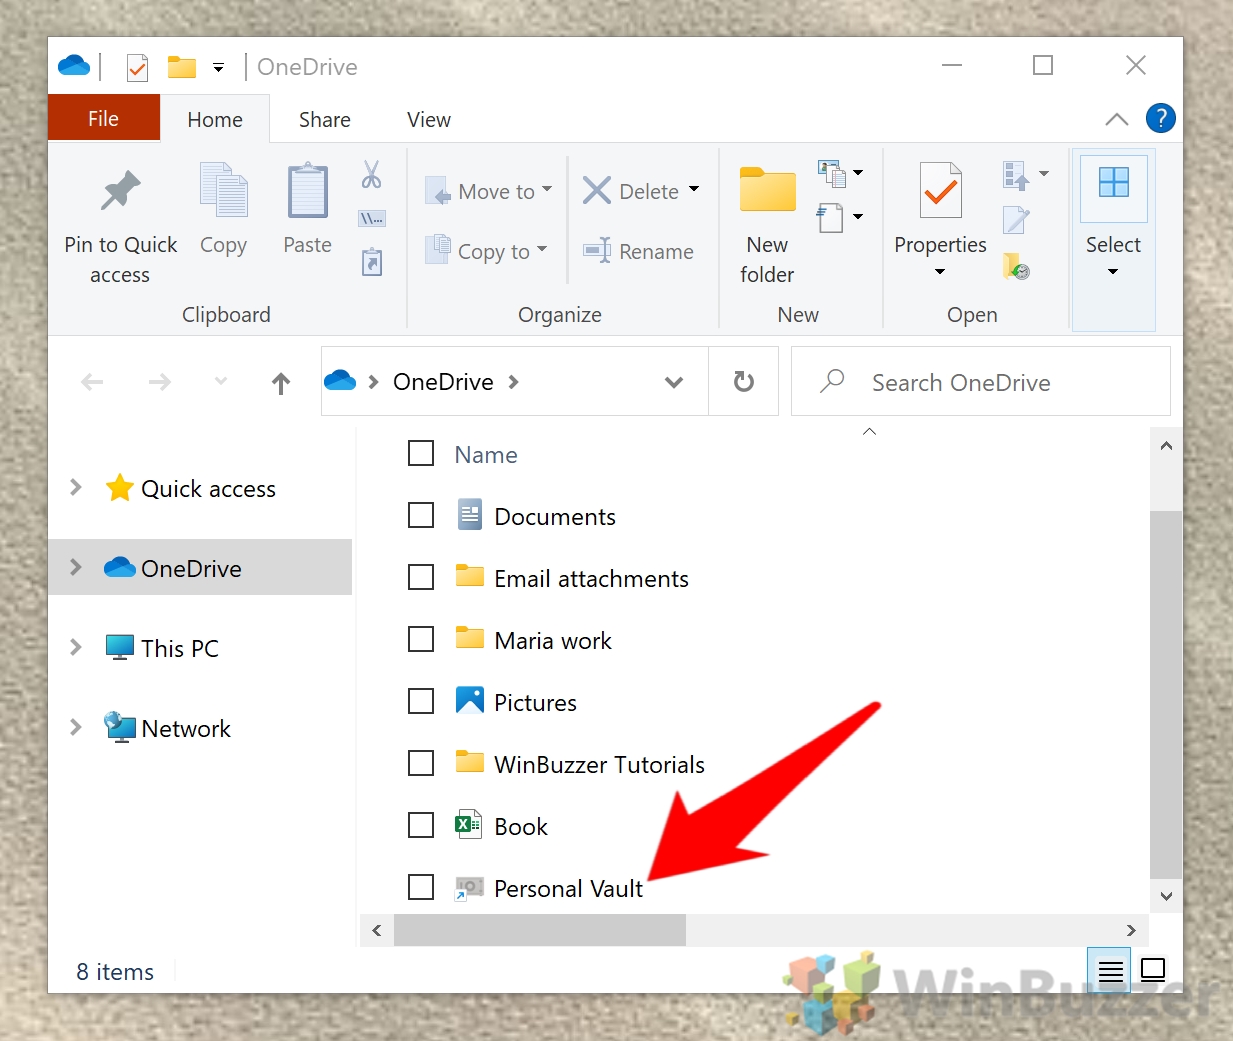
In your OneDrive folder, double-click the “Personal Vault” shortcut. This shortcut is usually found in the root directory of your OneDrive folder. Double-clicking it initiates the setup process for your Personal Vault.
- Initiate Setup
Click “Next” in the Personal Vault setup window to proceed with the setup process.

- Grant Permissions
Select “Allow” to give the necessary permissions for setting up your Personal Vault.

- Sign In
Enter your Microsoft account password when prompted to verify your identity.

- Choose Verification Method
Select your preferred verification method from the options provided, which include text, authenticator app, email, or biometrics.

- Enter Verification Information
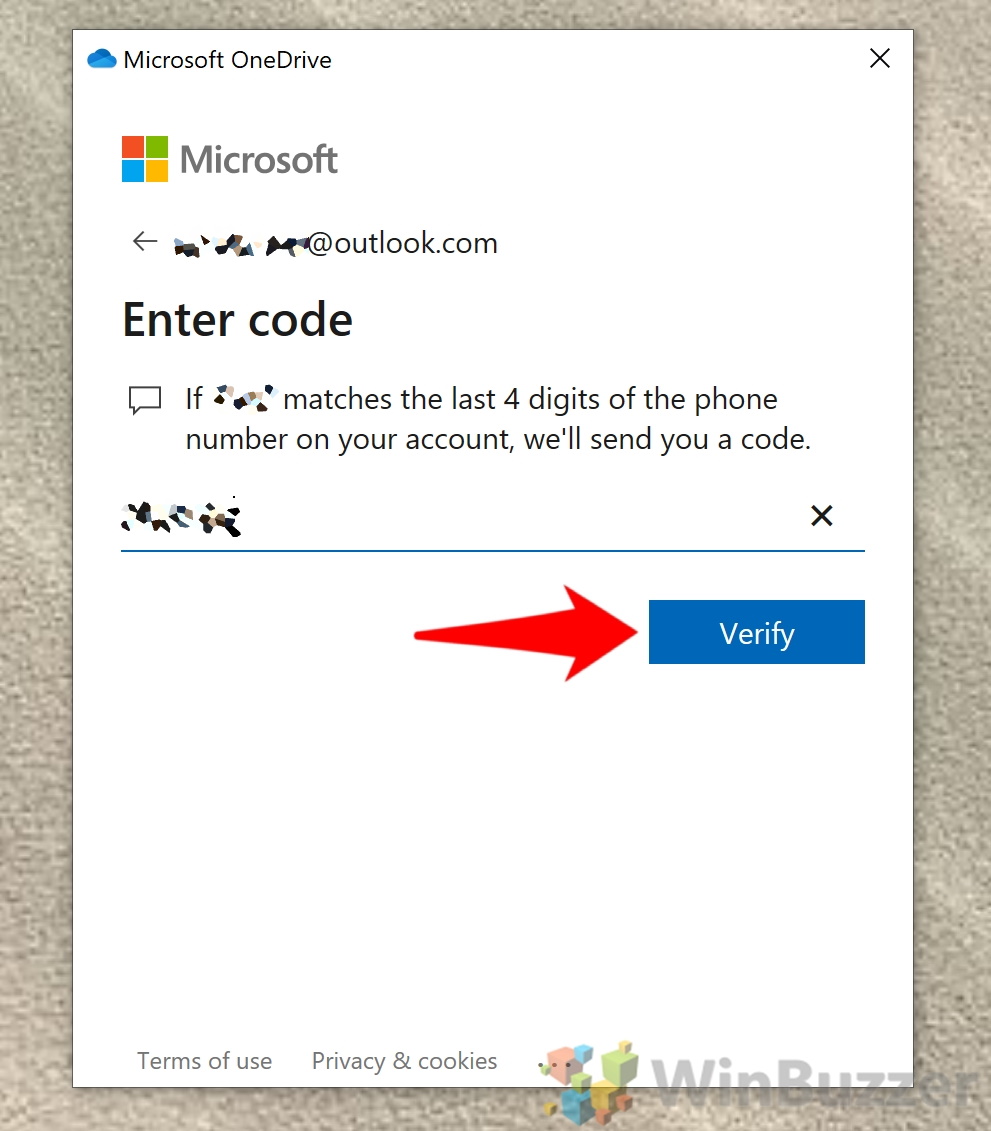
Based on your chosen verification method, enter the required information. For example, if you selected text, you would need to enter the last four digits of your phone number.

- Verify Your Identity
Enter the verification code sent to you via your chosen method and click “Verify” to confirm your identity.

- Save Files to Personal Vault
Once set up, you can start adding files to your Personal Vault. You can drag files directly into the Personal Vault folder or save them there when saving files from other applications.
Your Personal Vault should show up in the sidebar of your File Explorer window. Alternatively, you can access it at any point by pressing the shortcut in your main OneDrive folder. To add files to it, simply browse when saving or drag them directly into the folder.
OneDrive Personal Vault is limited to three files if you’re on a free or standalone 100 GB plan. If you have Office 365, however, you can store as many files as you like so long as it doesn’t exceed your storage limit.

How to Unlock OneDrive Personal Vault in Windows 11 or Windows 10
- Option 1: Press “Unlock Personal Vault” in your OneDrive options
This is the fastest way to unlock your OneDrive Vault. Simply click the cloud icon on your taskbar, then press the Help & Settings cog and select “Unlock Personal Vault“.

- Option 2: Via your OneDrive Folder
Alternatively, you can unlock your Personal Vault directly from your OneDrive folder. Open your OneDrive folder and find the Personal Vault shortcut.

- Find Vault Shortcut
Locate the Personal Vault shortcut within your OneDrive folder.

- Right-Click to Unlock
Right-click the Personal Vault shortcut and choose “Unlock Personal Vault” from the context menu.

- Sign In
Enter your Microsoft account password or use the Microsoft Authenticator app if configured, then click “Sign in“.

- Select Verification Method
Choose your preferred verification method to proceed, such as receiving a text message.

- Enter Verification Code
Input the verification code received and press “Verify” to unlock your Personal Vault.
- Access Your Files
You can now access, edit, and manage your files within the Personal Vault as needed.

FAQ – Frequently Asked Questions About OneDrive Personal Vault
Can I share files stored in my Personal Vault with others?
Due to the enhanced security features of Personal Vault, direct sharing of files is not possible. If you wish to share a file, you need to first move it out of the Personal Vault into another OneDrive folder that does not have the same level of security, then share it using OneDrive’s standard sharing features.
Is there a limit to how many items I can store in my Personal Vault?
Yes, storage limits depend on your OneDrive plan. Free or standalone OneDrive users can store up to three files in Personal Vault. Office 365 or Microsoft 365 subscribers benefit from unlimited storage within Personal Vault as part of their plan’s overall storage capacity.
What happens if I forget to lock my Personal Vault?
The Personal Vault has an auto-lock feature that secures your files after a period of inactivity (20 minutes on the web and mobile devices, and 3 minutes if using the OneDrive app on a PC). If you forget to lock it manually, this feature ensures your sensitive files remain protected.
Can I access my Personal Vault from other devices?
Yes, Personal Vault can be accessed from any device where you can sign into your OneDrive account. This includes web browsers, the OneDrive mobile app, and other computers. Each time you access from a new device, you will need to authenticate yourself according to the verification method you’ve chosen.
How do I recover my Personal Vault access if I forget my verification method (e.g., PIN, Password)?
If you’re unable to access your Personal Vault due to forgotten verification details, you’ll need to go through Microsoft’s account recovery process. This typically involves receiving a security code at a backup email address or phone number that you previously provided. Accurate and up-to-date recovery information is crucial for regaining access.
Will setting up Personal Vault alter the storage space I have available on OneDrive?
No, Personal Vault uses the available storage space in your OneDrive account. It does not provide additional storage; instead, it designates a more secure area within your existing storage quota. The total available space on OneDrive remains unchanged.
Can I use Personal Vault without an internet connection?
No, an internet connection is necessary for accessing Personal Vault. This requirement allows for real-time verification and ensures the security features guarding your sensitive files are always operational.
How do I permanently delete files from my Personal Vault?
Files must first be unlocked and removed from Personal Vault, and then deleted from the location you moved them to in OneDrive. Permanently deleting them involves emptying the recycle bin in your OneDrive account. This ensures that the files are not recoverable.
What should I do if I receive an error trying to set up or access my Personal Vault?
First, ensure your operating system (Windows) and OneDrive are updated to the latest versions. If issues persist, consult the troubleshooting section on the official Microsoft support website. The support website provides a wealth of resources and specific steps for resolving various errors and issues.
Is the Personal Vault available on all versions of OneDrive?
Personal Vault is a feature designed for OneDrive users with personal accounts (home, personal, or school). It is not available by default in OneDrive for Business accounts, although business users can benefit from OneDrive’s and SharePoint’s advanced security features.
How does OneDrive Personal Vault protect my files?
Personal Vault adds a layer of security by leveraging BitLocker encryption on your Windows PC and at the data center level for OneDrive. Access requires two-step verification or strong authentication methods, such as fingerprint, facial recognition, PIN, or a code received by email or SMS. This encryption method secures your files against unauthorized access.
Can I edit files directly in my Personal Vault?
Yes, files within Personal Vault can be opened and edited with the appropriate apps. Once editing is complete, save the file, and it remains in the Vault. For file types that can be edited online through Office for the web, you don’t even need to leave the browser.
How can I ensure my OneDrive Personal Vault stays secure?
Keep your verification methods up-to-date and confidential. Use strong, unique passwords for your Microsoft account and enable two-factor authentication for an added security layer. Regularly check for and install updates for your Windows OS and OneDrive apps to ensure you have the latest security features.
Can I reset my Personal Vault if I want to start over?
To reset your Personal Vault, effectively starting anew, remove all content from it. Afterward, you can disable and then re-enable the Personal Vault feature via your OneDrive settings to clear any settings or residual configurations.
What are the system requirements for using Personal Vault?
Using Personal Vault requires a Microsoft account, an internet connection, and the latest version of the OneDrive app or access to OneDrive on the web. Personal Vault is supported on Windows 10, iOS, Android, and through most modern web browsers, providing a flexible and secure option for protecting sensitive files across your devices.
Related: How to Password Protect a Folder in Windows 11 and Windows 10
Protecting your sensitive data in Windows 11 and Windows 10 is crucial, especially if you’re sharing your PC with others or simply want to keep certain information confidential. While Windows 11 and Windows 10 don’t come with a dedicated feature for password-protecting individual folders, there are effective ways to secure your data. In our other guide, We show you how to password-protect a folder in Windows using different methods with built-in and third-party tools.
Related: How to Password Protect Excel, Word, PowerPoint, or PDF Files with Microsoft Office
While most of us already have login passwords on our PC, at times it’s necessary to go one step further. When you password protect documents with modern versions of Office, they’re typically encrypted. This means that anybody who tries to read them that doesn’t have your password will just see random strings of letters and numbers. In our other guide, we show you how to password protect Excel, Word, PowerPoint and PDF files in Microsoft Office so that you can keep your documents private.

Related: Forgot Your Windows Hello PIN? Here’s How to Remove and Reset It
It’s happened to the best of us. You boot up your PC, only to stare blankly at the log-in screen and realize that somewhere, at some point, you forgot your Windows 11 or Windows 1ß PIN. Thankfully, this isn’t as big a deal as you might expect. In our other guide, we show you how to remove and reset your Windows 11 or Windows 10 PIN from both the login screen and Windows Settings.


