

The monitor refresh rate defines how often an image refreshes per second using Hertz (Hz) as measurement unit. Higher refresh rates improve image quality until a certain point especially for fast moving images of videos and games.
On the other hand, low refresh rates might cause screen flickering and artefacts. Those sometimes won´t be noticed consciously but become visible when you try to take photos and videos where computer screens are visible.
The difference between refresh rate (Hz) and frames per second (FPS)
While the refresh rate is defined by how often the input signal your monitor receives is repeated by the screen, frames per second (FPS) is the actual rate that images are being generated by your GPU.
If frames per second (FPS) are higher than the monitor refresh rate (Hz), your display will not be able to display all of the frames your GPU is generating. Although refresh rate doesn’t technically limit frame rate, it does effectively set a cap for what will be shown by your monitor.
How many FPS can the human eye see – (and Hz)?
According to scientific studies the observable refresh rate for humans is between 50–90?Hz varying per individual. But as an article from 2015 published in the scientific journal Nature points out “humans perceive visual flicker artifacts at rates over 500?Hz when a display includes high frequency spatial edges”.
While this happens only under certain scenarios, there is a point to use higher refresh rates if possible. While standard graphics hardware usually limits you to a refresh rate of 60Hz or maybe 90Hz, more expensive GPUs and displays can support a 144Hz refresh rate, 240Hz or even higher. As increasing FPS has an impact on your system performance, you should align Hz and FPS in the best possible way.
The highest refresh rate monitor
The highest refresh rate monitor available at time of writing is the 24.5-inch ROG SWIFT 360Hz PG259QN with a refresh rate of 360Hz. This is up to six times faster than traditional screens which operate with 60Hz.
How to do a refresh rate test
You won´t be able to set higher refresh rates if your display does not support them. This means, a refresh rate test basically consists in changing the monitor refresh rate and see how things go. In the worst case your dispaly might turn black and you will have to revert changes using Windows 10 safe mode. However, in most cases you won´t be even able to set other than supported refresh rates.
Below we show you different ways how to change the monitor refresh rate in Windows 10. If you cannot change from 60Hz you most probably don´t have a high refresh rate monitor.
How to Change The Monitor Refresh Rate in Windows 10 Settings
- Open Windows 10 Settings
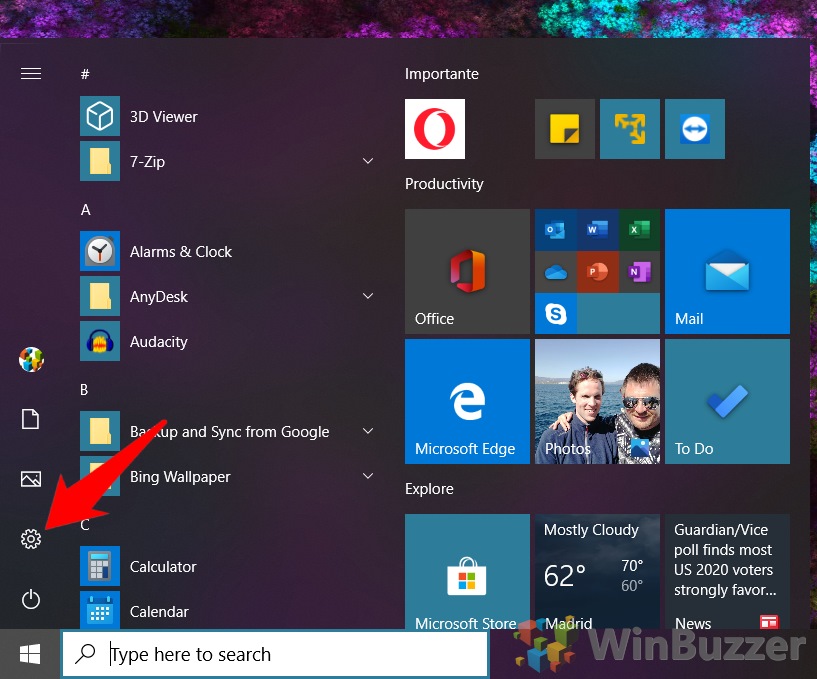
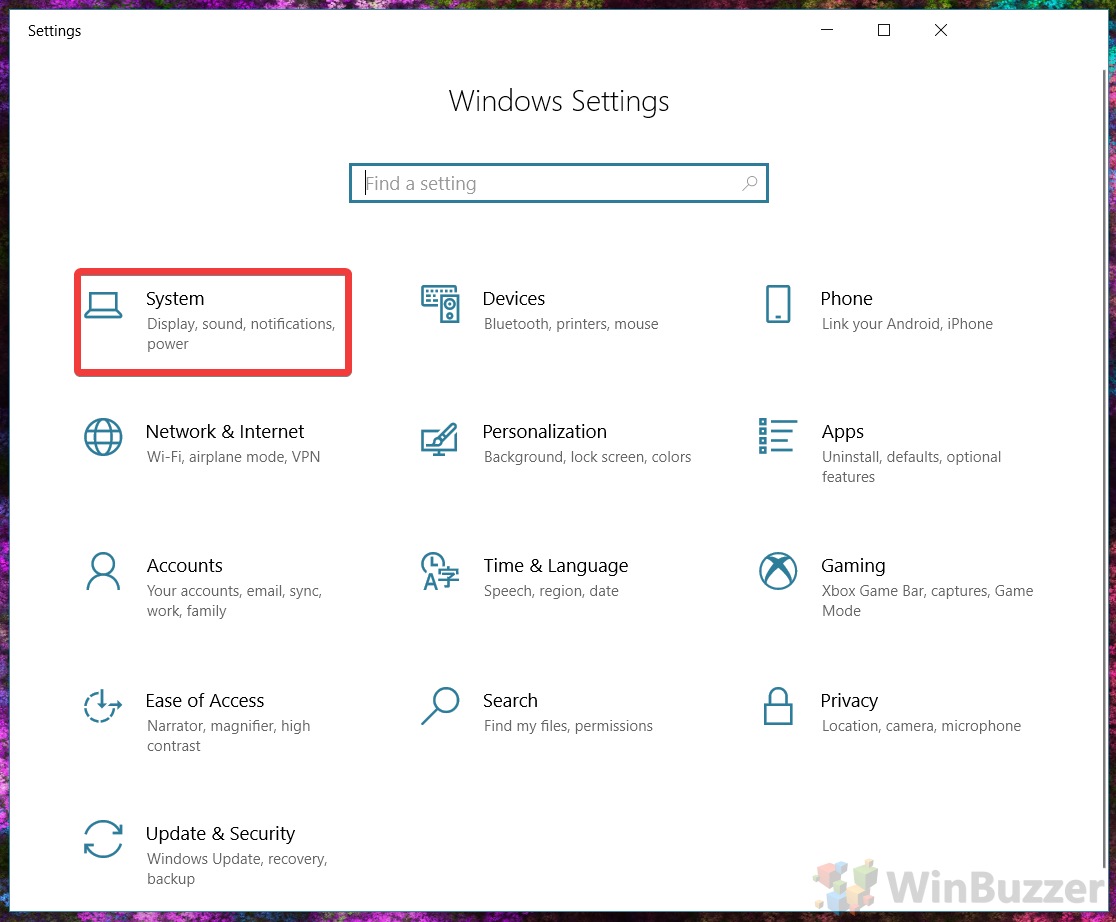
- Open “System” settings
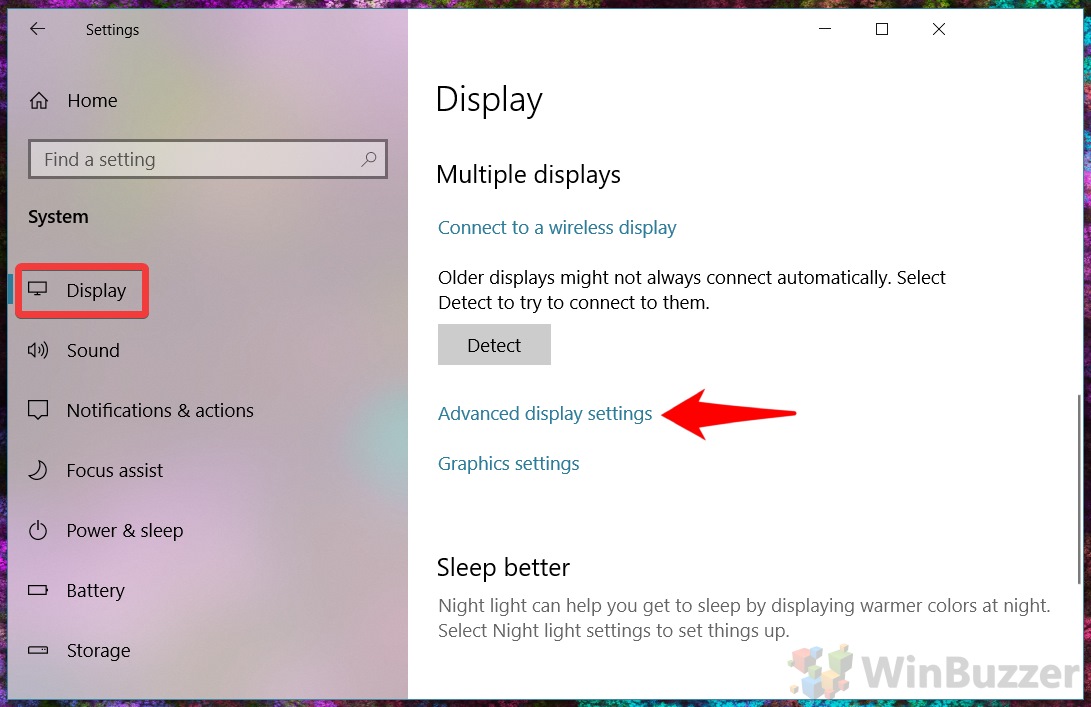
- Switch to “Display” and open “Advanced display settings”
- Change monitor refresh rate
In “Advanced display settings” you can check the monitor refresh rate in the upper part (“Refresh rate (Hz)”) and change it below to other supported Hz-rates of your device.

How to Change The Monitor Refresh Rate In Display Adapter Properties
You can also change the monitor refresh rate using the old “Display Adapter Properties” from Control Panel.
- “Display Adapter Properties” with a command
Open the run dialog using the hotkey “Windows + R” or a command prompt and run the following command to open “Display Adapter Properties”. “1” at the end reflects monitor 1 from Windows 10 settings. If you have more than one displays, put 2, 3 etc. accordingly depending which monitor´s refresh rate you want to change.rundll32.exe display.dll,ShowAdapterSettings 1

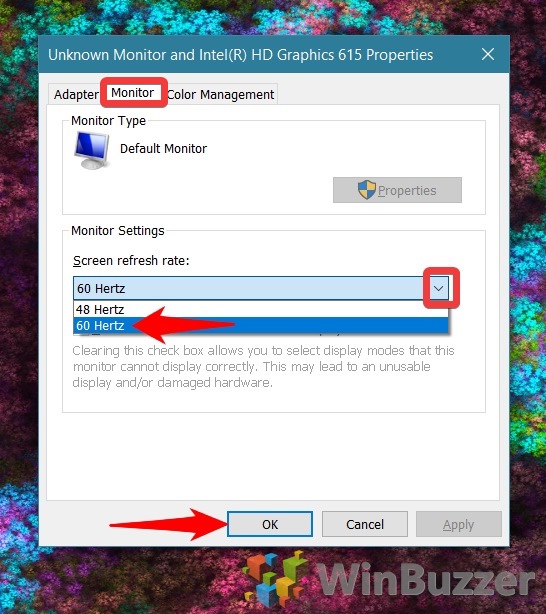
- Select scren refresh rate
In display properties, switch to “Monitor” and select the desired “Screen refresh rate” in “Monitor Settings”.
How to Change The Monitor Refresh Rate Using Command Prompt
The freeware NirCMD allows to change the monitor refresh rate using command prompt. NirCMD does not require installation and requires less than 300kB of space which is practically nothing for modern PCs.
- Download and extract NirCMD
After downloading NirCMD, uncompress the ZIP-file and right click on the extracted folder to “Copy as path” its location on your drive.

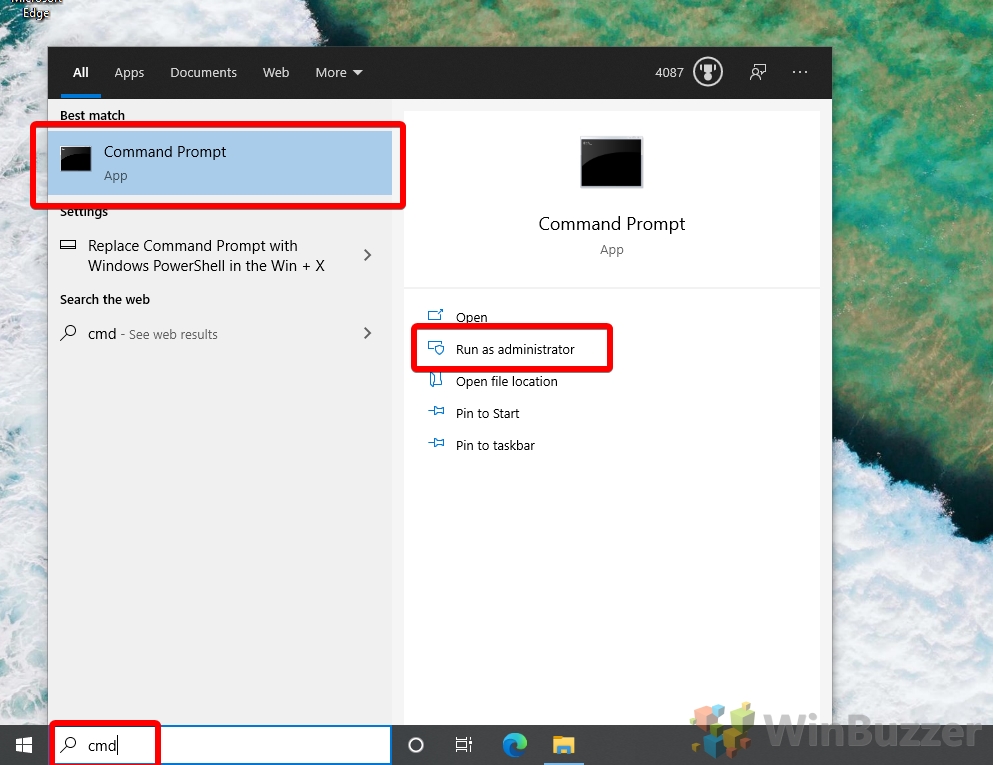
- Open an elevated command prompt
Search for “CMD” and select “Run as administrator” to launch an elevated command prompt.
- Switch to NirCMD folder
Type cd, followed by a space and right-click to paste the location for NirCMD which you copied previously. Then press “Enter”.

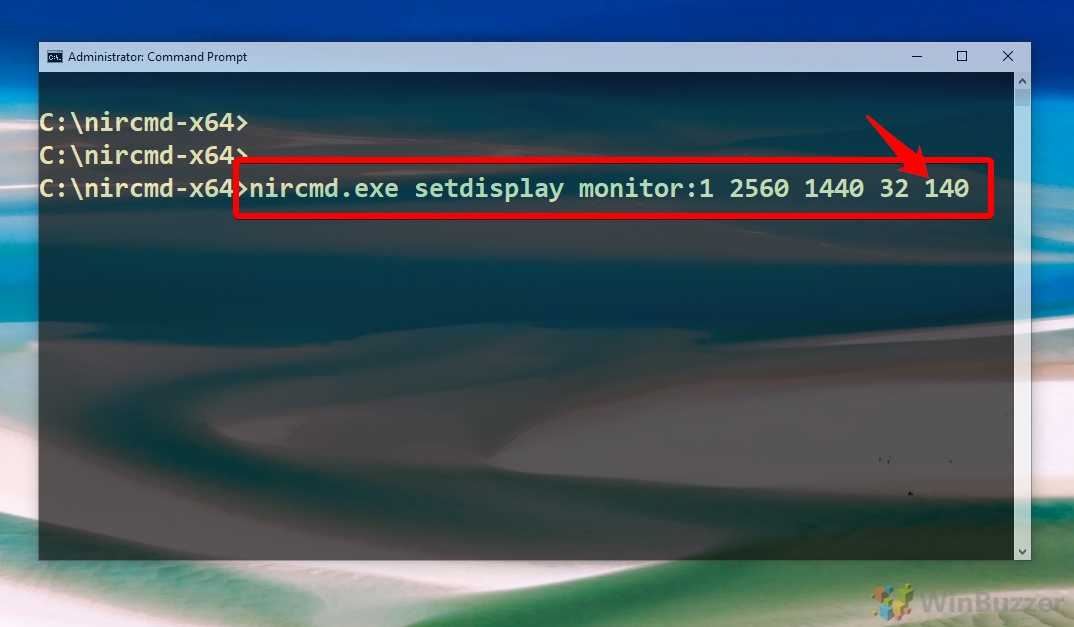
- Change monitor refresh rate with NirCMD
Run the following command to change display refresh rate. (If you need help to adjust the command for your display setup, consult this page):nircmd.exe setdisplay [Monitor:display mumber] [width] [height] [color bits] [refresh rate]
To set display 1 with 2560×1440 resolution, 32bit color depth and a refresh rate of 140Hz you have to run the following command:nircmd.exe setdisplay monitor:1 2560 1440 32 140
Note: If any of the other parameters is not supported by your display, such as the requested screen resolution, NirCMD will not change the monitor refresh rate even though you have selected a valid Hz frequency.
How to Calibrate your Monitor, Change DPI Scaling Level and Change Screen Brightness with Windows 10
After changing any display properties in Windows 10, calibrating your monitor again is always a good idea. If things appear too small on your screen you can also change the DPI scaling level to increase (or decrease) the size of text, apps and other items. In Windows 10 you can also change screen brightness manually, or you can have it done for you automatically in a variety of ways.
Last Updated on August 25, 2021 11:02 am CEST by Markus Kasanmascheff


