

The Windows disk write caching feature stores some of your hard disks’ write commands in the memory (RAM), forming a queue. Instead of immediately completing the writing of a file, it saves part of it to complete at a later time, when the slower device can be written to.
Windows 10 Disk Write Caching improves performance
This often means applications can run faster, using the disk write cache to ensure they don’t have to wait for data write requests to actually write to the disk before they can continue. Windows write caching is typically enabled for internal drives by default because of this, but external hard drives or USB drives often don’t use the feature, which can lead to a slow external hard drive.
On the other hand, when you enable write caching you’re introducing a larger chance of data loss. As objects in memory don’t persist across a reboot, sudden power failure or removal of an external drive may mean that some data is irreversibly lost. As a result, there are good reasons to enable or disable the disk write cache, and we’re going to show you how to do that today.
How to Enable or Disable the Disk Write Caching Policy via Device Manager
Disabling or Enabling write caching in Windows 10 is very easy and doesn’t require use of command prompt or the registry. You simply need the Device Manager and a few minutes to fix your Windows caching issues.
- Open Device Manager
Press “Windows + X” to open the Start context menu and click “Device Manager”.
- Open the “Disk Drives” heading and double-click the disk drive

- Disable the Disk Write cache Policy
In the device properties, switch to the “Policies” tab and look for the “Removal policy” section. Tick the option called “Quick removal”. This will disable write caching on the device and in Windows, and lets you disconnect devices without using the ‘Safely Remove Hardware icon’ in your system tray.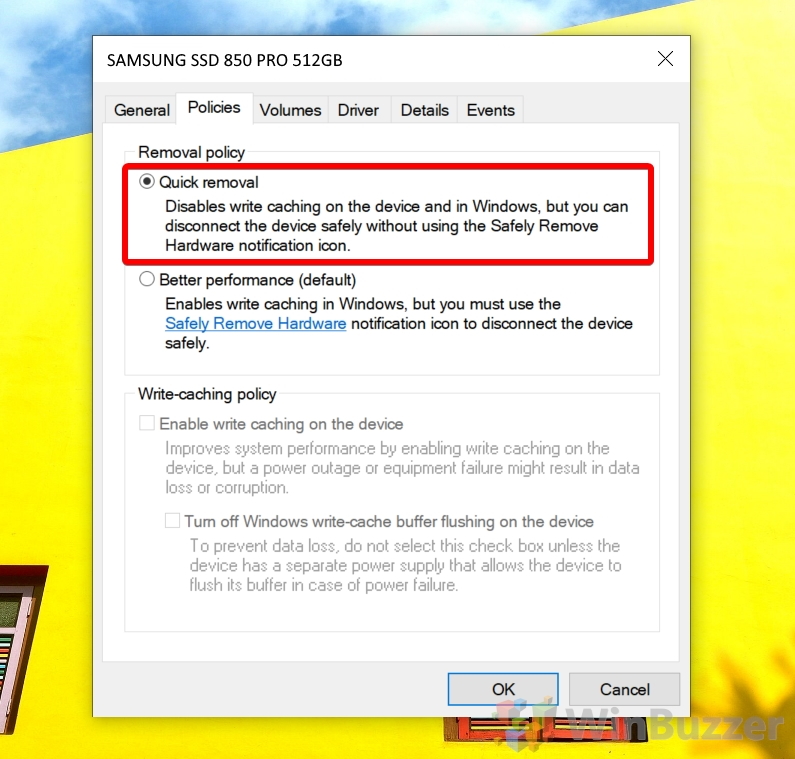
- Enable the windows disk write caching policy
To enable the disk write cache for a drive, instead tick “Better performance” under the “Removal policy” section and tick “Enable write caching on the device” under “Write-caching policy”.
Be aware that this will mean you’ll have to use the ‘Safely Remove Hardware’ icon in your taskbar before you remove a device to avoid data loss, and that you’ll be at increased risk of data loss or corruption if there’s a power failure.
Warning: You should not tick the “Turn off Windows write-cache buffer flushing on the device” option unless the disk has a separate power supply. Write-cache buffer flushing will cause data loss if the device doesn’t have external power.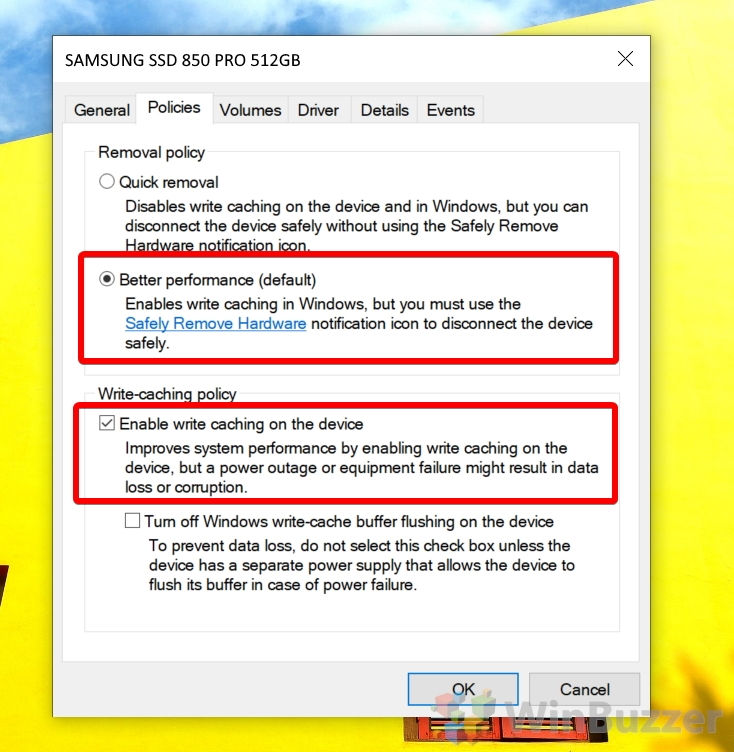
- Accept the prompt to restart your computer
To apply these changes, Windows 10 needs to restart. You can do this by clicking “Yes” on the System Settings Change prompt, or by manually restarting once you’ve finished the other tasks you’re working on.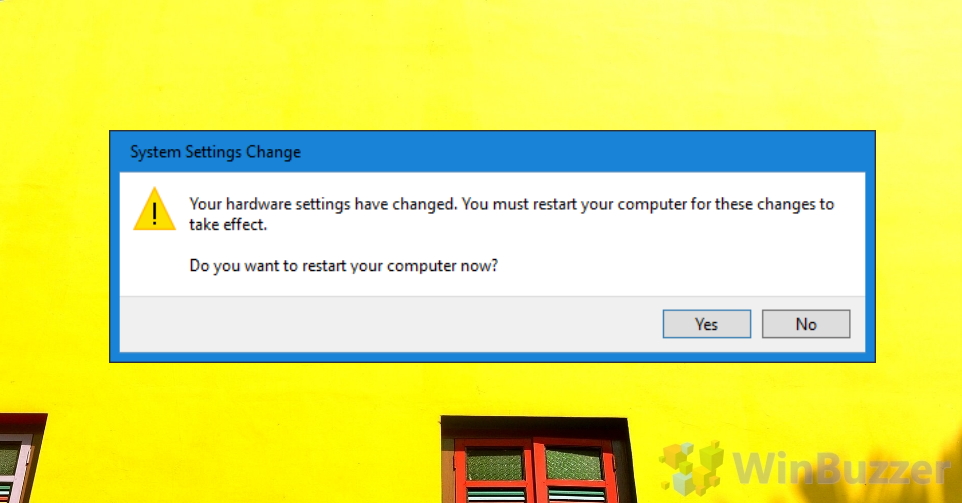
Last Updated on August 14, 2020 8:00 pm CEST by Markus Kasanmascheff


