
 Version via the Windows 10 Upgrade Assistant")
For the most part, an update to the latest Windows 10 version build is a simple process via the OS’ built-in features. However, this path quickly becomes a nuisance if you’re on an earlier build, forcing you to apply numerous patches individually. In such cases, it’s best to utilize the Windows 10 Update/Upgrade Assistant to get the latest version (Windows 10 20H1).
First, though, you may want to check what version your OS is currently running. It could be that Microsoft automatically upgraded you to Windows 10 20H1 without you noticing. To do so, open System Information from the Start Menu. Under the “Version” tab, check your build. If you’re on the Windows 10 May 2020 update, it will read Windows 10 2004, Windows 10 20H1, or Build 19041.
If you’re still on an older version, that’s quite normal. The Windows 10 May 2020 update is a staggered one, meaning Microsoft is rolling it in increments. We’re going to show you how to bypass this with the Windows 10 Upgrade Assistant and skip smaller time-consuming updates in the meantime.
How to Update to the Latest Windows 10 Version via Upgrade Assistant
To get to Windows 10 20H1 via this method, you’ll want to disable any third-party anti-virus solutions that could interfere with this process. A small minority can cause issues during the upgrade that could result in an unsuccessful attempt or other issues.
- Download and run the Windows 10 Upgrade Assistant
While signed in as an administrator, visit the Microsoft software download site and click “Update now”, under the “Windows 10 May 2020 update” heading. When the prompted, click “Run”.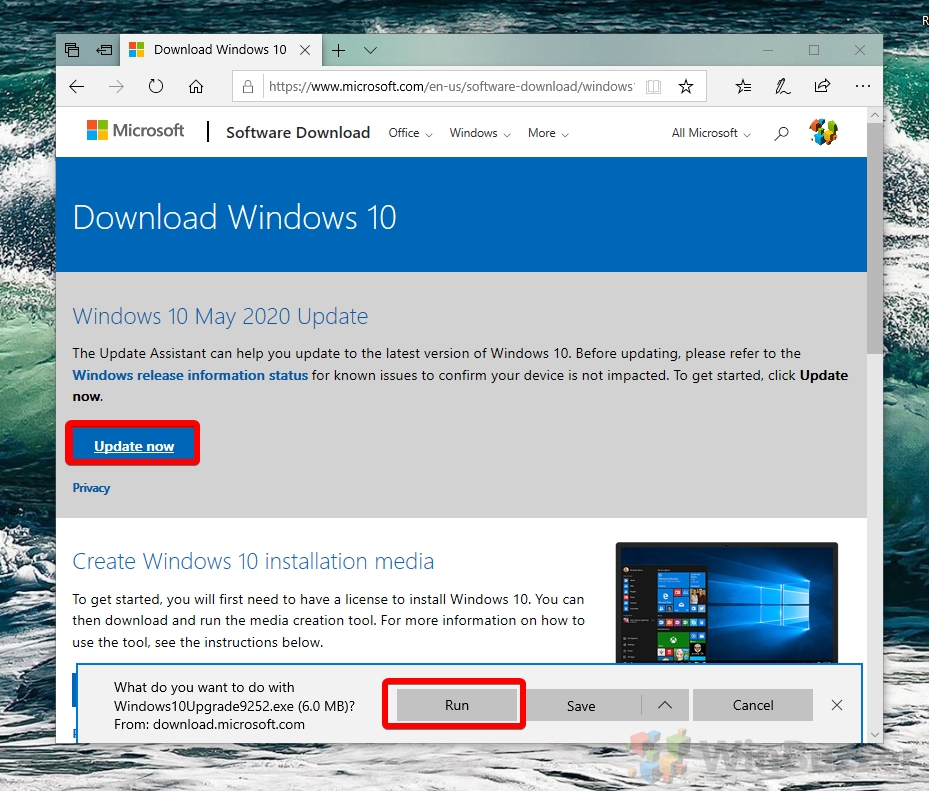
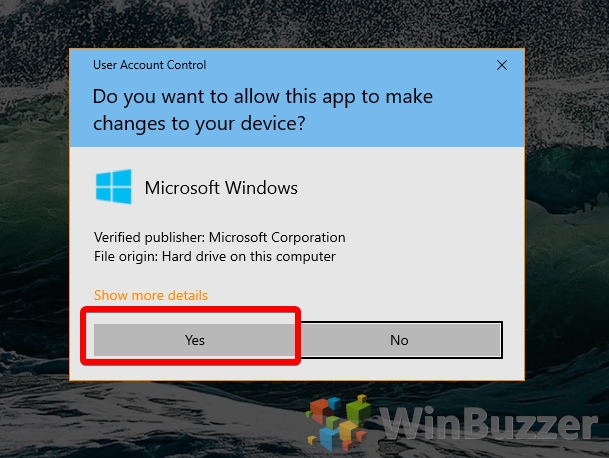
- Accept the admin prompt for the Windows 10 Upgrade Assistant
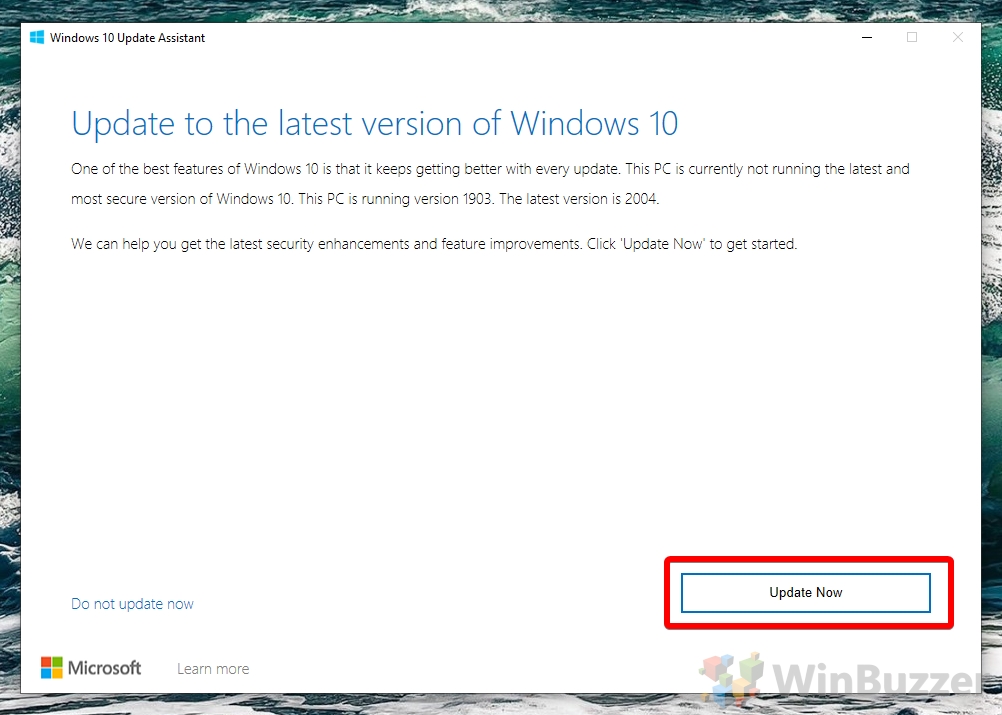
- Read the small print about your upgrade to Windows 10 2004 and click “Update Now”
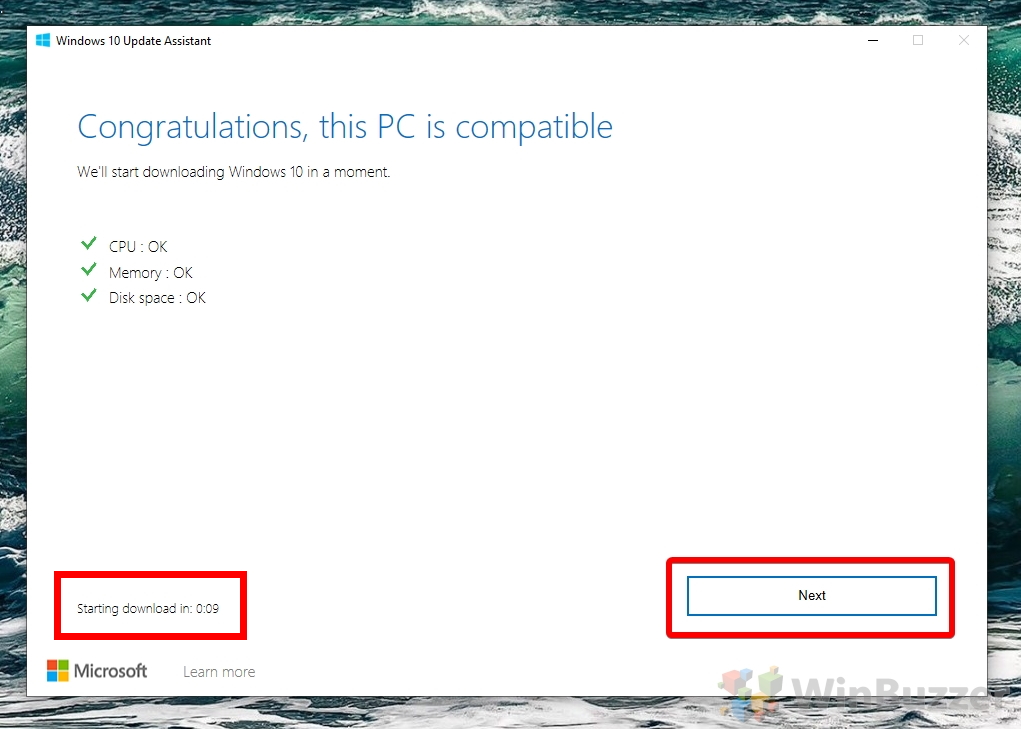
- Wait for compatibility checks to complete and press “Next”
- Wait for your Windows 10 20H1 install to download
This process will take some time, but you can continue with whatever you’re doing while it works in the background. Any new files you create will still be saved afterward.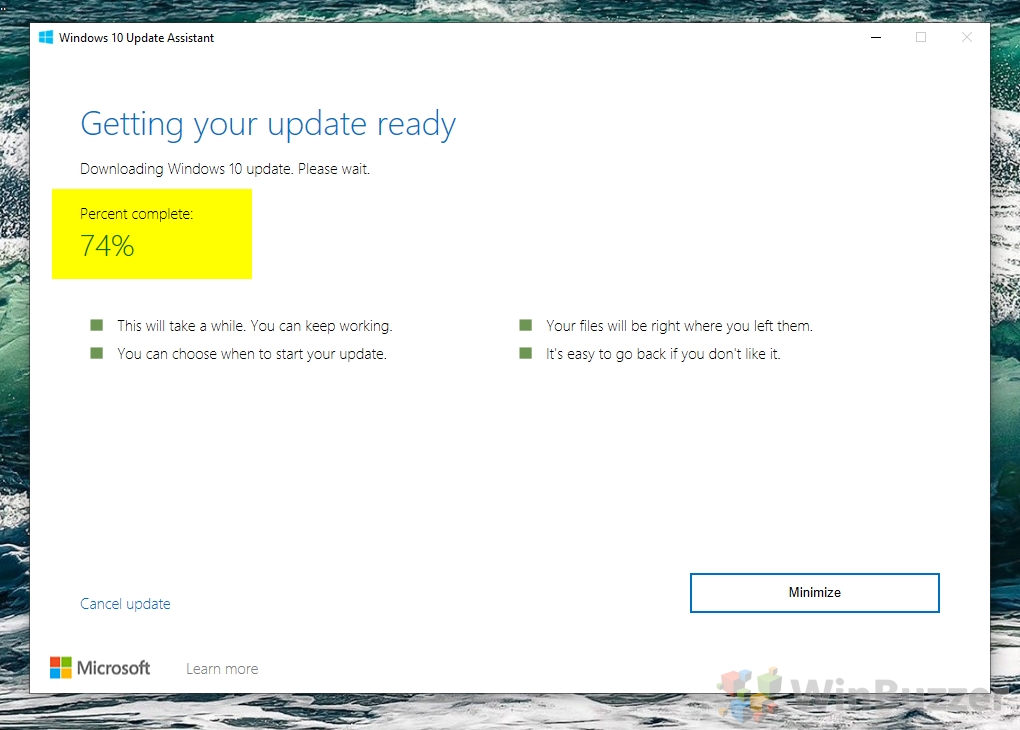
- Wait for the Windows 10 Upgrade Assistant to update to the latest Windows 10 version
Once the download has completed, the assistant will update your OS in the background. This will take some time, but again you can continue working while it does so – an advantage over installation media upgrade paths.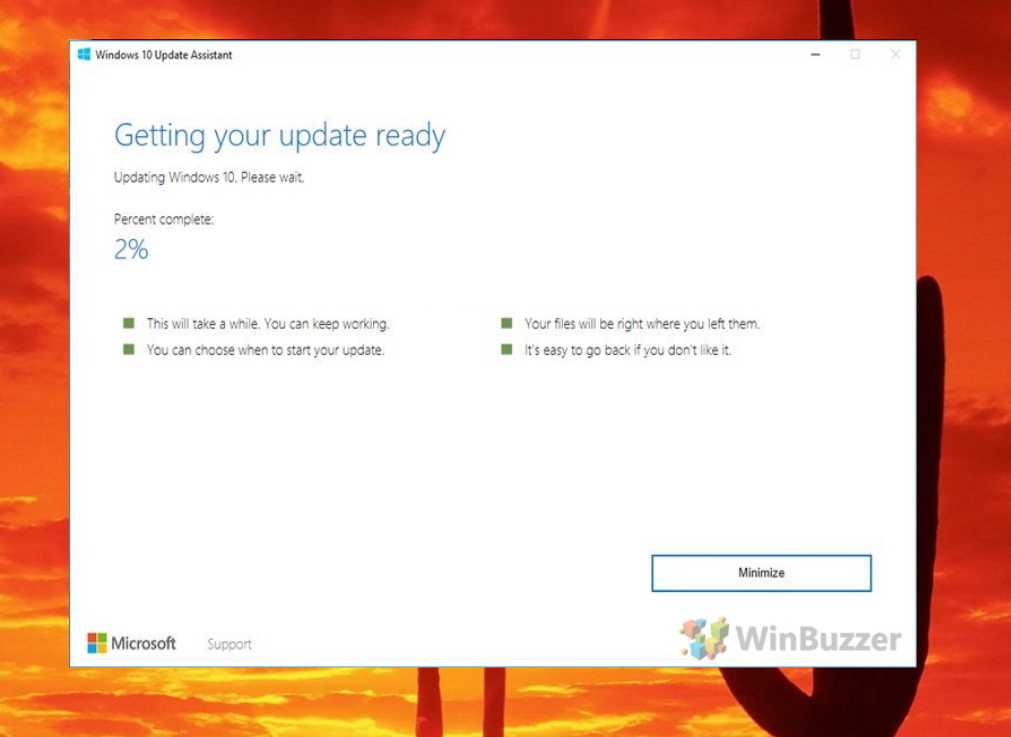
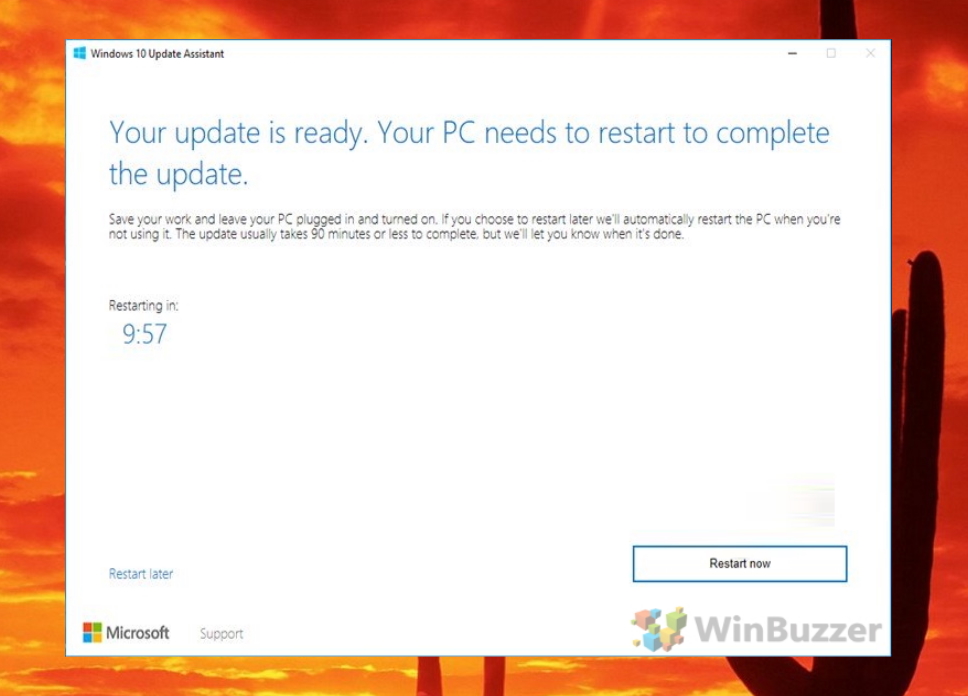
- Click “Restart now” or wait for an automatic restart
- Wait for Windows 10 20H1 to install
On restart, you’ll be faced with Windows 10’s dark blue screens and a message that it’s “Working on updates”. Your PC may restart several times during this process, but it’ll eventually boot to the normal login screen.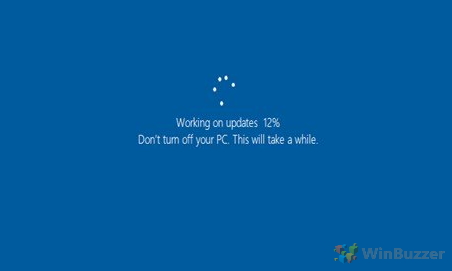
- Log in to your Windows 10 account
Windows will require your regular password to continue. If you’d like to turn this off in the future, check out our disable login screen guide.
- Read or close the Windows welcome experience
This can be useful for some users, as it informs you of all the latest changes in the Windows 10 May 2020 update. Naturally, we recommend you read our Windows 10 20H1 roundup here instead.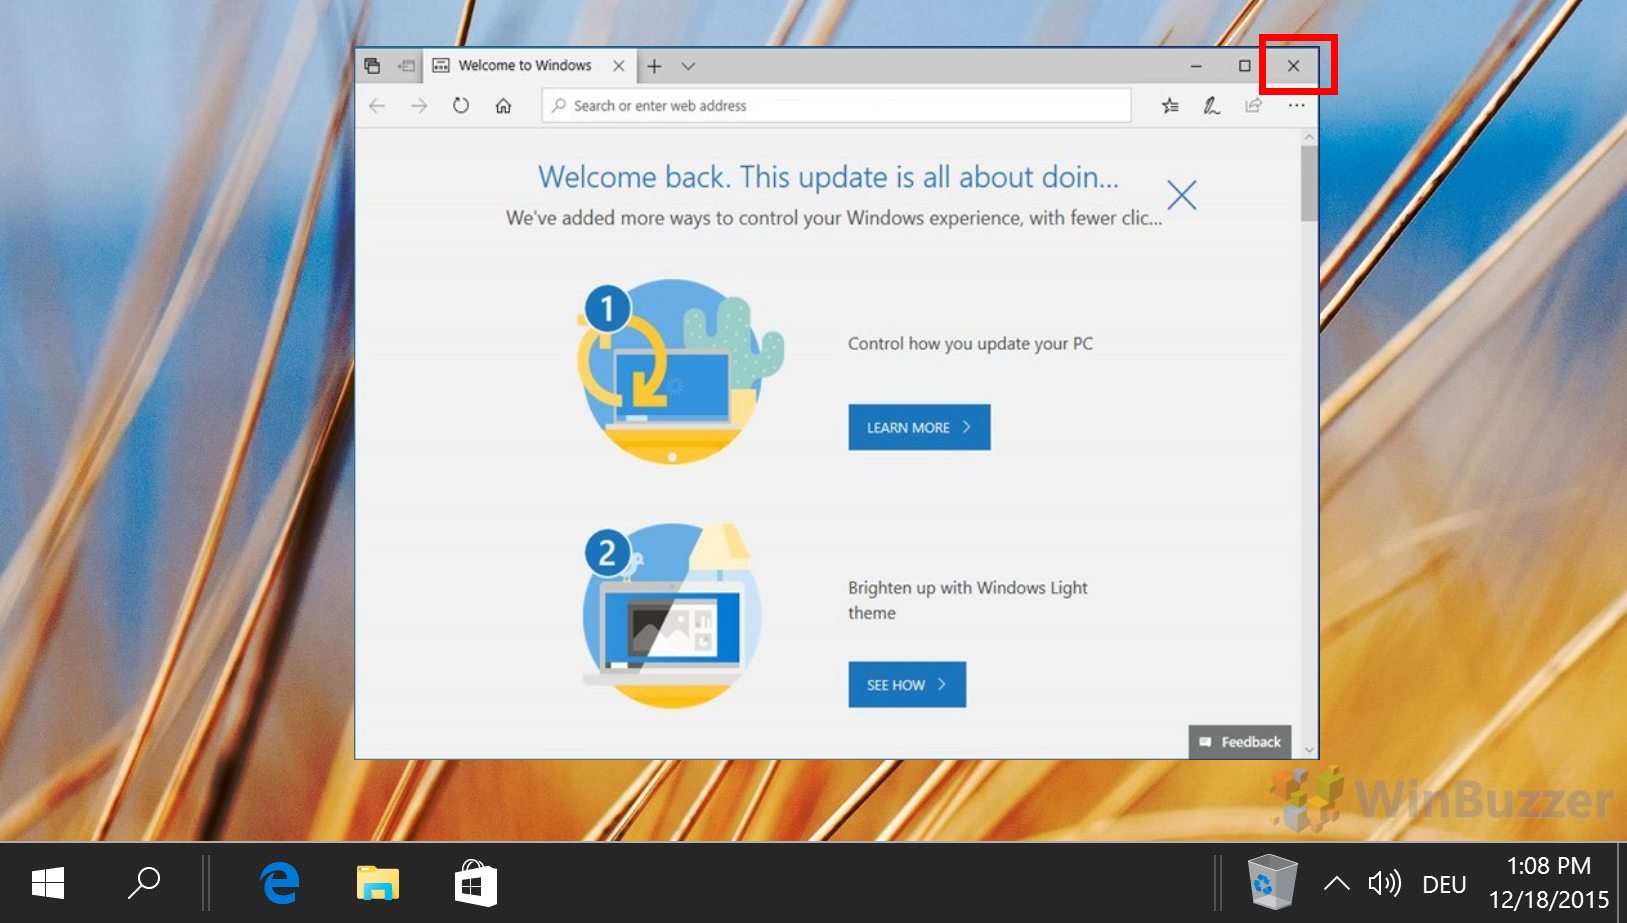
- Exit and uninstall the Windows 10 Update Assistant
Uninstalling the update assistant after you’re finished with it will remove theC:\Windows10Upgrade folder.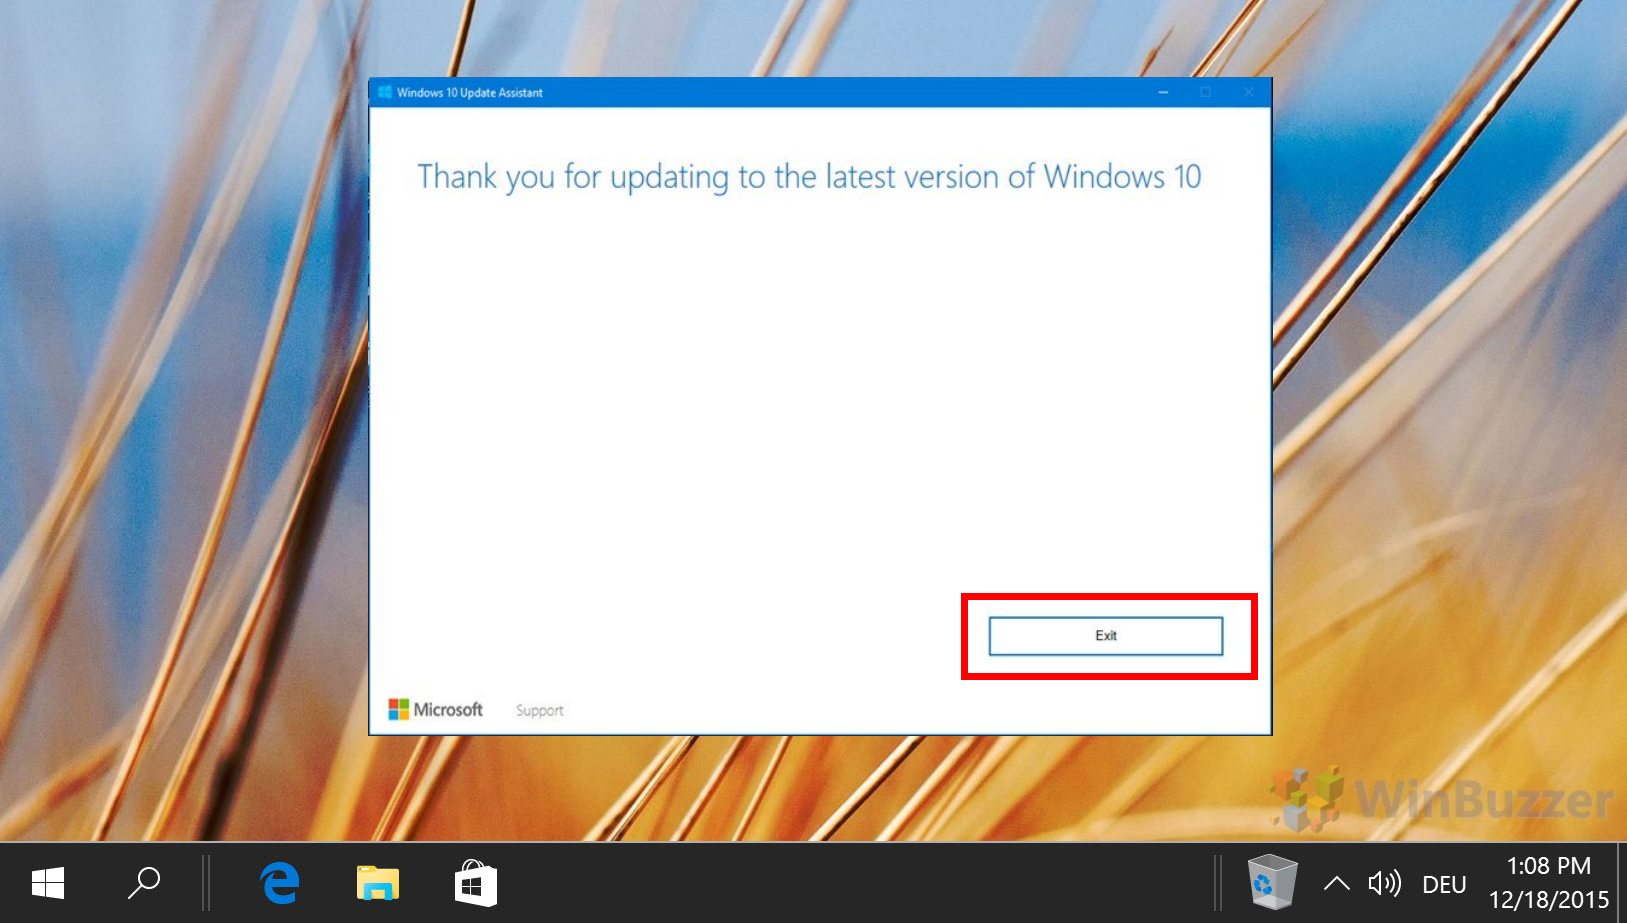
Last Updated on November 26, 2020 7:05 pm CET by Markus Kasanmascheff


