It’s all too easy to forget to perform a Windows 10 backup, and all too quick to realize you don’t have one when you experience hardware or software failure. Forgetting to backup Windows can mean the loss of important documents, priceless images of family, or game saves with countless hours.
As a result, it’s a good idea to backup your computer on a regular basis, and the most fool-proof way is to manually create a disk image in Windows 10 and save it to an external hard drive.
The requirements for a full Windows 10 backup depend on how many items you have on your PC in the first place. Naturally, the more apps, images, videos, and programs you want to save, the bigger external hard drive you’ll need to store them on. You’re just saving your C:/ drive, so it’s possible to back up Windows 10 to a USB drive. However, it’s worth noting that transfer speeds could be slower than with a dedicated drive.
As an alternative you can use the Windows 10 File History feature to keep and if necessary restore versions of files. For device drivers, there is a separate backup feature available. For a full Windows 10 system backup, you should however rely on a complete system image.
What is a system image?
When we use the phrase ‘system image’ or ‘Windows recovery image’ in the context of a full back up, it refers to a complete save of your system at the time. Your documents, Windows 10 installation, apps, files, and documents will also be preserved for recovery at a later date. For this, Microsoft uses the .wim disk image format, which reduces all your subdirectories into a single file that can be written easier and restored via the Windows boot loader.
However, it’s worth noting that the process we’re following now is different from the creation of a custom recovery partition. For that, you can check our article here. The purpose of this guide is to show you how to backup your computer to an external hard drive in Windows 10 the easy way. This doesn’t require use of command prompt and is quite simple. After, we’ll show you show how to restore Windows 10 again through use of installation media. Let’s get started:
How to Create a Full Windows 10 backup with the System Image Tool
Creating a back up really doesn’t take long, but it does require use of the system image tool from Windows 7, which technically isn’t supported by Microsoft anymore. As a result, you’ll find it the legacy Control Panel.
- Open Control Panel
Press the “Start” button and type “Control Panel”, clicking the first result under “Best match”.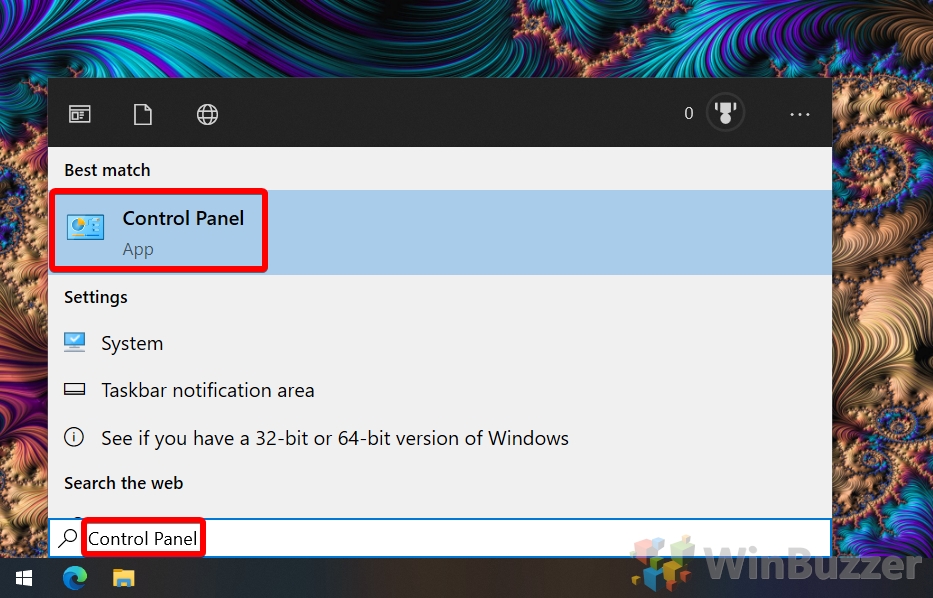
- Choose the Backup and Restore (Windows 7) option
You’ll find this under “System and Security”.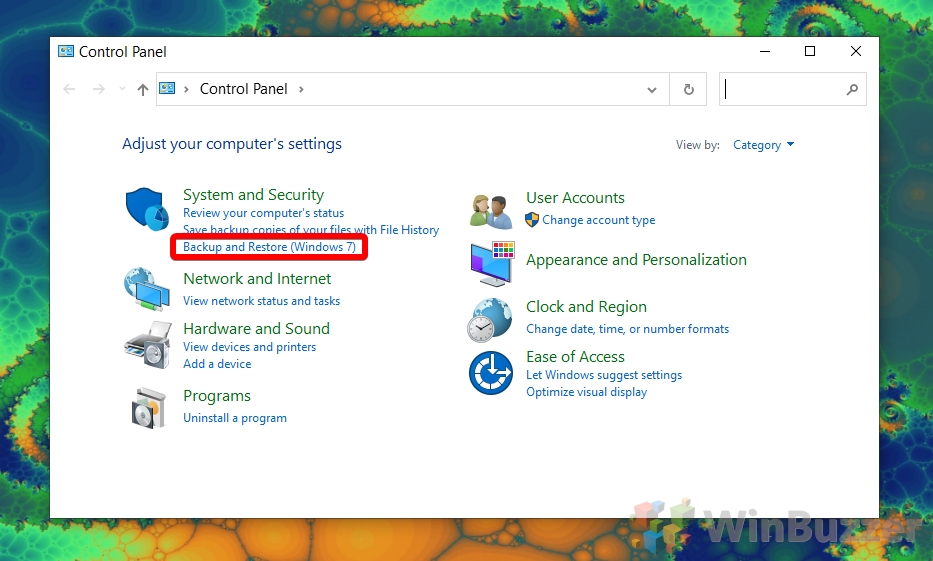
- Create a system image for your full Windows 10 backup
You’ll find the “Create a system image” option under the “Control Panel Home” heading. Click it and confirm your administrator credentials to continue.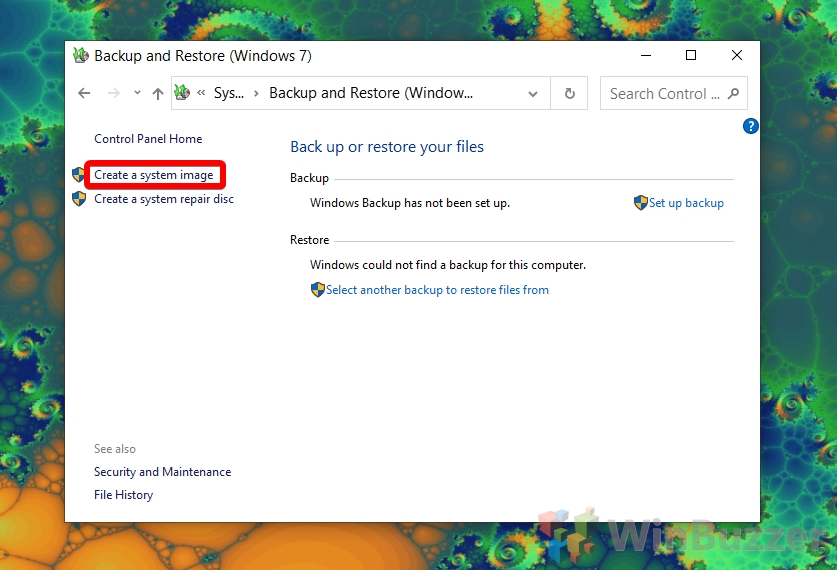
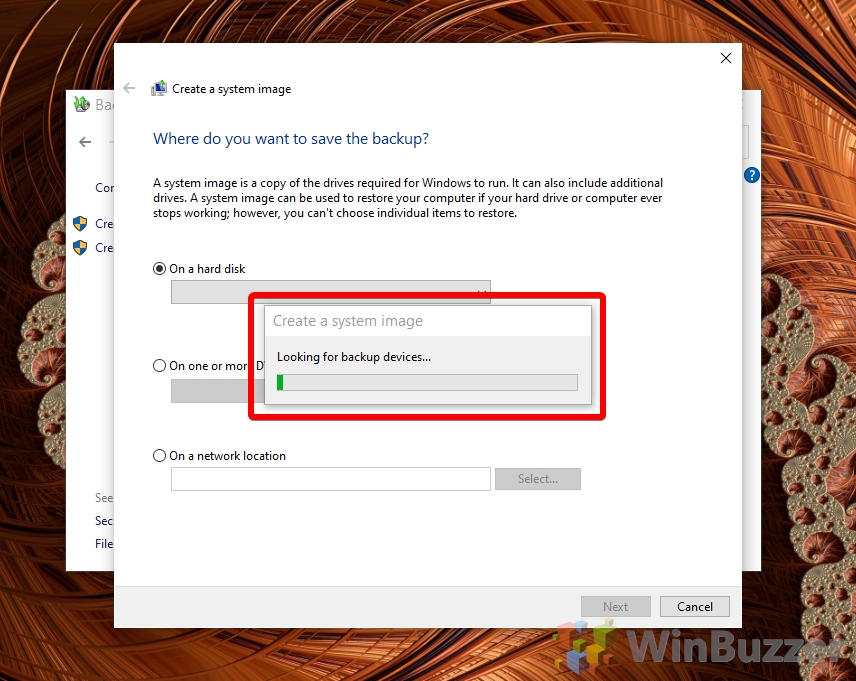
- Wait for Windows 10 to detect your backup drive
- In the Windows 10 backup options, choose your backup drive
Tick “On a hard disk” and select the correct Windows 10 backup drive, disk, or network location. Click “Next”.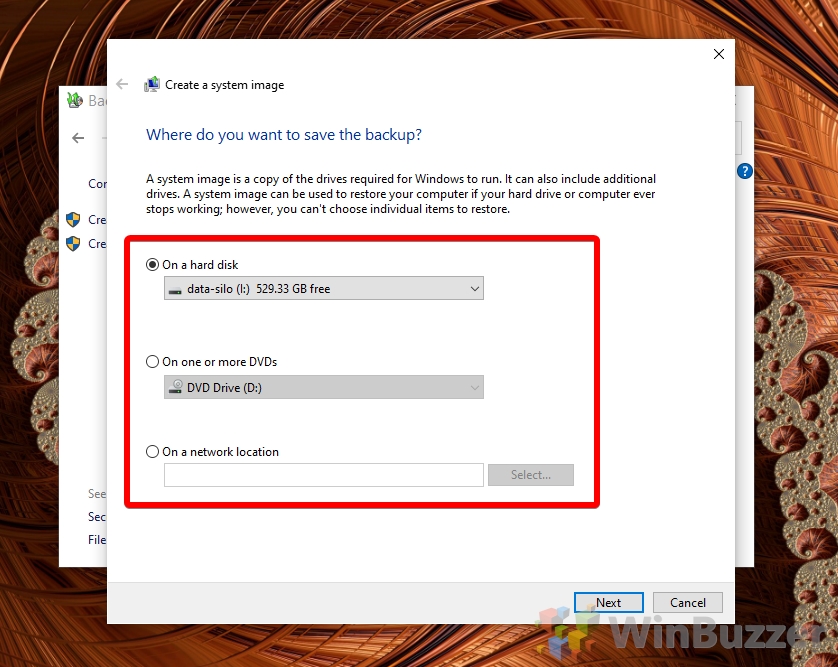
- Confirm your Windows 10 backup options
Windows 10 will now show you how it plans to backup your computer, listing the drives that will be saved. If you’re happy, click “Start backup”.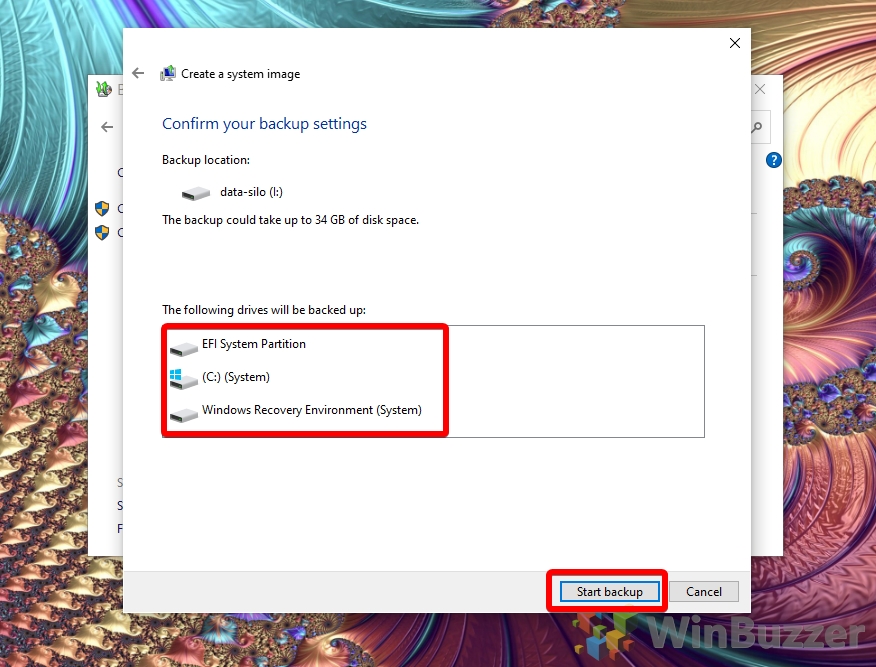
- Wait for Windows 10 to create a disk image
This will likely take some time, so don’t be concerned if it looks stuck. Windows will inform you of reach drive it’s backing up.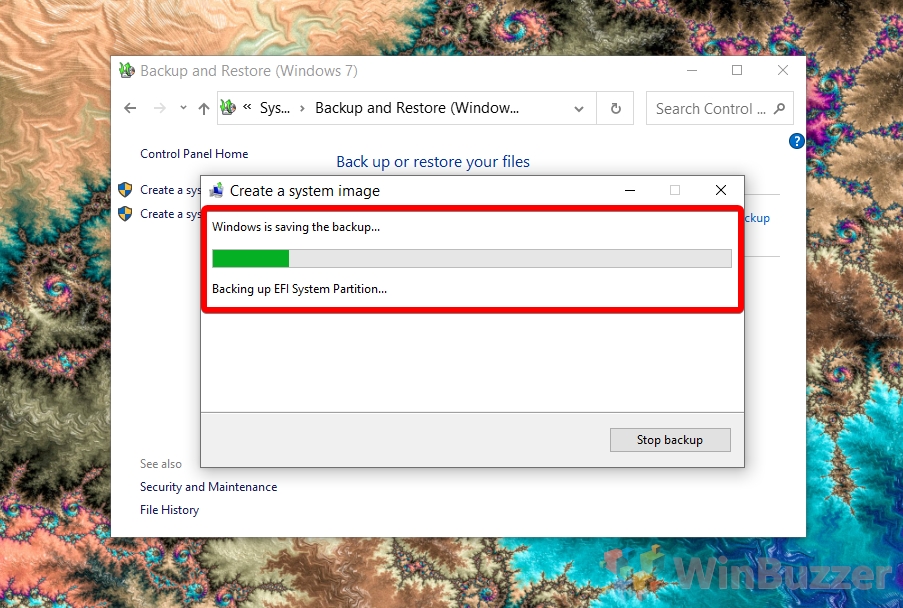
- Decide if you want a Windows 10 system repair disc
Once the process completes, you’ll be asked if you want to create a system repair disc. It’s up to you, of course, but generally you don’t need one. It’s rare that PCs and laptops accept disks anymore and you can always restore Windows from a bootable USB drive or a custom recovery partition.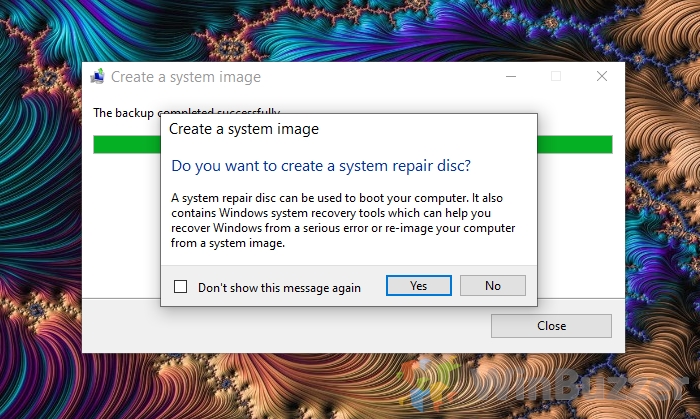
How to Perform a Windows 10 Restore from Your System Backup
If you’re installing a new OS drive or can’t boot your PC, you can restore your previously created Windows 10 backup via a bootable USB drive, which you can create via this tutorial. Make sure you also have the drive with your backup image on to hand.
- Boot into Advanced Startup Options and click “Troubleshoot”
If you can’t work out how to access Advanced Startup Options, you can follow this guide.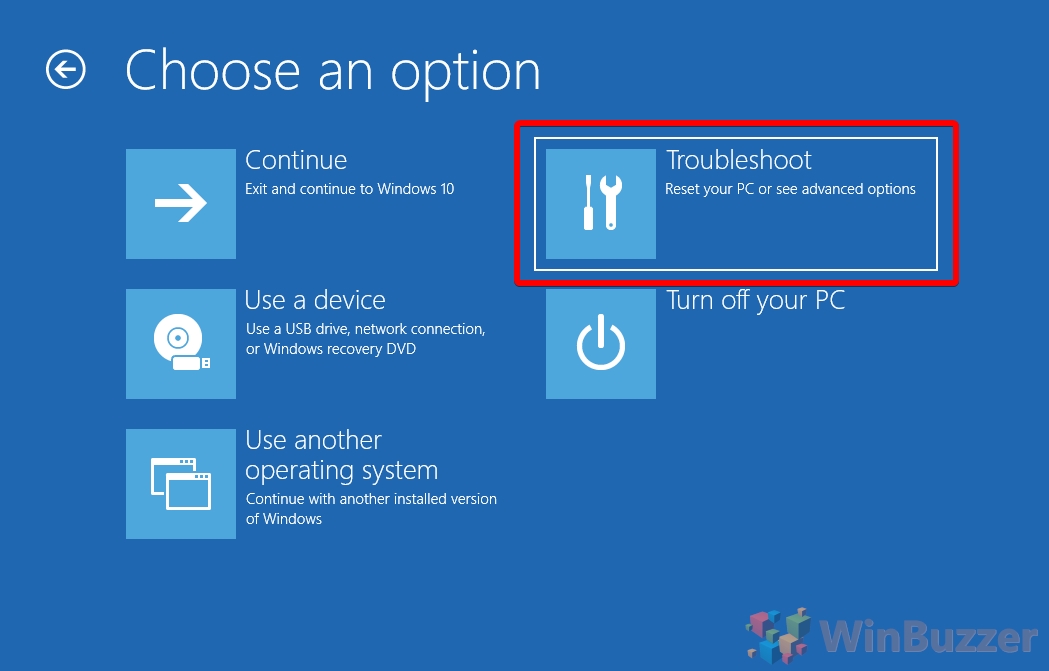
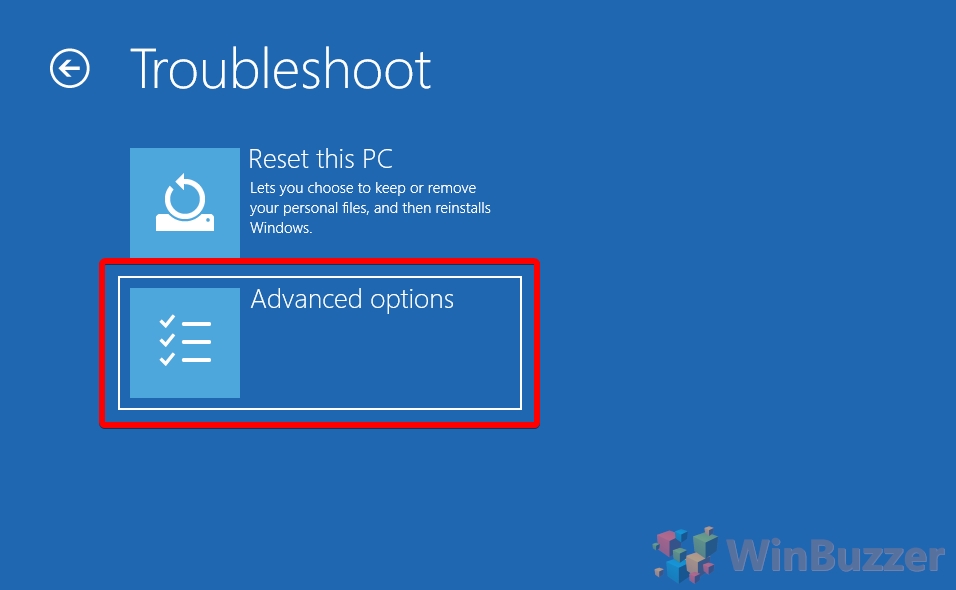
- Choose “Advanced Options”
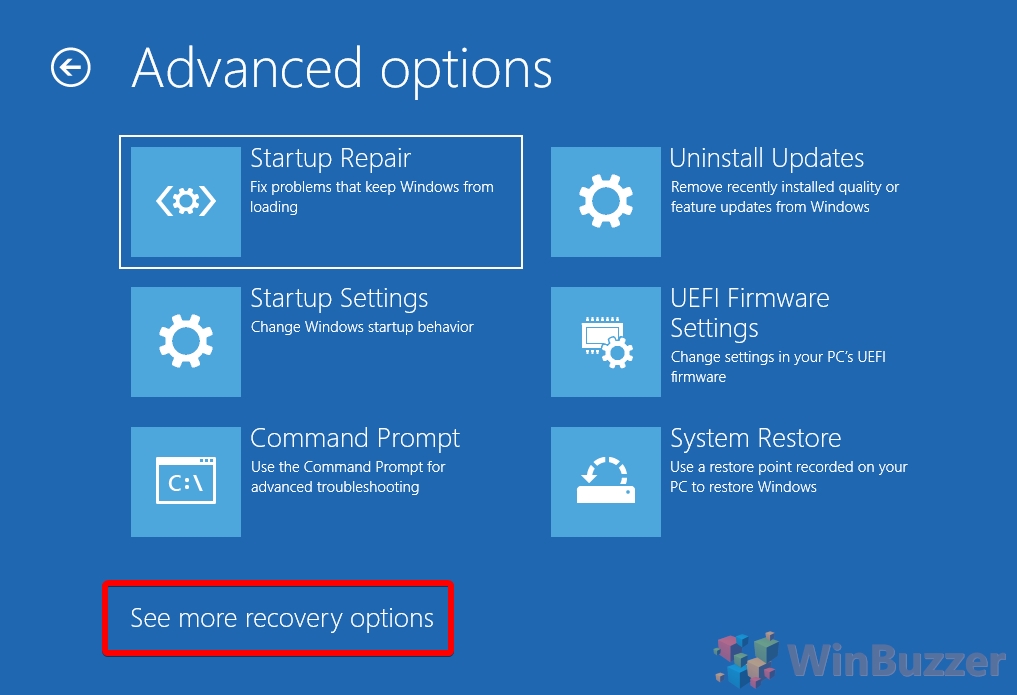
- Enter “more recovery options” to access Windows 10 backup and restore functionality
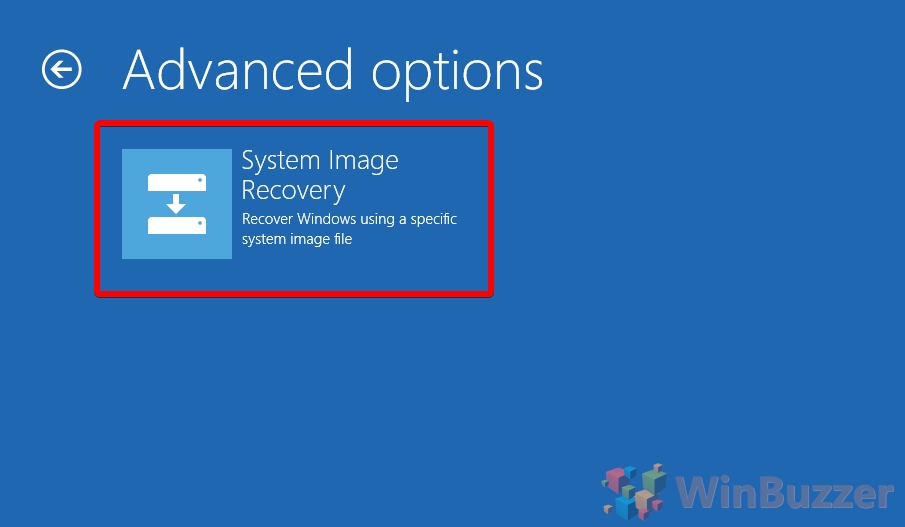
- Choose “System Recovery Image”
- Wait for Windows to Restart

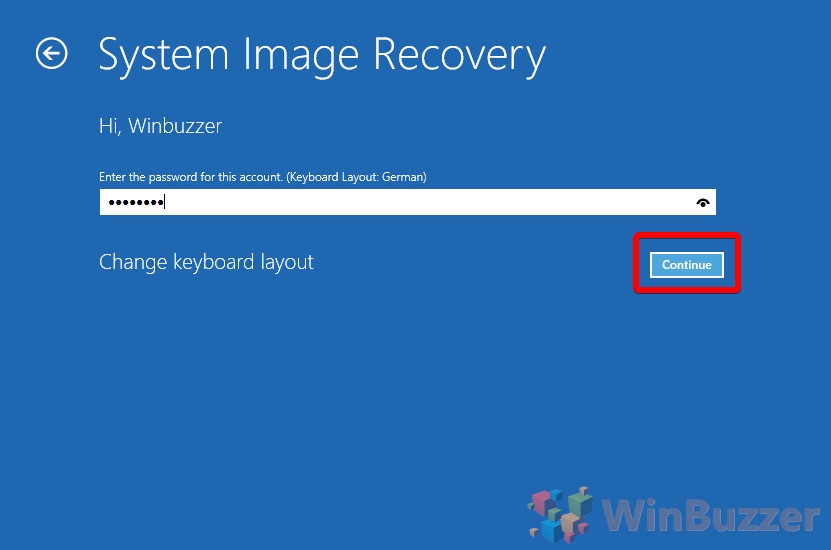
- Choose the Windows account you made the backup image from

- Enter your Windows 10 password and click “Continue”
- In the “Re-image your computer screen”, click “Select a system image”
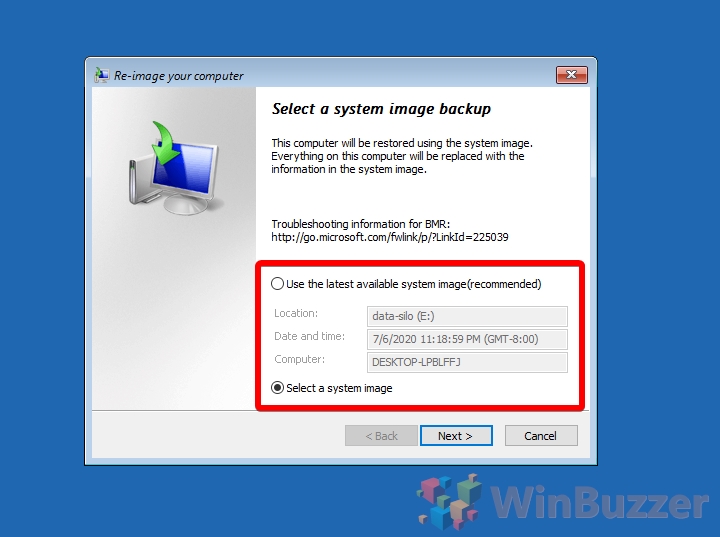
- Select your Windows 10 system image and click “Next”
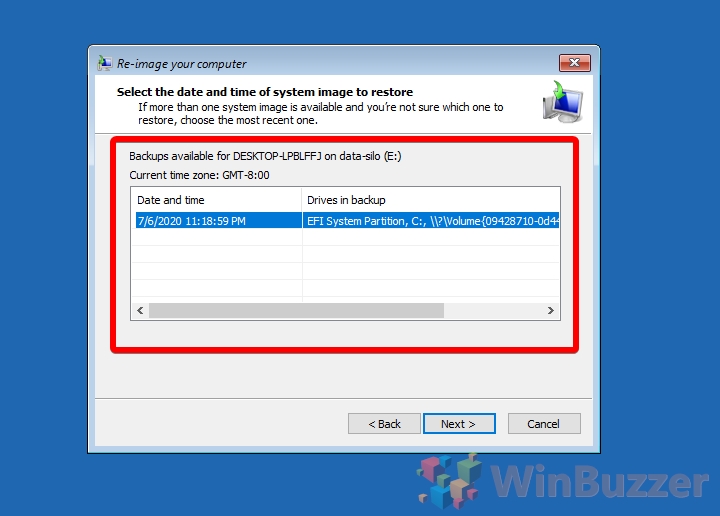
- Press “Next” again
You can also choose the “Format and repartition disks” option if you’re restoring the backup to a new hard drive. Don’t click this unless you’re sure there’s no data on there that you need.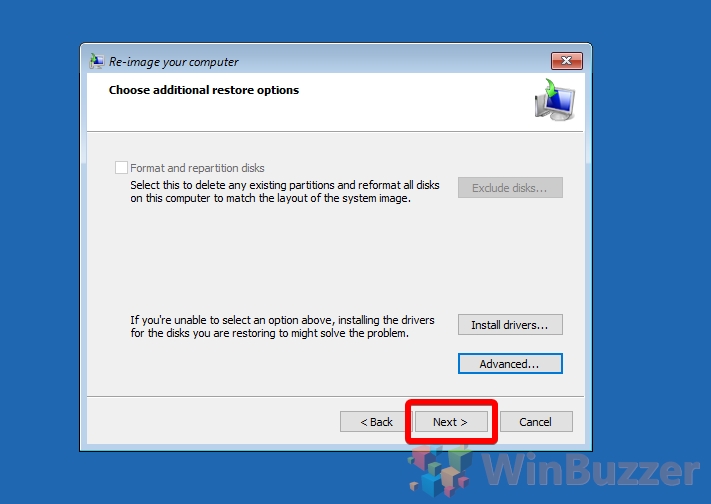
- Click “Yes” to the “Re-image Your Computer” prompt
Make sure you read the warning and accept that all the data on the drives to be restored will be replaced with the backup.
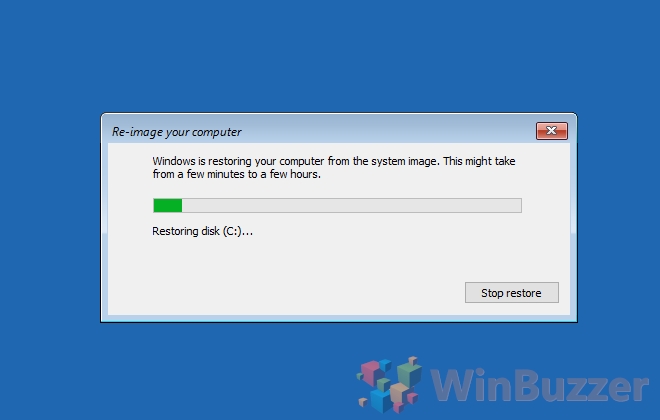
- Wait for your Windows 10 backup image to restore Windows 10
This process can take a while, though likely not the “few hours” maximum the installer suggests unless you have a really slow hard drive. Ensure you wait until it’s fully complete before doing anything else to your PC.