Permissions in Windows 10 are vital for safety and security, but they can also be frustrating. Users often run into file permissions errors that stop them from modifying files, sometimes because they were created by a different user, but often because they’re in locations Microsoft doesn’t like you to edit. We’ve already covered how to take ownership in Windows 10 manually, but today we’ll be discussing a much faster method.
With a single registry tweak, it’s possible to add a ‘Take Ownership’ button to the right-click menu that performs all of the necessary actions for you. You’ll gain full access to all possible actions, including deletion, renaming, and more. All files and subfolders will also be under your name.
The Take Ownership context menu will set the currently active user as the owner of the files, though they must also be an administrator. They can then enter the folder or modify the file as they usually would. If you’ve already added it but have little use for it, we’ll show you how to undo the changes. Let’s get started:
Remove or Add Take Ownership to the Right-click Context Menu
First, download Show-Take-Ownership-Context-Menu.zip and extract the included .reg-file to your desktop. You should also download Hide-Take-Ownership-Context-Menu.zip and keep it somewhere safe in case you want to go back in the future.
- Add Take Ownership to the right-click context menu
After extracting the .reg file, double-click it. Windows will ask if you want to continue with the changes, to which you can press “Yes”.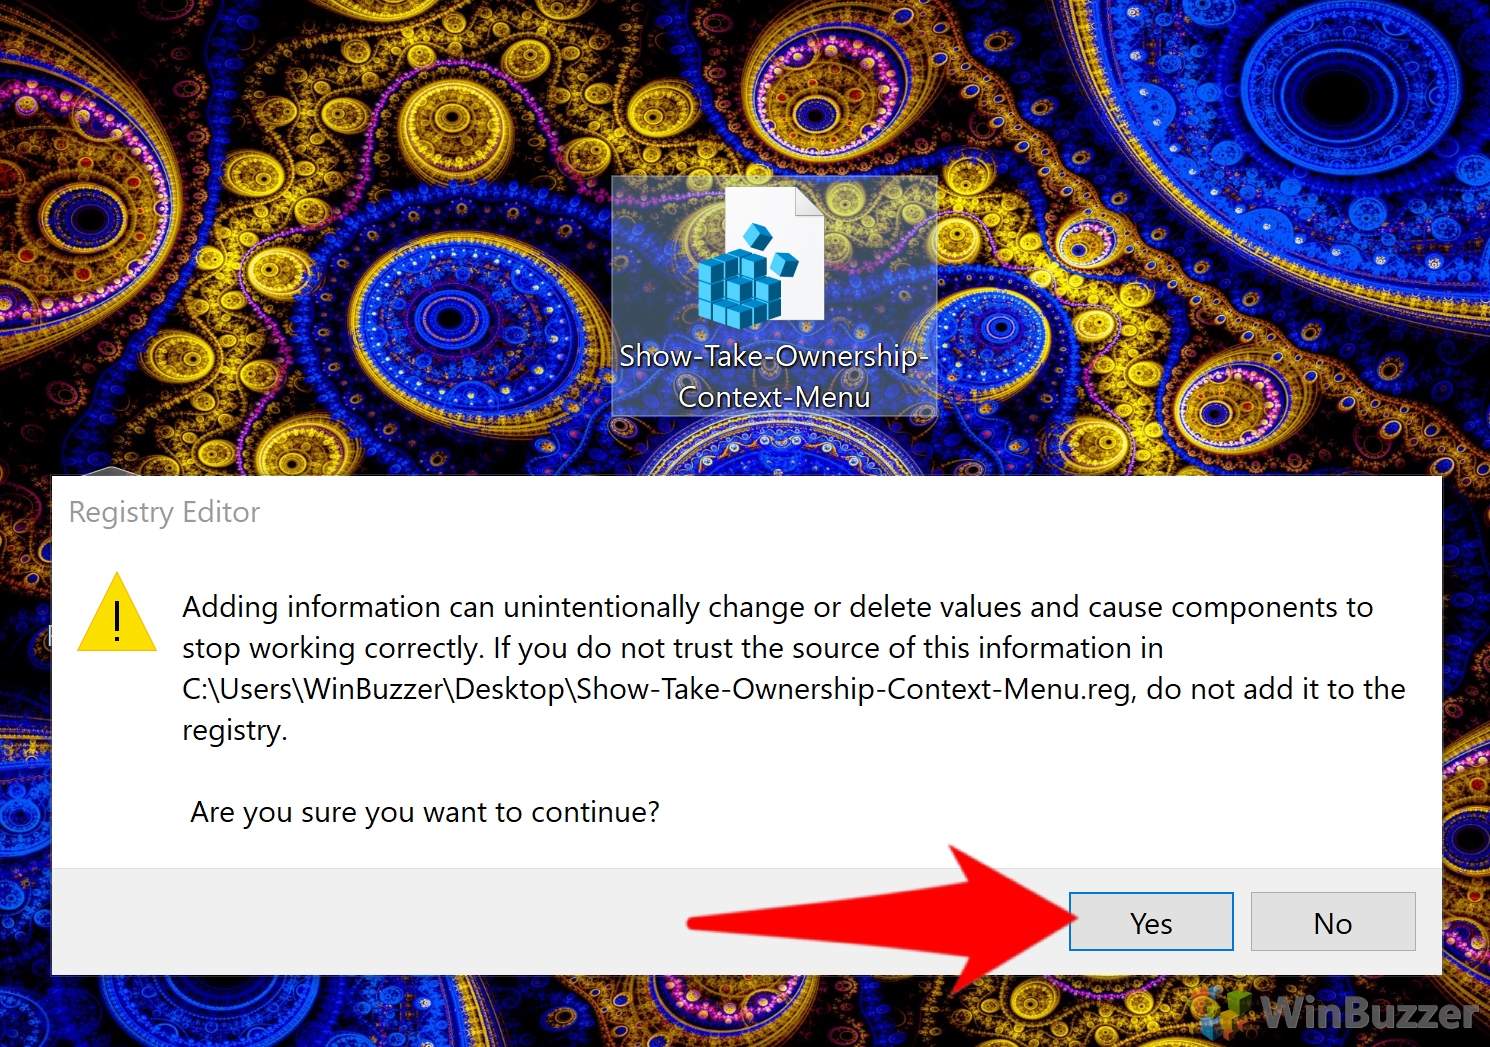
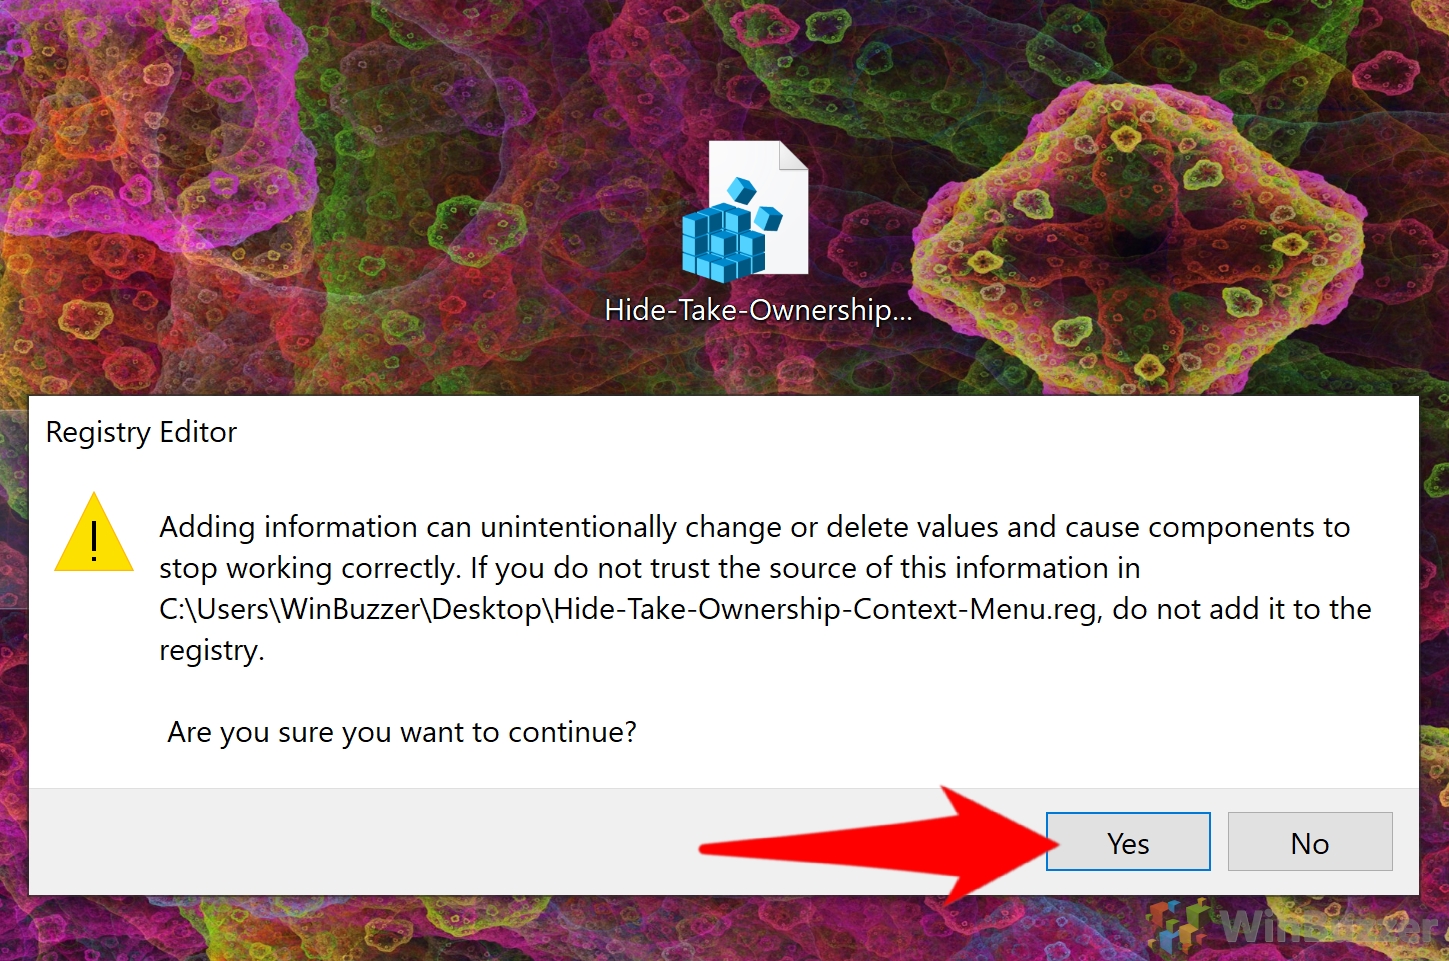
- Remove Take Ownership from the context menu
To remove it from the context menu, double-click your extracted “Hide-Take-Ownership” reg file. When asked if you’d like to continue, press “Yes”.