The Windows 10 lock screen looks nice but adds a frustrating extra step to unlocking your PC. There’s no option to toggle the feature off by default in Windows 10, but you can disable the lock screen via a Group Policy or by modifying your registry. We’re going to show you how to do both.
For clarity, in Windows 10, disabling the lock screen will remove the image and clock that shows before the login screen. The login screen/sign-in screen is where you enter your password, and disabling it can have security implications. If that’s what you’re looking for, check our disable login screen tutorial.
When you perform a Windows 10 lock screen disable it applies to all users on the system. As a result, you should consult others in your household before making these changes. With that said, let’s jump into the tutorial:
How to Disable the Windows 10 Lock Screen via Group Policy
In Windows 10, the safest way to disable the lock screen is via the Group Policy editor. This takes just a couple of minutes, but requires Windows 10 Pro or higher. If you have Windows 10 Home, try the second method.
- Open the Group Policy Editor
Press the Windows key and type “gpedit”. Click the first result under ‘Best match’.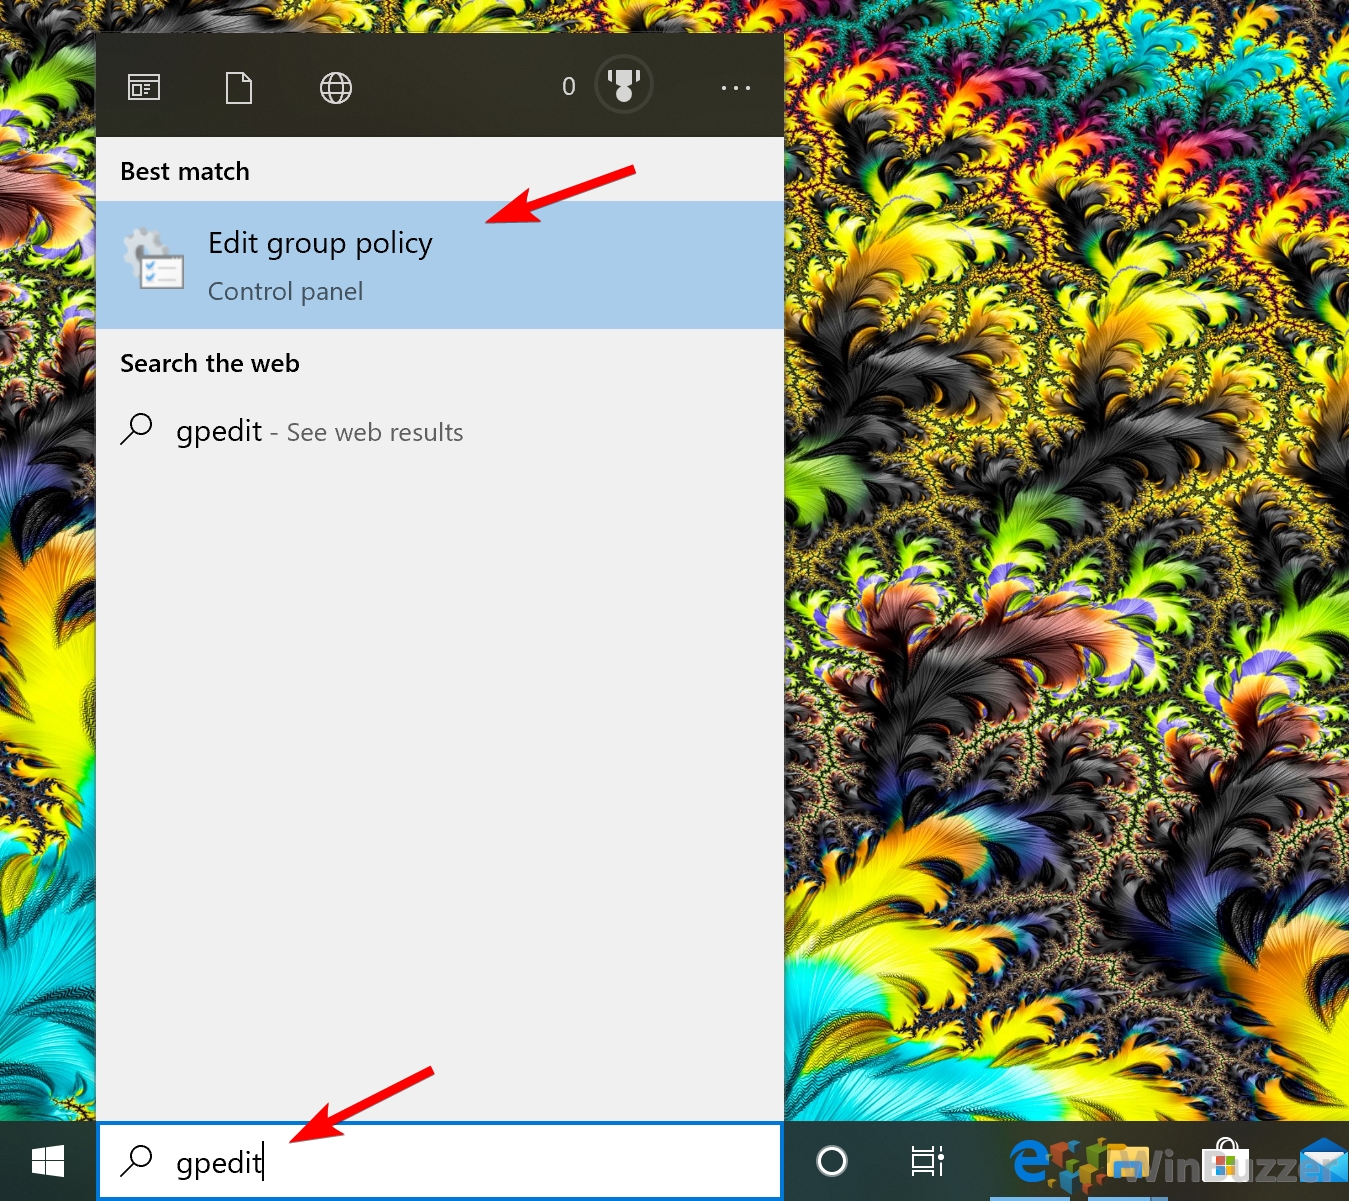
- Navigate to the Personalization folder
In the left-hand pane of the Local Group Policy Editor, navigate to “Computer Configuration > Administrative Templates > Control Panel > Personalization”. Double-click on “Do not display the lock screen”.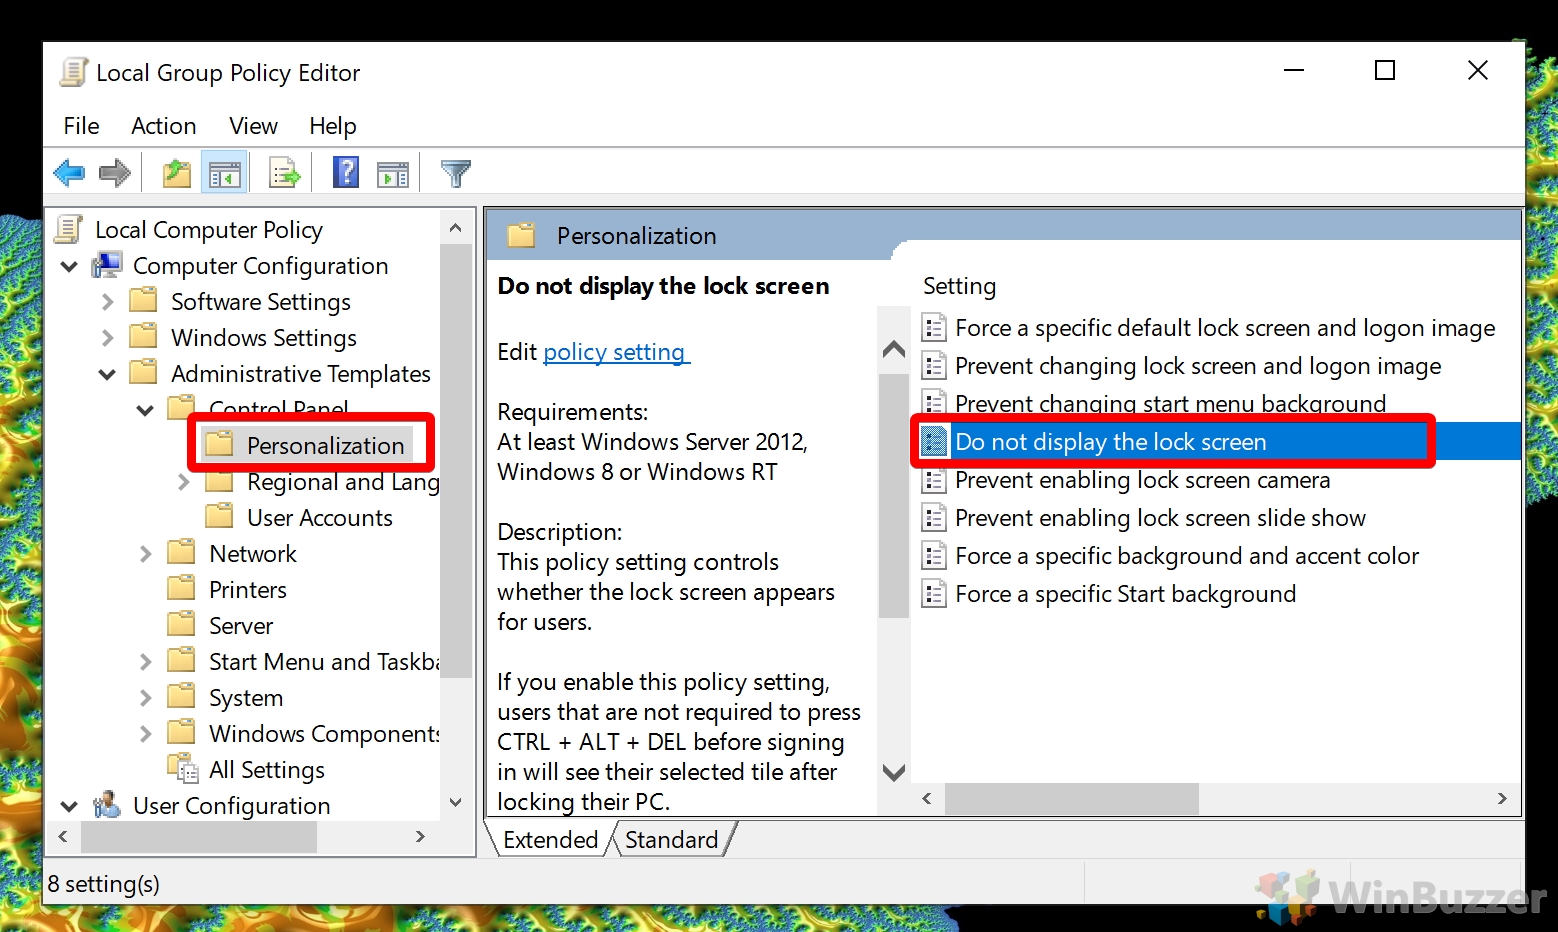
- Adjust the Group Policy settings
Tick “Enabled”, then click “Apply” to disable it, or switch it to “Disabled” to re-enable.
How to Disable the Windows 10 Lock Screen via Registry
If you don’t have a Pro license, the best method for a Windows 10 lock screen disable is the registry. However, using regedit can naturally be scary. If you’re unfamiliar with it read our guide to safely using the tool.
- Open Registry Editor
Press the Windows key and type “Registry Editor”. Click the first result under ‘Best match’.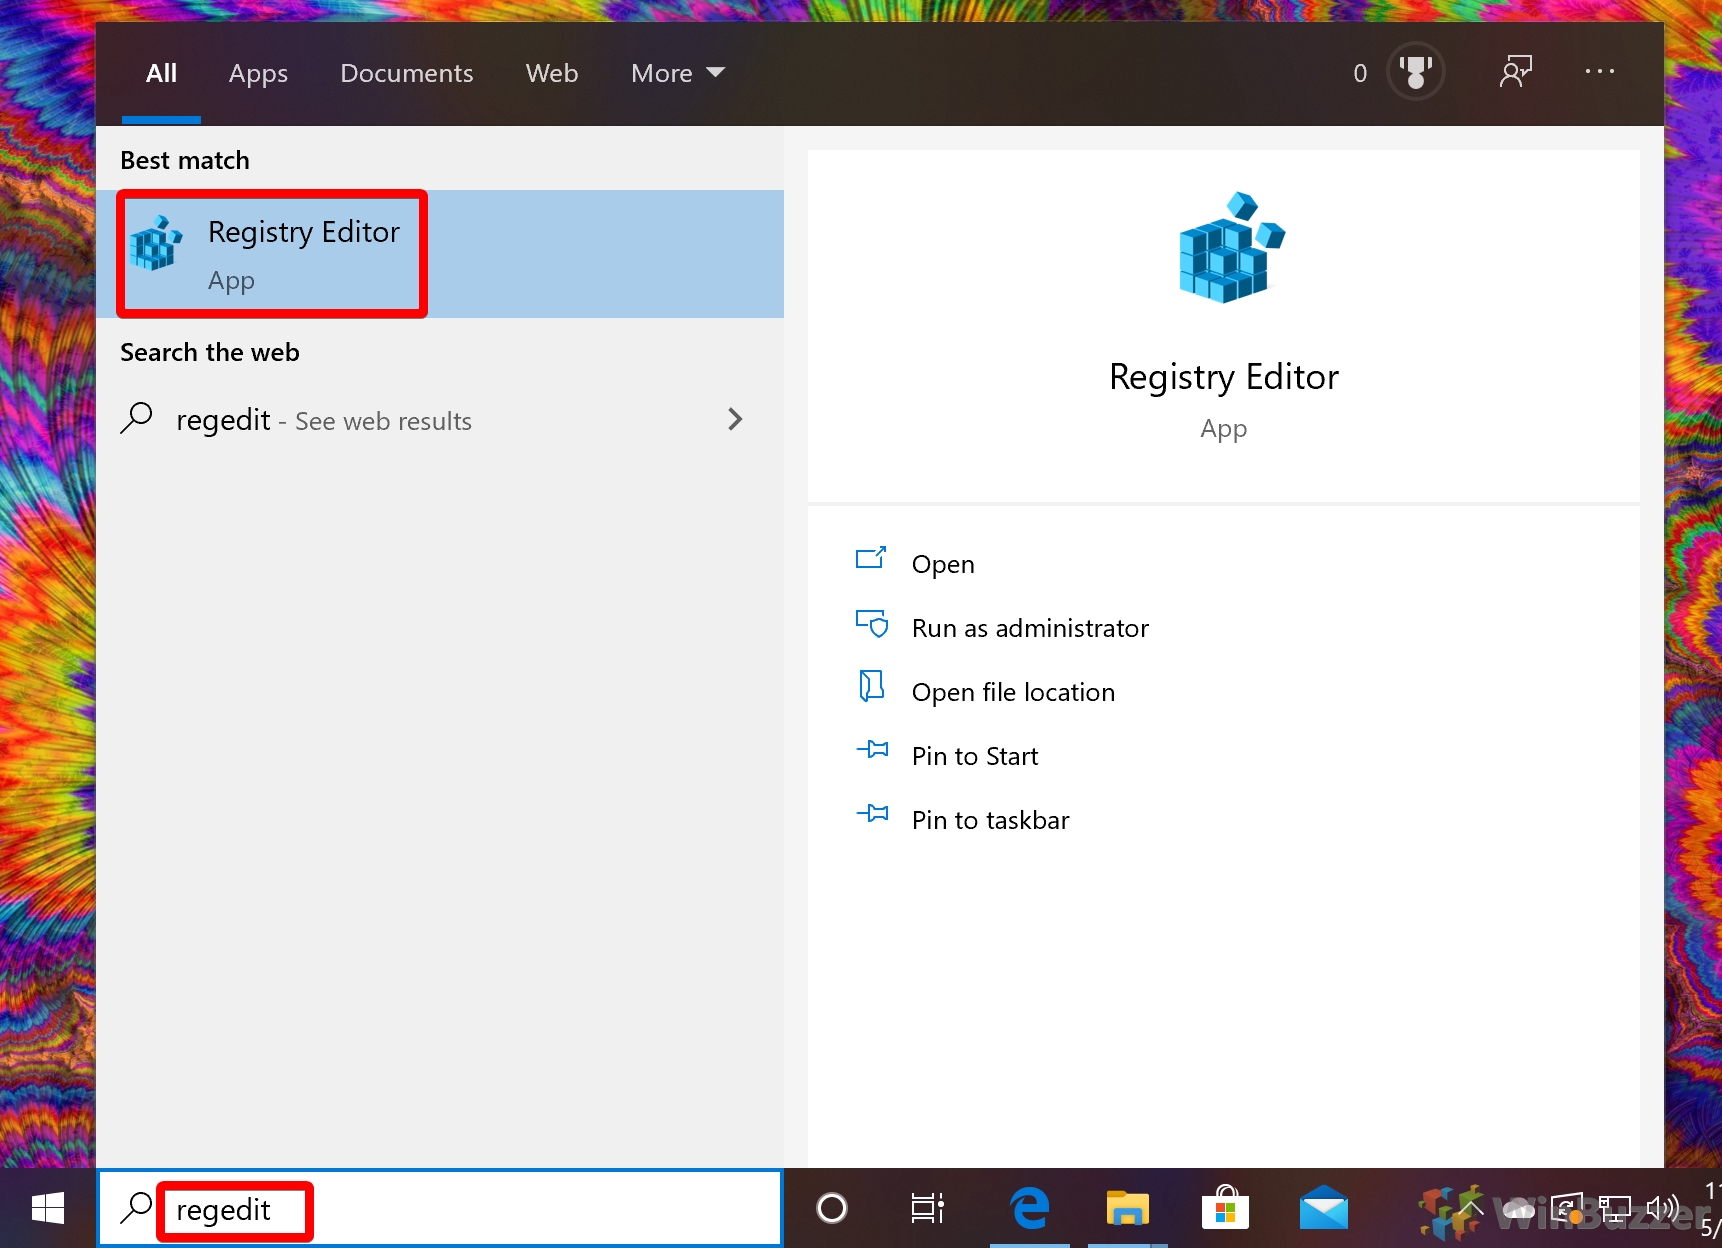
- Navigate to and modify the registry value
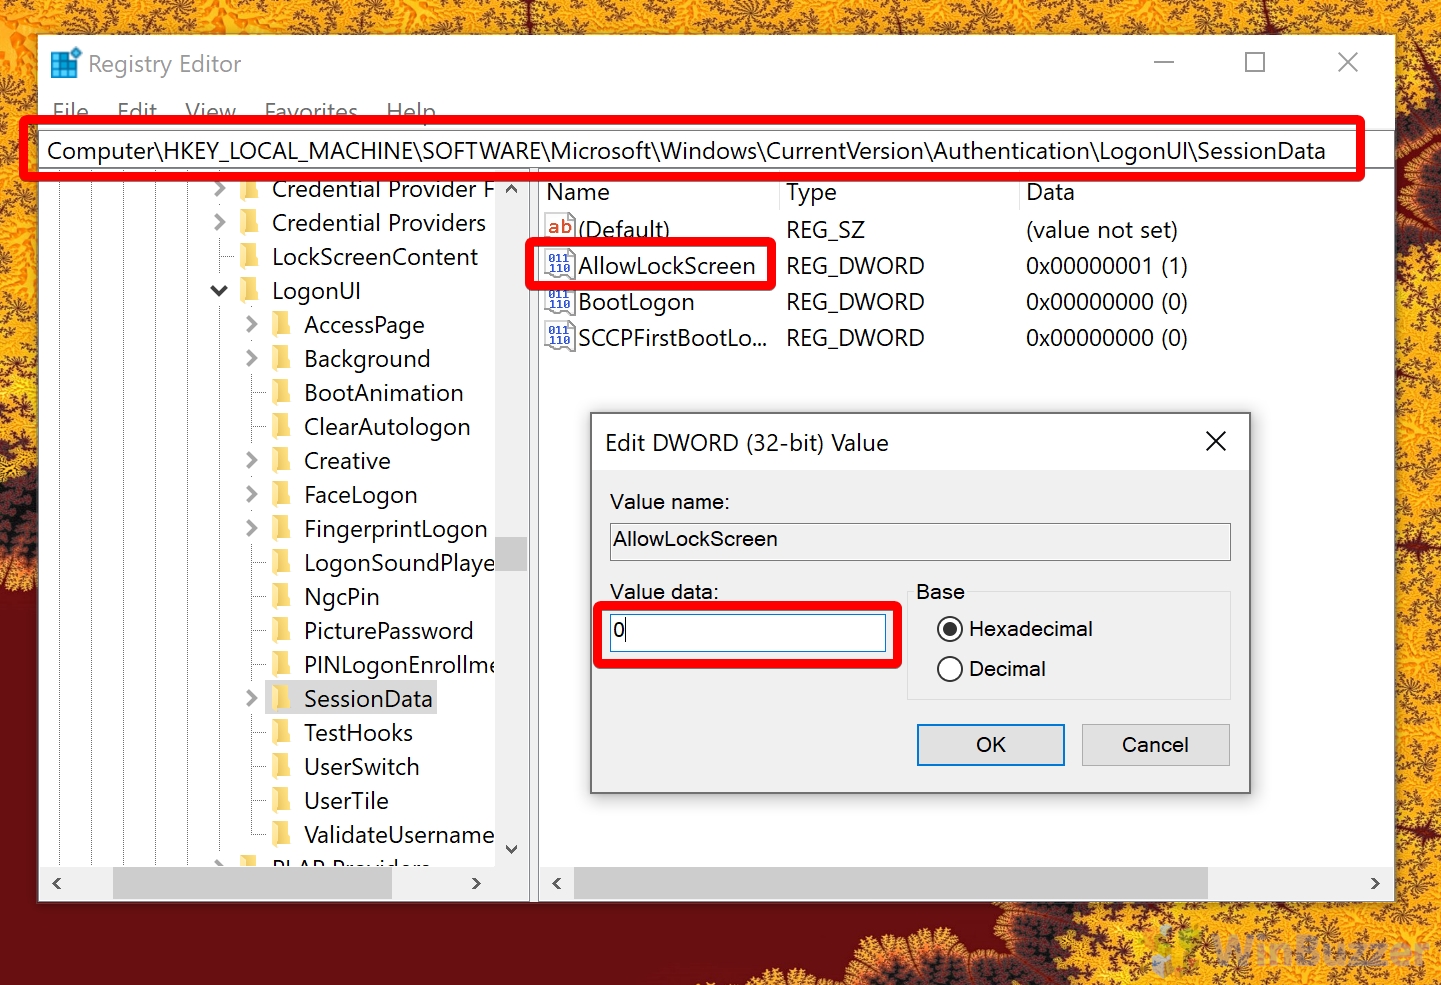
In the Registry Editor address bar, pasteComputer\HKEY_LOCAL_MACHINE\SOFTWARE\Microsoft\Windows\CurrentVersion\Authentication\LogonUI\SessionDataIn the main pane, double-click “AllowLockScreen”. Change the ‘Value data’ to 0 if you want to disable the lock screen and 1 if you want to enable it. Press “OK”.