

Microsoft’s latest OS has a strong focus on security, but sometimes to the detriment of usability. None stands out as much as the Windows 10 login screen, which you have to get past every time you start your PC. This behavior persists even if there is no password, leading many Windows 10 users wondering how to disable the login screen permanently.
The good news is that disabling the start screen in Windows 10 isn’t difficult. It doesn’t have to require any registry tweaks and can be achieved in multiple ways. However, when you disable the login screen you naturally lose a ton of physical security. Without it, anyone in the area can use your account, download malware, or steal your files. You shouldn’t enable auto sign-in unless it’s for a home desktop PC in a locked room or a test machine.
Doing so presents several benefits: your PC will boot into Windows faster, you won’t have to remember your password every time. This can be particularly appropriate for a virtual machine, where Windows 10’s ability to disable the login screen saves a ton of time. Let’s get into how to enable this auto sign-in feature:
How to Disable the Windows 10 Login Screen with netplwiz
- Open netplwiz
The Windows 10 auto sign-in function is found by pressing “Windows + R”, typing “netplwiz”, and hitting “OK”.
- Disable the Windows 10 login screen
In the following settings window, uncheck the “Users must enter username and password” box. Click “Apply”.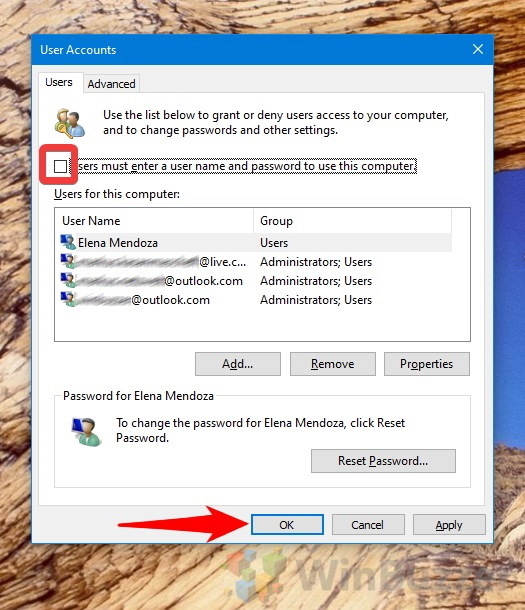
- Disable auto sign-in for a specific user
To enable or disable the login screen for a specific user, click the local or Microsoft account and tick/untick the box. For example, we recommend keeping the sign-in screen for your admin account.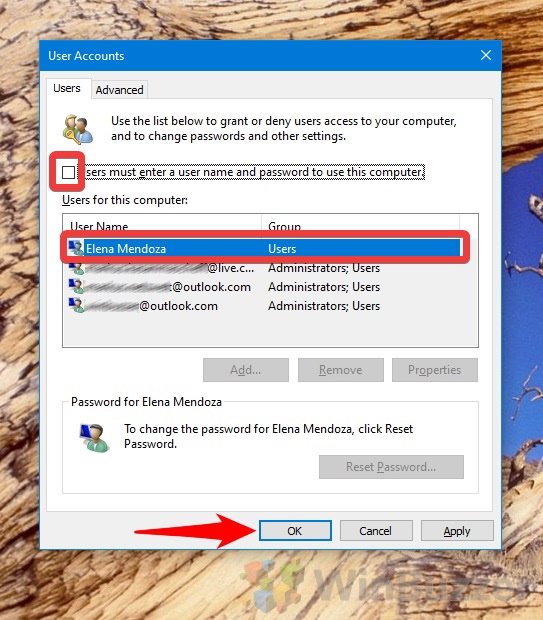
- Choose the primary user
Disabling the start screen in Windows 10 means you can’t choose the user on boot. As a result, you should now enter the credentials for the user you want to start with.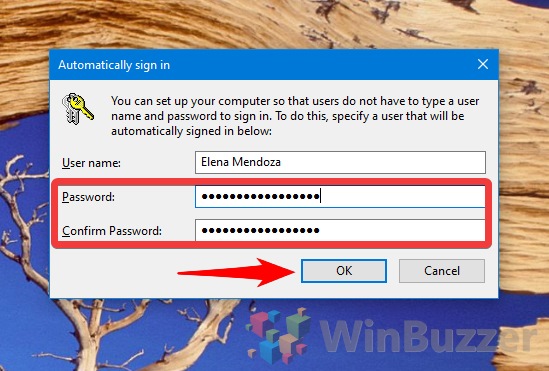
Disable/Enable Windows 10 Auto Sign-In with Regedit
You can make registry edits quite safely if you follow some basic guidelines. This may be the favored method for IT professionals:
- Open regedit
Press “Windows + R” and type “regedit”. Press “OK”.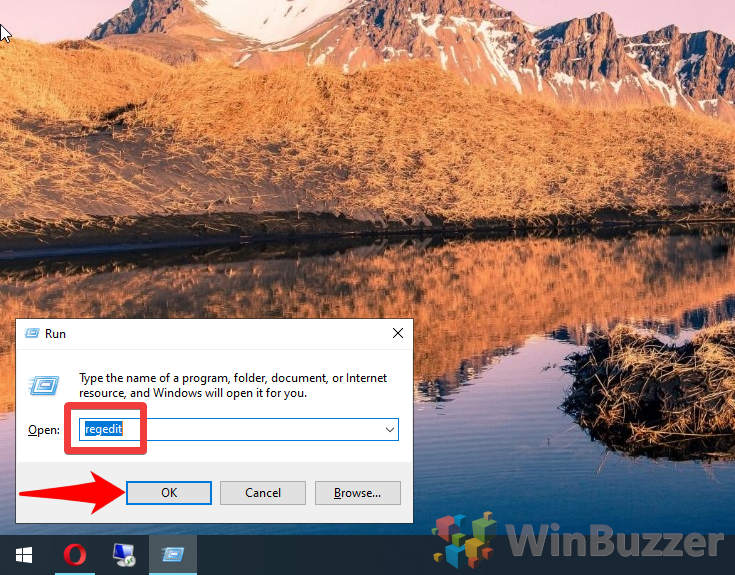
- Navigate to the relevant key
In the Registry Editor search bar, paste Computer\HKEY_LOCAL_MACHINE\SOFTWARE\Microsoft\Windows NT\CurrentVersion\Winlogon to navigate to the correct registry key.
- Edit the AutoAdminLogon entry
Double-click AutoAdminLogon to open the value editor.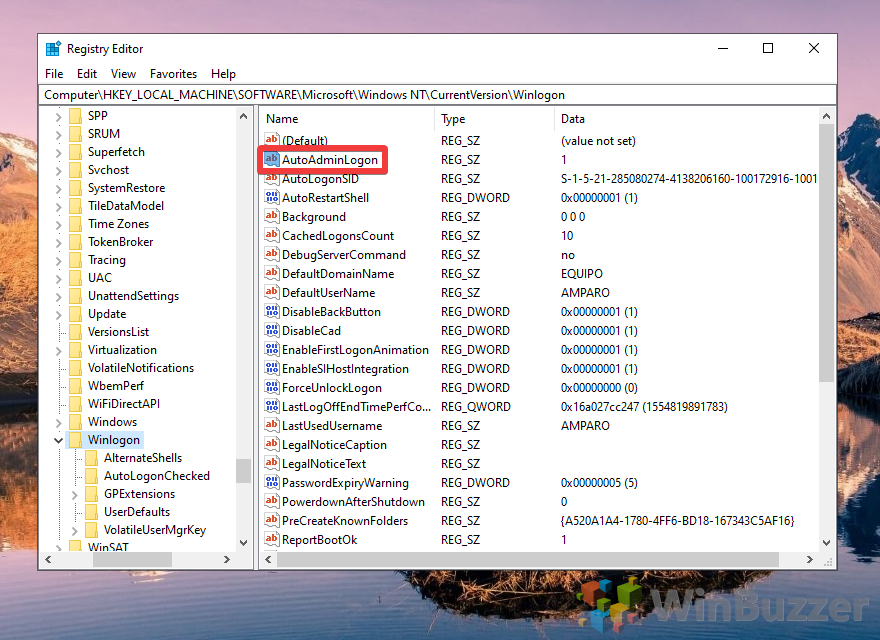
- Change the Value data to 1
In the ‘Value data’ field, type “1” and press “OK”.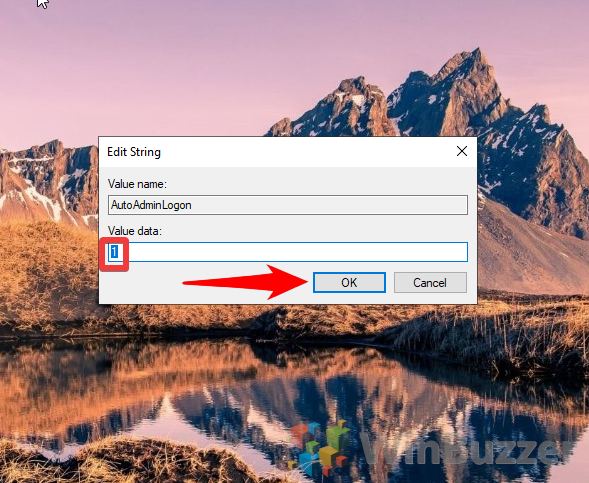
- Select DefaultDomainName
Back in the main Registry Editor panel, move down the list until you find the DefaultDomainName value. Double-click it.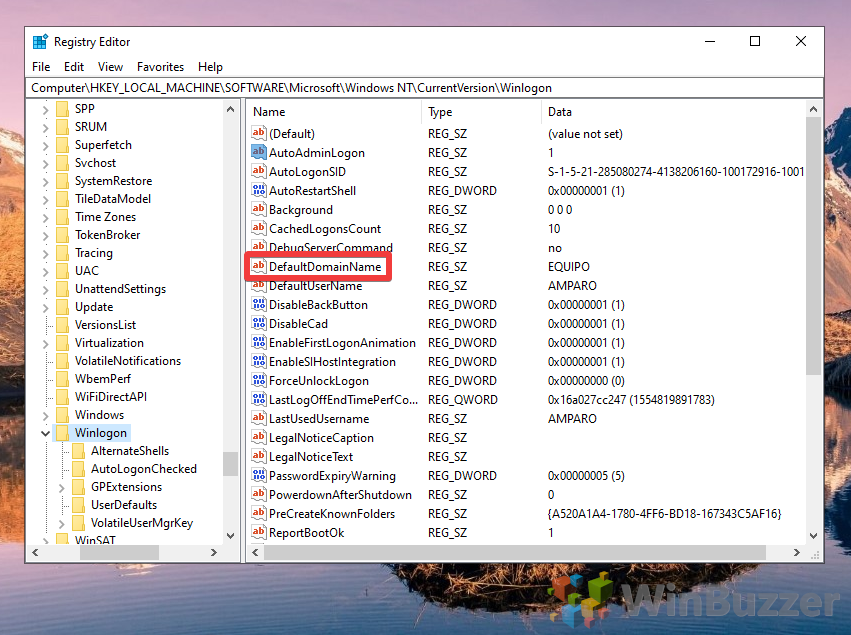
- Edit the domain string
In the ‘Value data:’ field, type “EQUIPO” and press “OK”.
- Select the default user name
Back in the main panel, find “DefaultUserName” and double-click it.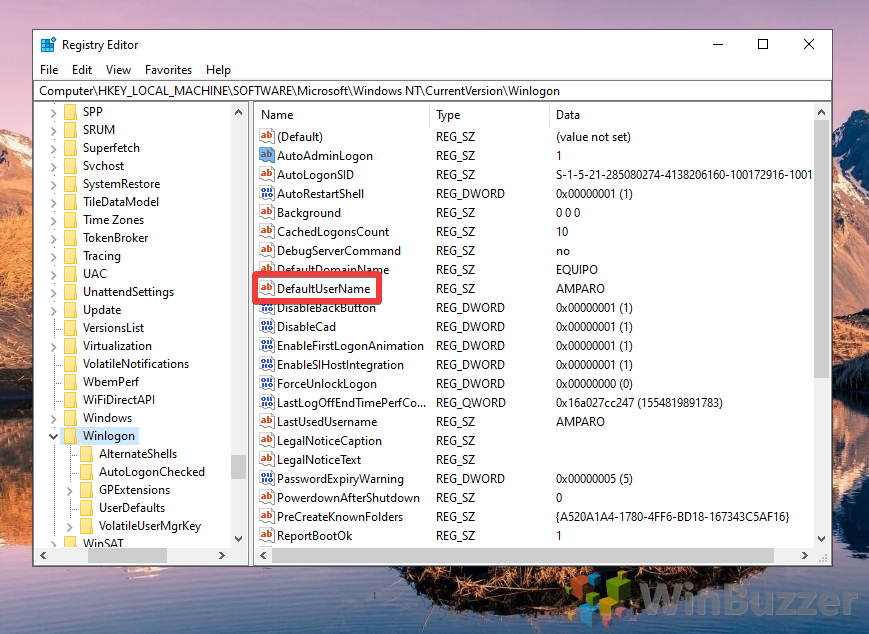
- Edit the string
Change the string ‘Value data’ to “AMPARO” and press “OK”.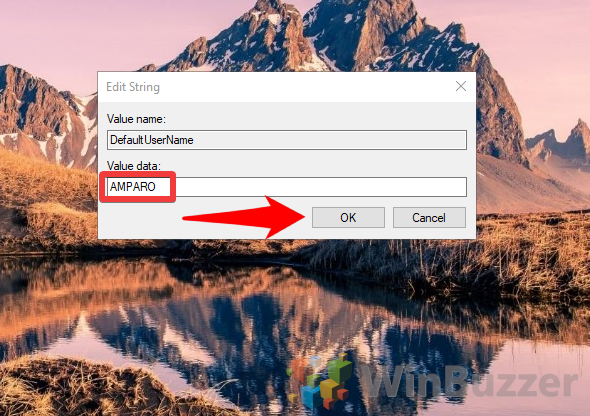
- Create a new String Value
Back in the main panel, right-click and choose “New > String Value”.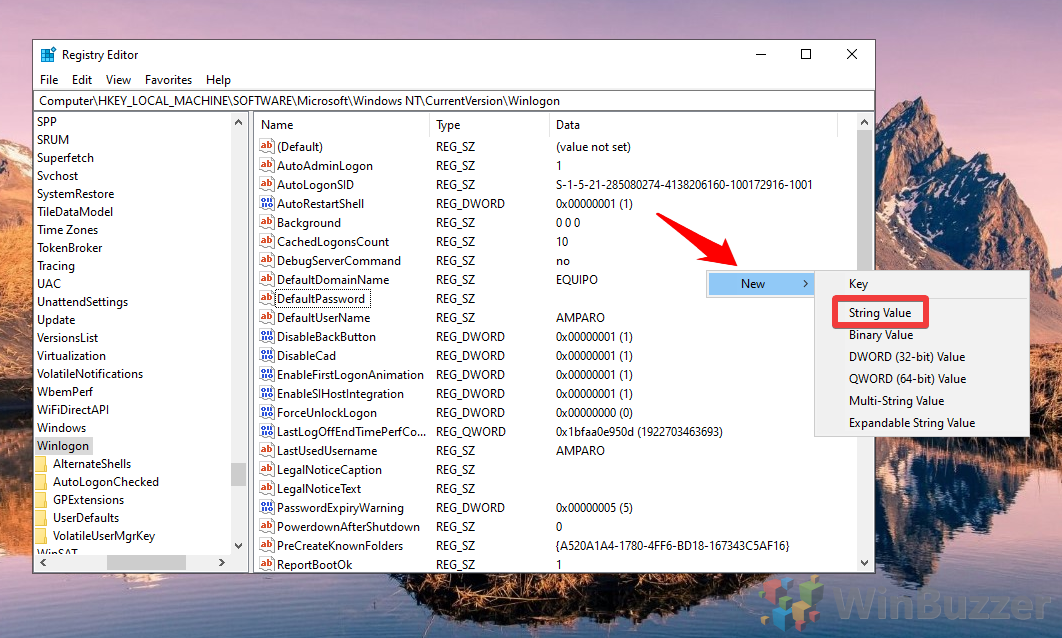
- Call it DefaultPassword
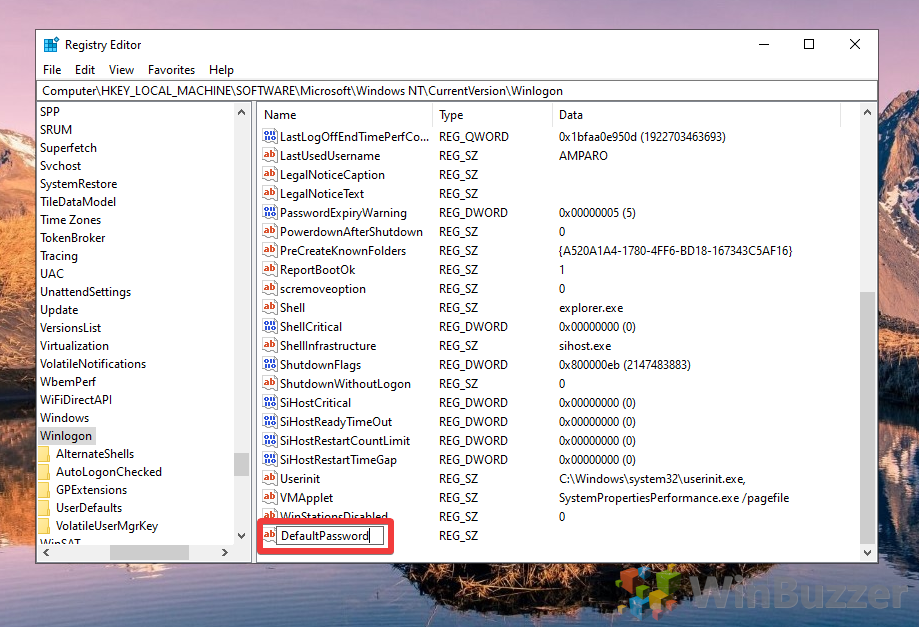
- Select DefaultPassword
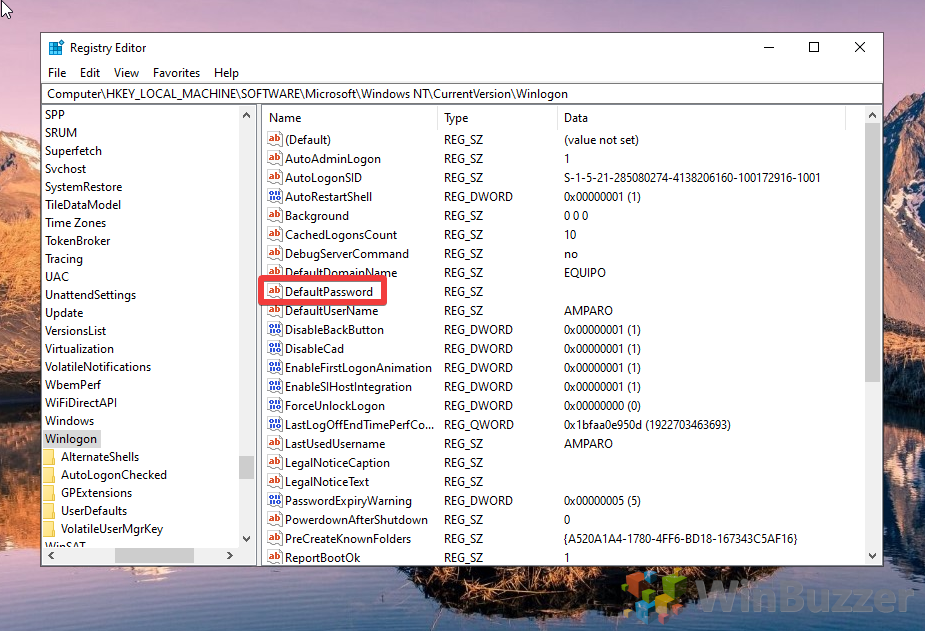
- Enter your account password
In the ‘Value data’ field, type your account password and press “OK”.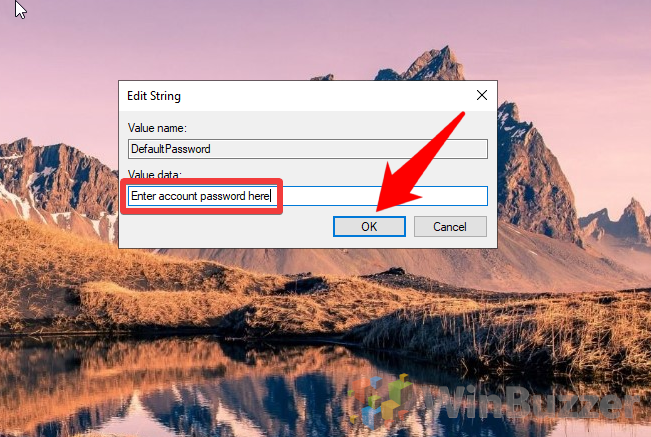
Disable Auto Sign-In via the Registry
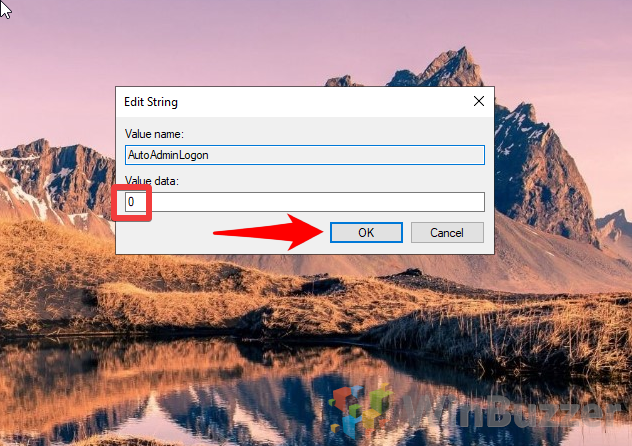
- Select AutoAdminLogin

- Change the value data to 0
- Delete the DefaultPassword entry
Right-click Default Password in the main pane and choose “Delete”.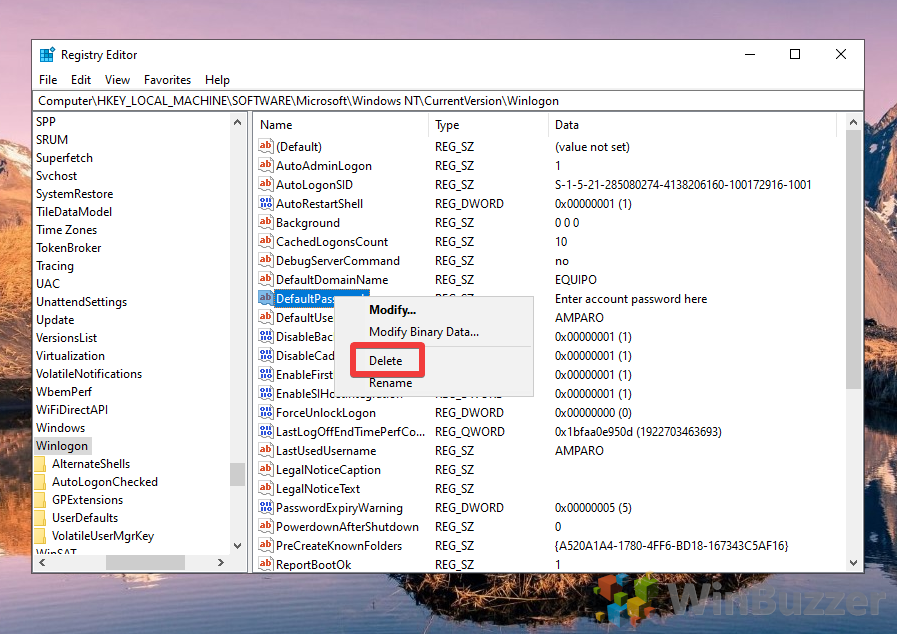
Last Updated on August 14, 2020 8:34 pm CEST by Markus Kasanmascheff


